The Nourishing Home

living healthier lives in service to the King!

  • Home
  • About
    • About TNH
    • Contact
  • Meal Planning
  • Health & Wellness
    • Real Food Basics
  • Whole30
  • GF Recipes
    • Whole30
    • Breakfast
    • Lunch
    • Entrées
    • Slow Cooker
    • Soups & Stews
    • Sides & Salads
    • Snacks
    • Desserts
    • Kids in the Kitchen
  • My Cookbook
  • Subscribe

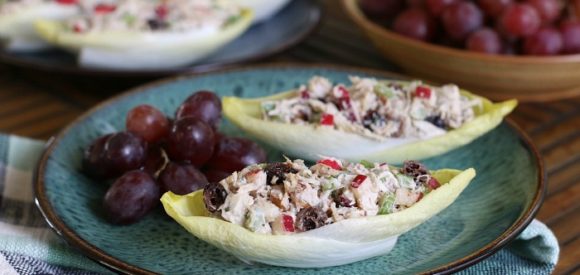
Turkey Salad Boats {or Chicken Salad Boats}

A Simply Delicious Thanksgiving Menu

Herb-Stuffed Roasted Spatchcock Turkey

Italian Sausage & White Bean Soup (GF)

By Kelly · 23 Comments


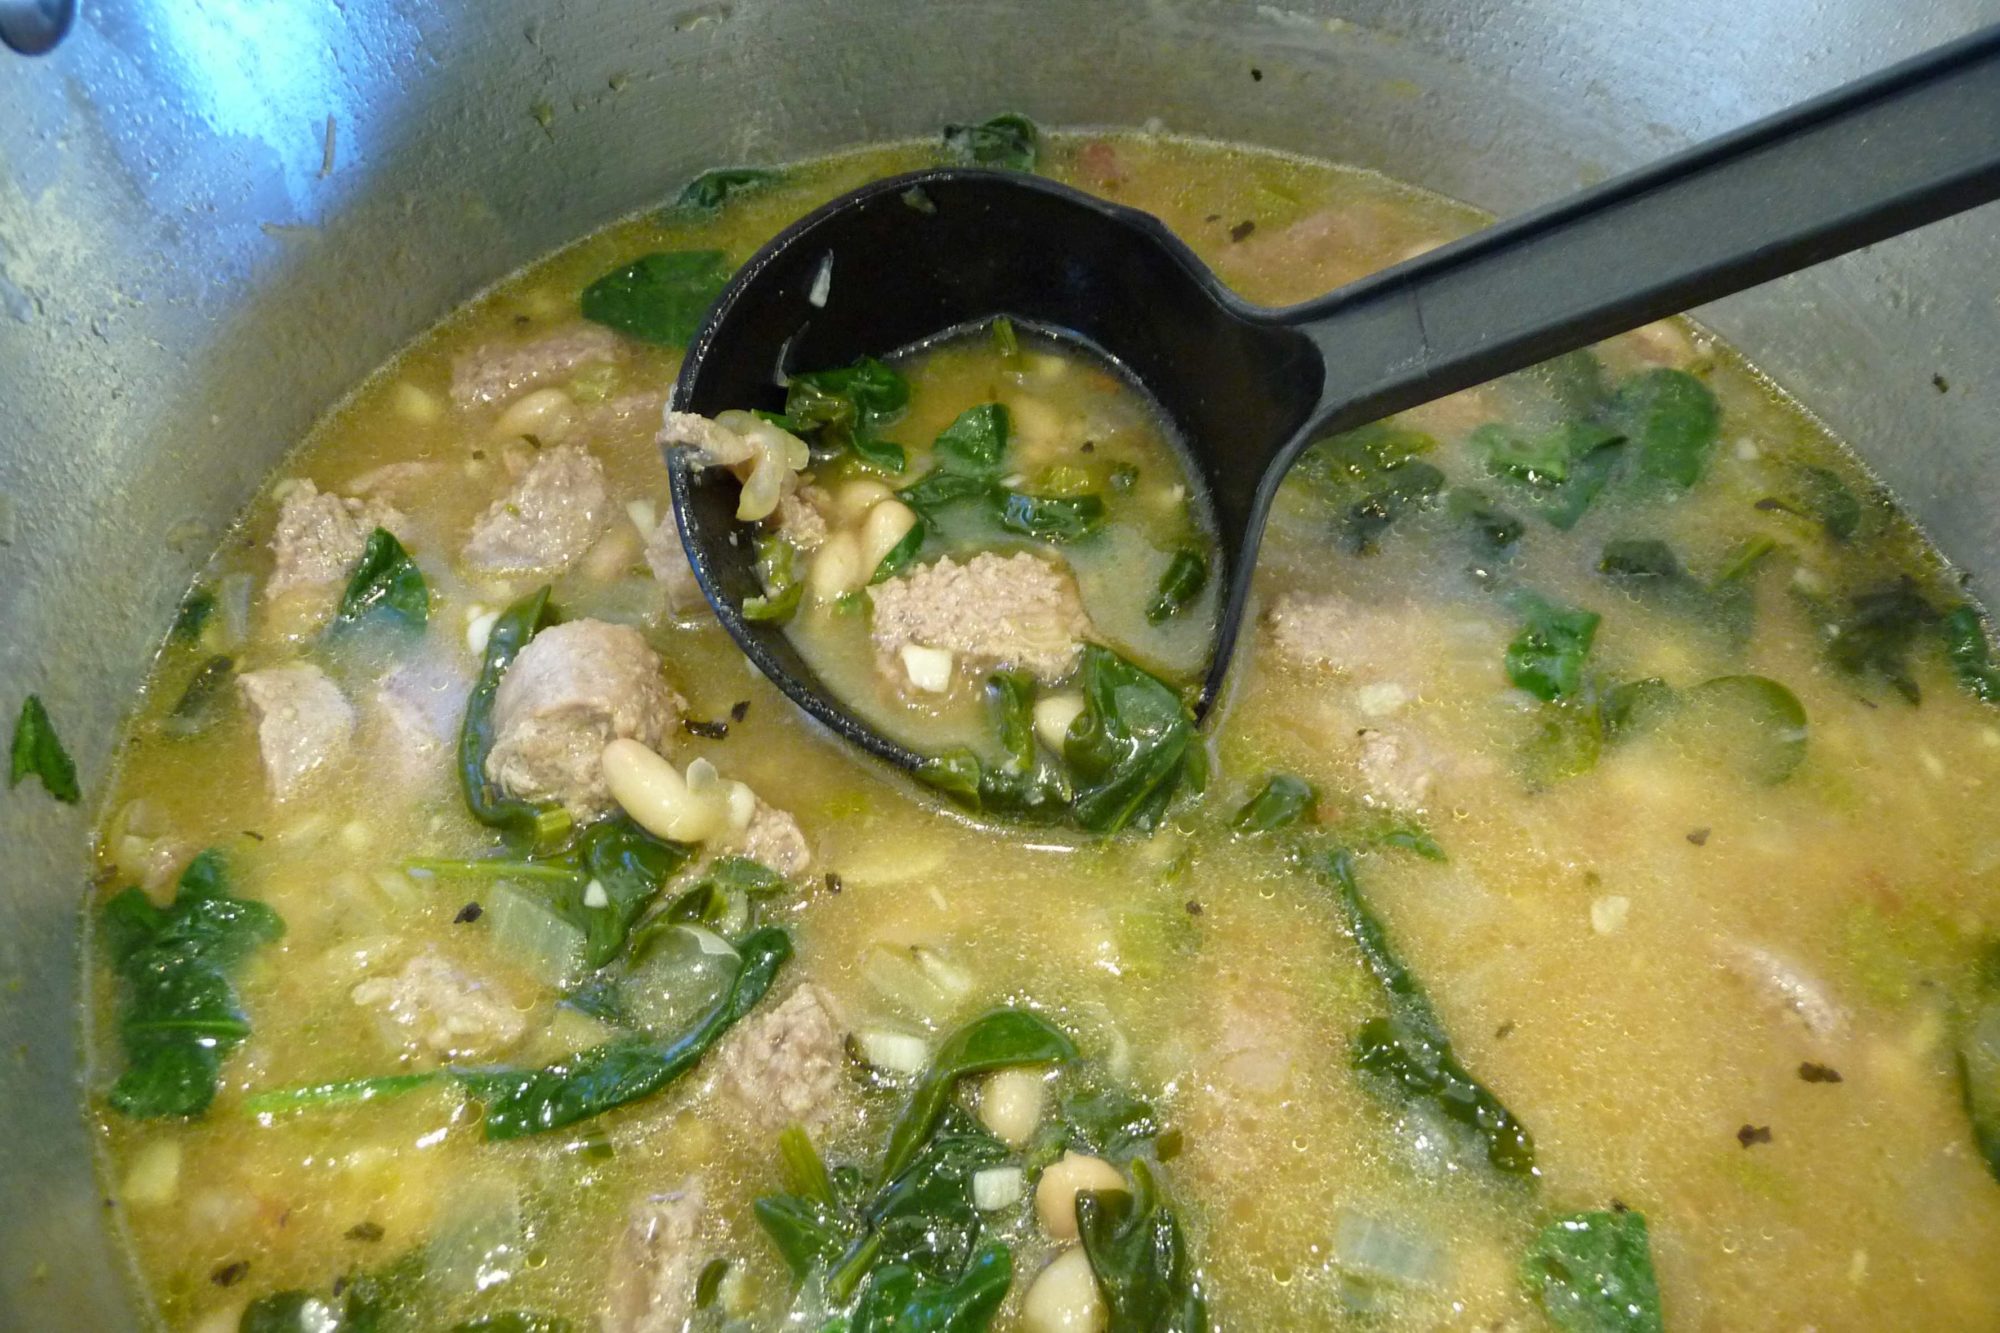
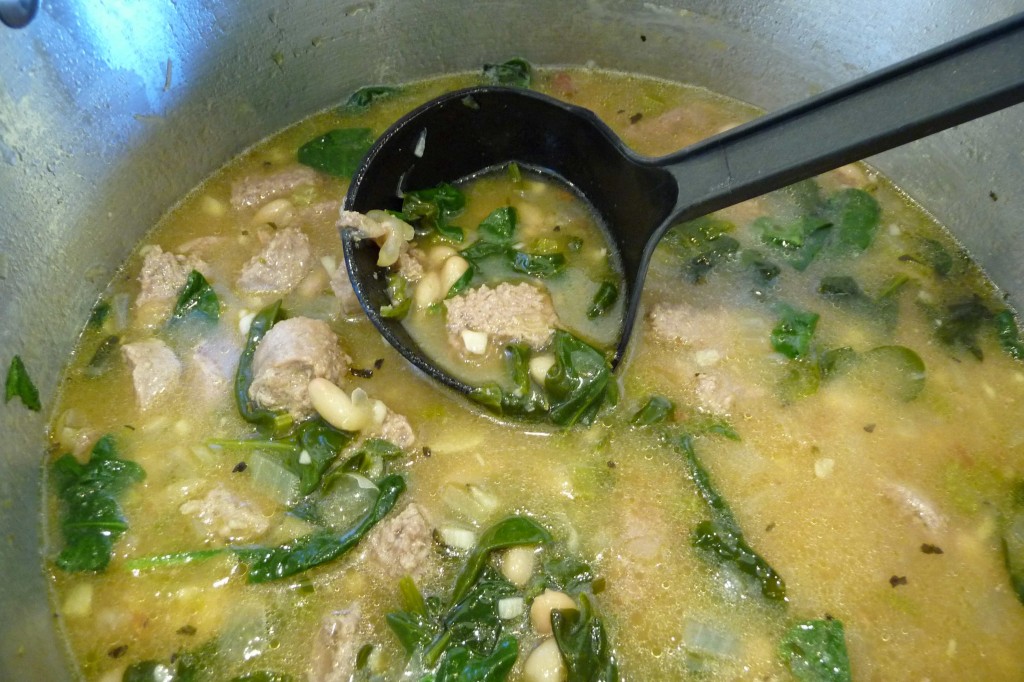
The combination of slightly sweet and spicy Italian sausage with mild white beans and spinach in a rich garlic-parmesan stock creates an incredibly delicious and satisfying soup. Serve with fresh baked crusty sourdough or your favorite GF rolls/biscuits with heaps of cultured butter. So good!

Print
Italian Sausage & White Bean Soup (GF)

Yield: 4-5 servings

Italian Sausage & White Bean Soup (GF)

Ingredients

  • 3 tbsp olive oil, divided
  • 8-10oz. sweet Italian sausage (we like sweet Italian chicken or turkey sausage)
  • 4 garlic cloves, thinly sliced
  • 1 cup diced yellow onion
  • 1/2 cup diced organic celery
  • 4 cups homemade chicken stock
  • 3 cups of soaked & cooked Great Northern white beans (equivalent to two 15oz. cans, rinsed)
  • 1 tsp sea salt
  • 1/4 tsp dried Italian seasoning
  • 1/8 tsp freshly ground black pepper
  • 4 cups of tightly packed baby spinach leaves, stems
  • 1 1/2 tbsp fresh lemon juice
  • 1/2 cup shaved Parmesan, plus 1 piece of rind (optional)

Instructions

  1. In a small bowl, add 1/3 cup of the beans and mash with a fork to form a paste; set aside. (Bean paste is used to create a heartier stock.)
  2. In a large stockpot or Dutch oven over medium-high heat, add 1 tbsp of olive oil and the sausage links. Cook covered, turning occasionally, until sausage links are browned and cooked through (about 10 minutes). Turn off heat; remove sausage links from stockpot and transfer to a plate to cool.
  3. Reheat stockpot over medium heat, add the remaining olive oil, garlic, onion and celery. Sauté until veggies are tender (about 4-5 minutes). Meanwhile, cut sausage links in half and then slice about 1/2-inch thick. Add the sausage pieces (and any juices on the plate) back to the stockpot, along with the bean paste, two cups of water, the chicken stock, beans, Italian seasoning, salt, pepper and a two-inch piece of Parmesan rind (if you don't have, add 1/4 cup shaved Parmesan). Bring soup to a boil, then reduce heat and simmer covered for 8-10 minutes.
  4. Turn off the heat. Using tongs, remove the Parmesan rind. Stir in the spinach and lemon juice. Cover to allow spinach to wilt a few minutes. Ladle soup into bowls and top with shaved Parmesan.
3.1
https://thenourishinghome.com/2012/03/italian-sausage-white-bean-soup-gf/

You Might Also Like:

Free Class: Meal Planning Made Simple–Lunch Edition!
5 Tips to Make Lunch Packing Easier!
Good Morning Breakfast Burrito

Filed Under: Uncategorized ·

Tips for Cultivating Little Sous Chefs

By Kelly · 4 Comments

One of my favorite things to do is cook with my boys! I can’t tell you the number of times they’ve come up with some pretty brilliant ideas for new recipes, or ways to enhance an existing recipe. Cooking together gives us time to talk, laugh and accomplish something together as a team – it’s good quality bonding time and it’s educational too!

For busy moms, I know time is limited, but here are just a few of the many reasons why spending the extra time to get your kids in the kitchen with you is so valuable. I encourage you to read my post on Why Kids Belong in the Kitchen for more important facts about why cooking with your children is so valuable.

  1. Got a picky eater? Kids are more likely to eat what they make, so getting them involved in making a healthy meal, will give you a better shot at them actually eating it. You can also use this time together to lay a solid foundation by talking about healthy food basics – but don’t just lecture, seek their thoughts and opinions and help steer them toward understanding the “whys and hows” of making nutritious choices.
  2. Kids are naturally creative and like to be helpful (especially when they’re little). Once they begin experiencing the accomplishment of making a meal that everyone enjoys, they will begin to take pride in their effort. And eventually, they may actually discover they have a passion for cooking.
  3. Kids need to learn how to prepare healthy homecooked food. It’s important for both girls and boys to learn how a meal is created from start to finish, so they can do it themselves as they get older and eventually leave home. It will be an invaluable skill you are teaching them – one that they will use the rest of their lives.
  4. The kitchen is a wonderful classroom! Kids learn so many important skills in the kitchen – including math skills, following directions, time-management and organization – the lessons are endless and are of great value!

How to get started …
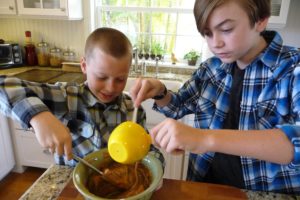
Cookie Boys StirringIf you want to get your kids in the kitchen with you, here are a few helpful tips and strategies to make it a smoother process for you both:

  1. Be realistic! It’s important to be realistic in your expectations of this time together. Plan the cooking session with your child in mind – what his/her interests are, attention-span, skill level, etc. By taking time to think this through and plan an age-appropriate cooking session, you’ll have much more success at making it fun and interesting for your child. And the more fun it is, the more you both will enjoy this time to together! Curious about which kitchen activities are age-approriate? Be sure to download my FREE “Cooking with Kids of All Ages” printable. It not only contains lots of ideas for developmentally appropriate kitchen activities, but also contains some great ideas for making mealtimes fun!
  2. Be sure to schedule it on your meal plan! Plan time for cooking with your kiddos on a day when you’ll have extra time to spare – being in a rush and cooking with kids is a recipe for disaster (pun intended).
  3. Start off with an easy recipe – have them watch you do one of the tasks first, then help them do it once, then let them do it by themselves. When getting started, focus on age-appropriate fun tasks – anything that needs to be shaken, stirred, mashed – kids love that!
  4. Keep the time short and sweet (especially for little ones). Be sensitive to your child’s age- and personality-related attention span. For little ones, it’s important to have all of the ingredients ready ahead of time, so they don’t have to sit and watch you get everything prepared, but can instead immediately jump in and participate. After they’ve accomplished the age-appropriate tasks you planned out (or if you notice boredom setting in) thank them for helping you, and let them run off to play while you finish the meal. You can slowly build from there – increasing the time spent and the skills they learn – to the point where they’re eventually helping you execute an entire meal from start to finish. And of course, my dream is when they can completely take on a meal without my help at all – definitely something to look forward to! Even the most passionate chef enjoys handing over the apron every now and then!

The Kids in my Kitchen
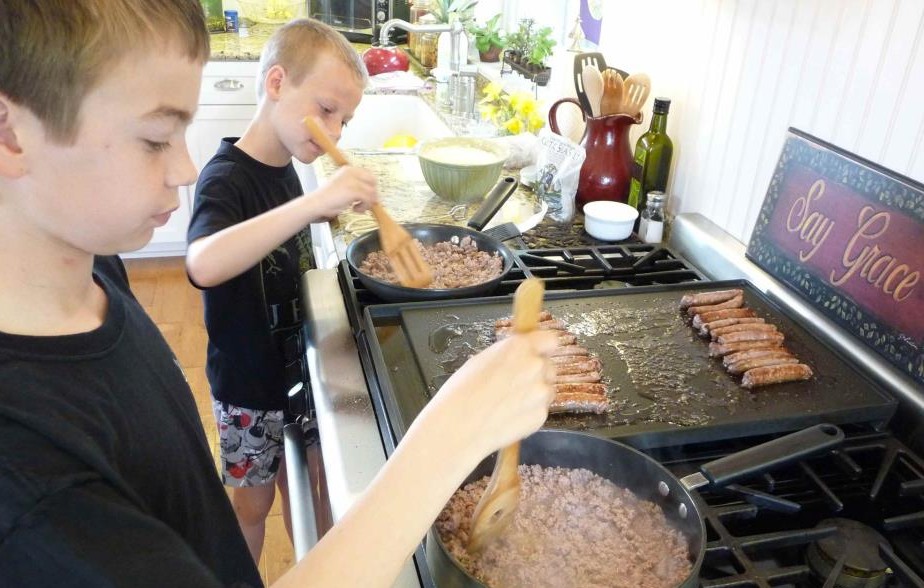
I started my boys in the kitchen as toddlers with very simple tasks that they loved to do, like stirring and mashing – especially the mashing part – they are boys after all!

From there, we slowly progressed based on their age and abilities to include more and bigger tasks – adding ingredients, measuring out ingredients, reading and following a recipe, and right now, they are learning how to properly use a knife and how to safely cook on the stovetop, always under very careful supervision, of course. As they get older, my goal is to have them begin cooking some of their own favorite lunches and then as noted above, taking on dinner for the entire family by themselves – that will be awesome!

A little extra time and mess are worth it!
One more thing, if you decide to do this, be prepared for extra time and extra mess – but think big picture and don’t get discouraged! Remember, this is so much more than just teaching them valuable cooking and healthy eating skills, it’s about sharing and enjoying time together! Your patience and joy in having them in the kitchen will be blessed!

You Might Also Like:

2 Free Video Courses to Master Meal Planning & Help Your Family Eat Healthier!
Kids Belong in the Kitchen {Free Cooking w/Kids-of-All-Ages Printable}

Filed Under: Kids in the Kitchen ·

Coconut Flour Brownie Cake (GF, DF Option)

By Kelly · 40 Comments

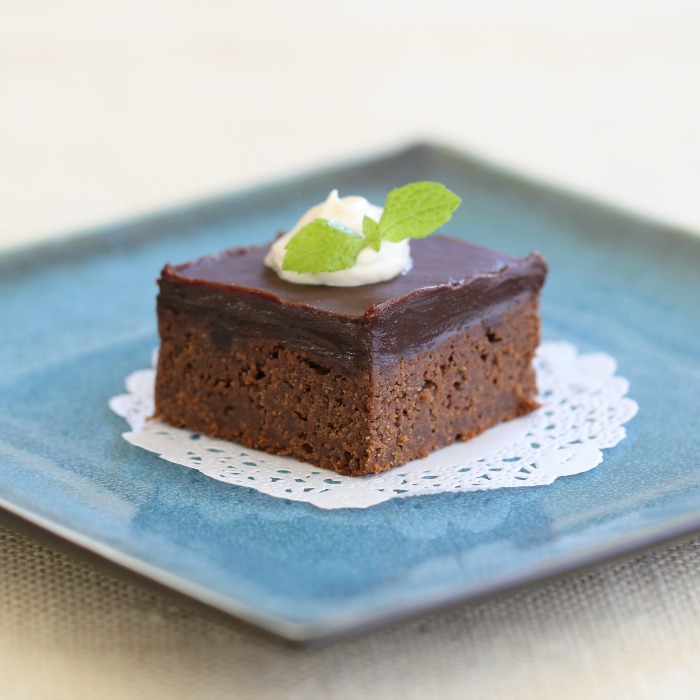
Coconut Flour Brownie Cake with Chocolate Ganache Icing
This super chocolatey cake tastes like a decadent fudge brownie and is the perfect size for a small family gathering. It tastes especially good the next day, after the flavors have had a chance to meld.

In fact, it’s so rich, it’s best served with a simple dollop of Homemade Whipped Cream or scoop of vanilla ice cream. However, if you’re into some serious “death by chocolate,” then you’ll definitely want to top this decadent chocolate cake with my Ultra-Chocolatey Ganache Icing (as shown in photo above). Yum!

Print
Coconut Flour Brownie Cake (GF, DF Option)

Yield: 9-12 servings

Ingredients

  • 1/2 cup coconut flour
  • 1/4 tsp baking soda
  • 1/4 tsp sea salt
  • 1/3 cup coconut oil
  • 1/4 cup butter (if DF, use ghee or palm shortening)
  • 1/2 cup dairy-free mini chocolate chips
  • 1 Tbsp cocoa powder
  • 1/2 cup honey
  • 1/2 cup pure coconut milk
  • 2 large eggs
  • 1 tsp pure vanilla extract
  • Optional: 1 batch of Chocolate Ganache Icing

Instructions

  1. Preheat oven to 350°F. Lightly oil an 8x8-inch baking dish; set aside.
  2. In a small bowl, mix together the coconut flour, baking soda, and salt; set aside.
  3. Place the coconut oil and butter (or ghee or palm shortening) in a small saucepan and melt over low heat. Add the chocolate chips, cocoa powder, and honey. Stir the mixture until the chocolate chips begin to soften. Then remove from heat and continue stirring until the chocolate chips are completely melted and the mixture is well combined. Set aside to cool.
  4. In a large bowl, add the coconut milk, eggs, and vanilla. Whisk together until well combined. Then slowly whisk in the cooled chocolate mixture, using a rubber spatula to get all of the chocolate mixture out of the saucepan.
  5. Sift the dry ingredients into the wet while whisking vigorously. Continue whisking until no lumps remain. Allow the batter to rest about 5 minutes so the coconut flour can absorb some of the liquid. Then pour the brownie batter into the prepared baking dish.
  6. Bake for approximately 25 minutes, just until a toothpick inserted into center comes out clean. Remove from oven and allow to cool until warm (not hot) to touch. Top with chocolate ganache, if desired. Allow ganache to set (firm up). Then cut and serve with a dollop of homemade whipped cream, if desired.
3.1
https://thenourishinghome.com/2012/03/coconut-flour-brownie-cake-gf/

You Might Also Like:

Lemon Poppy Seed Muffins {GF, DF}
Happy-Happy Grain Free Ice Cream Cake (GF, DF option)
Lemondrop Cupcakes with Creamy Lemon Frosting (GF)

Filed Under: Cakes/Cupcakes, Desserts ·

  • « Previous Page
  • 1
  • …
  • 178
  • 179
  • 180
  • 181
  • 182
  • Next Page »

My New Cookbook is Here!

Welcome to The Nourishing Home!

I’m so glad you’re here and want you to feel right at home! My heart in creating this blog is to help you by sharing helpful meal planning strategies and nourishing GF recipes that are healthy, easy and delicious with thanksgiving to God! [Read More …]


All content (recipes, photos, posts, etc.) on this site is the creative property of Kelly Smith. You are welcome to share a photo via social media, as long as it contains a link back to the corresponding recipe or post from this site. However, you may not republish a recipe in its entirety in any form. For questions, or for permission to use a photo or recipe, please contact me via email at [email protected] Thank you!

Please Note: All content (recipes, photos, text, etc.) on this site is the creative property of Kelly Smith of The Nourishing Home. You are welcome to share a photo via social media, as long as it contains a link back to the corresponding recipe from this site. However, re-publishing a recipe in any form is strictly prohibited. Additionally, please refrain from adapting recipes without properly linking back to the original recipe, and keep in mind that simple substitutions do not constitute an adapted or original recipe. For details regarding recipe copyright law, please visit the Food Blog Alliance.
The Nourishing Home is a participant in the Amazon Services LLC Associates Program, an affiliate advertising program designed to provide a means for sites to earn advertising fees by advertising and linking to amazon.com.

Privacy Policy
DMCA.com

Copyright © 2023 · All Rights Reserved · The Nourishing Home · Artwork by Nancy Panaccione · Site Design by Deluxe Designs · Log in