The Nourishing Home

living healthier lives in service to the King!

  • Home
  • About
    • About TNH
    • Contact
  • Meal Planning
  • Health & Wellness
    • Real Food Basics
  • Whole30
  • GF Recipes
    • Whole30
    • Breakfast
    • Lunch
    • Entrées
    • Slow Cooker
    • Soups & Stews
    • Sides & Salads
    • Snacks
    • Desserts
    • Kids in the Kitchen
  • My Cookbook
  • Subscribe

Homemade “KIND” Bar Recipes (GF)

By Kelly · 95 Comments

Homemade KIND Bar Recipes (Grain-Free)

Sometimes I get a little obsessed, especially when I find something I really like … This is the story of a woman on a mission to make an incredible little snack bar that she accidently stumbled upon and fell magically in love with!

Sparing you all of the drama, I’ll just get right to the point … After one bite of a KIND Fruit & Nut Bar, I knew I had to figure out how to replicate these scrumptious little treats.

Maybe you’ve had one of these bars and love them too, or maybe you’re just plain curious about what’s got me so worked up? Either way … I’ve pulled back the curtain and am sharing the simple details on how to make a whole host of these amazing little bars of yum!

And just incase you do want to hear me ramble on about how this recipe came about, feel free to read on below … or , you can just skip the drama and go right for the recipes! Either way, if you’re up for a crunchy, sticky, fruity, nutty little adventure in snacking, these are the perfect bars for you too!
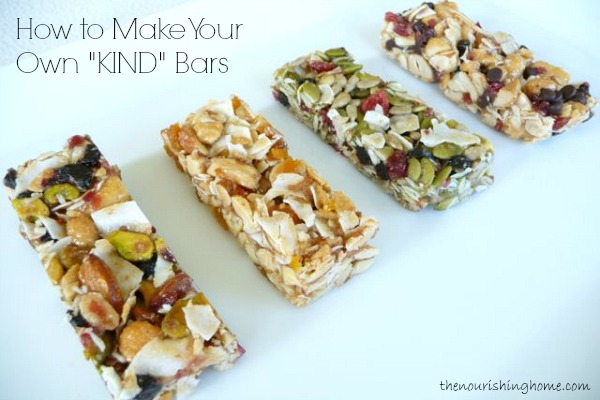
Make Your Own KIND Bars

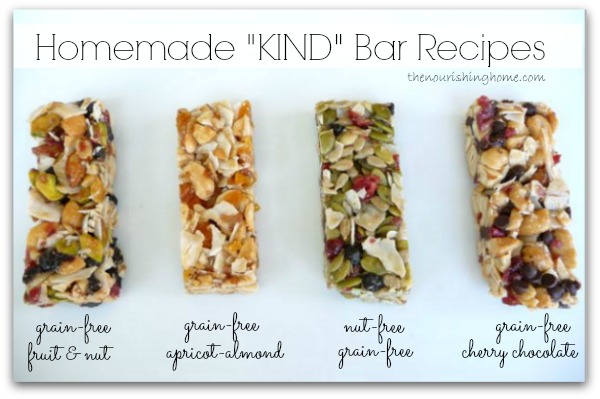
Homemade “KIND” Bar Recipes

• Original Everything Fruit & Nut Bar – the original bar that started my obsession
• Nut-Free “KIND” Bar – perfect for those with nut-allergies
• Cherry-Chocolate Chip Bar – chocolate chips, need I say more?
• Apricot-Almond Crunch Bar – mildly sweet, tangy & delicious!

For best results, follow the recipes exactly as given. Trust me, after making dozens of batches of these bars (they’re a real favorite),  the correct combination of ingredients is important to achieving the perfect bar!

P.S. These amazingly delicious fruit-n-bars make a beautiful Gift-in-a-Jar no matter what the holiday or special occasion. 

EverydayGrainFreeBakingThis delightful recipe is just one of more than 100 irresistible grain-free, dairy-free recipes in my new cookbook – Everyday Grain-Free Baking!

From breads, biscuits and muffins to savory snacks and decadent treats, you’ll find step-by-step instructions, beautiful color photographs and helpful tips & tidbits to make all of your GF baking adventures a delicious success!

Click here to get a SNEAK PEEK of the book!

The Story Behind the Bars …
Stuck in the airport with no homemade healthy snacks on hand, I began scouring the little airport souvenir shop for something halfway decent.

As I glanced over the various granola bars and protein bars, I found these real food looking bars called KIND Fruit & Nut Bars. I read the ingredients and was pleasantly surprised that they contained recognizable real ingredients. But when I saw the price, I almost fainted – $2.99 a bar! Yikes!

Still, I was ill-prepared and hungry, so I grabbed one and hoped this little bar would help me at least make it through the lay over and short flight home. And it most certainly did! This simple little fruit & nut bar was so tasty and filling I knew I had to figure out a more frugal way to enjoy these little treats.

When I got home, I popped over to TJs and found the bars at a much more reasonable price (not) of $1.49 per bar. Are you kidding me?

Reading over the label again, I purchased the ingredients I didn’t already have on hand at home and got to baking. My first batch didn’t hold together so well because I used too little honey and I also realized a thickening agent was needed, so I opted for good ole high-fiber coconut flour.

Several test batches later, mission accomplished – the flavor and texture were almost identical to the original! It was so exciting to be able to replicate this bar for far less. And even better, to be able to avoid any unwanted ingredients, as well as customize the bars to my family’s taste preferences.

These little protein-rich bars are a hit with kids and adults alike!

For kids, they make a great healthy after-school {or lunchbox} snack. And best of all, you can bake up a bunch, individually wrap and freeze them for a perfect on-the-go snack anytime you need one!

follow-me-on-pinterest-button

You Might Also Like:

Fruit & Nut Grain-Free Bars
Peach Cobbler Donuts (& Muffins!)
How to Plan Healthy Lunches Kids LOVE!

Filed Under: Kid Friendly Recipes, Savory, Sweet ·

Puppies LOVE Real Food too!

By Kelly · 9 Comments

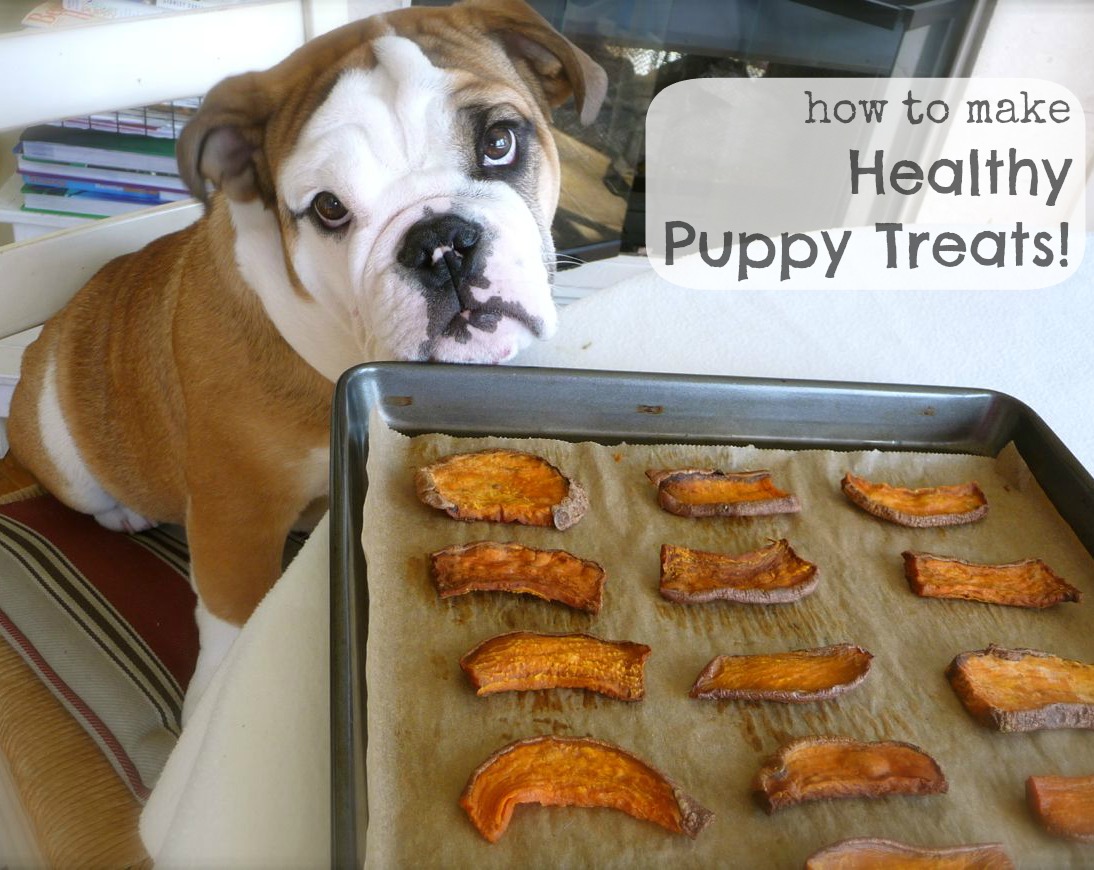
How to Make Healthy Puppy Treats!

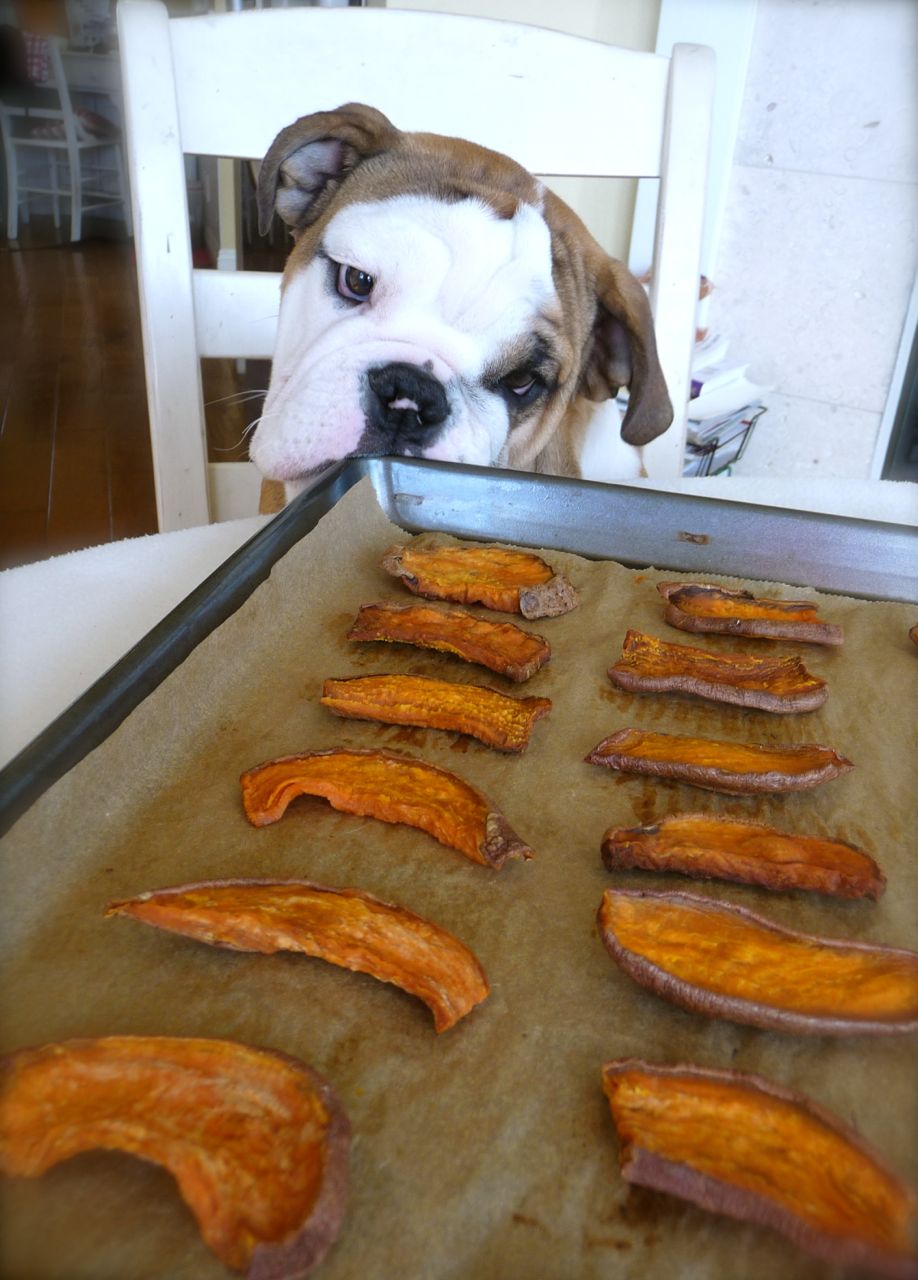
Save money and pamper your puppy with healthy, homemade doggy treats that are tail-waggin’ good! Just look at that sweet little face, so patiently waiting for his yummy sweet potato snack!

Last November, we were blessed with an adorable little bundle of fun – Franklin Jr,. our English Bulldog puppy! He’s definitely been a joyful addition to our family, so of course we want to feed him right so we can enjoy many years to come with this cute little bag of wrinkles!

As a new puppy owner (in fact, this is my first dog ever!), I was shocked at how expensive quality puppy treats are (if you can actually find real food based dog treats). So in an effort to save our budget, and still have a tempting treat to reward our good boy, I decided to bake-up some easy and healthy real food doggie treats.

Because our little guy is eating a grain-free diet, I wasn’t up for lengthy experiments to create a homemade GF dog biscuit (at least not yet). That’s why I opted instead to start by making one of his favorite simple treats – chewy dried sweet potatoes.

Sweet Puppy 7

Come on … they look ready to eat to me … Can I have one … P L E A S E !

Sweet Puppy 8

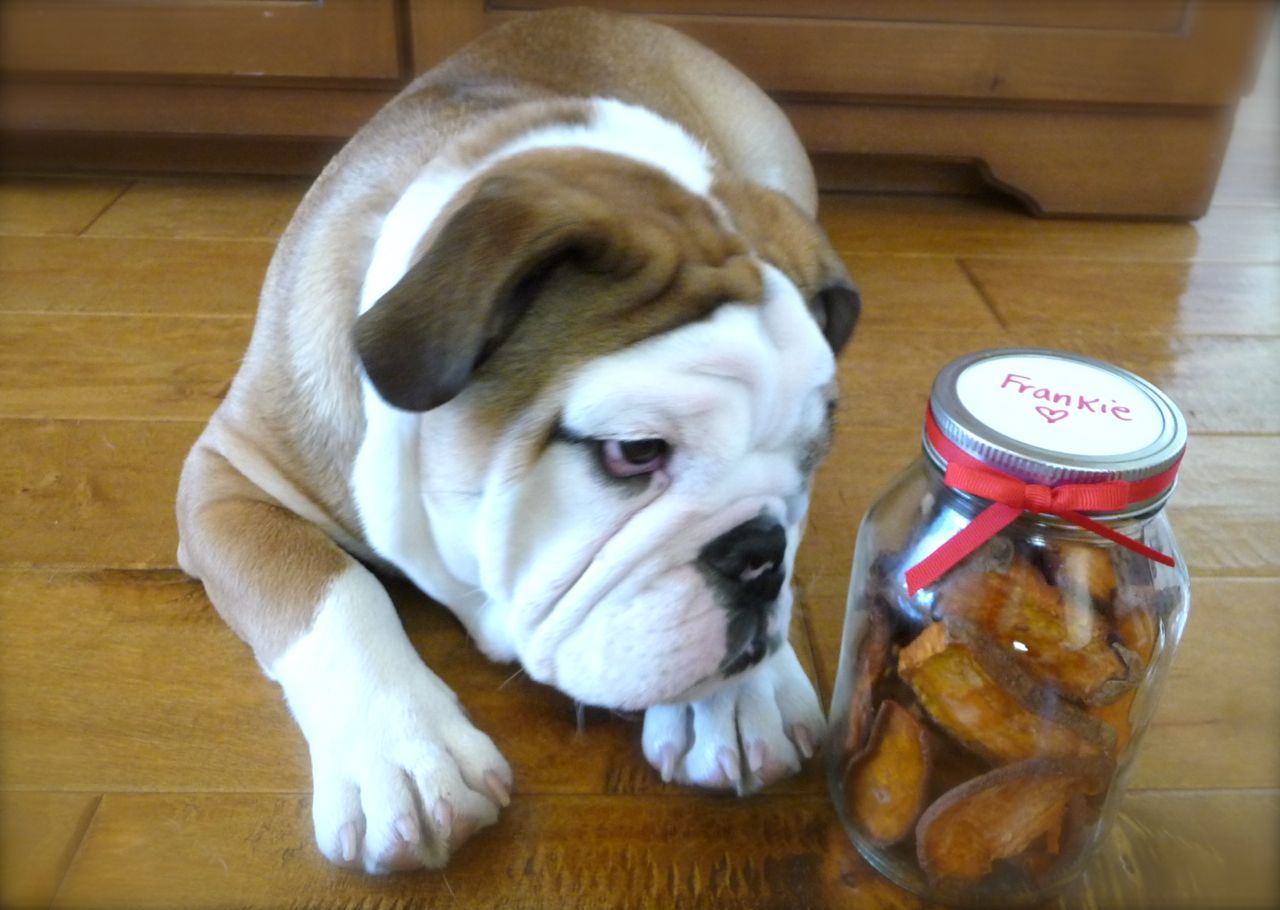
What’s a guy gotta do to get one of these??

Sweet Puppy 4

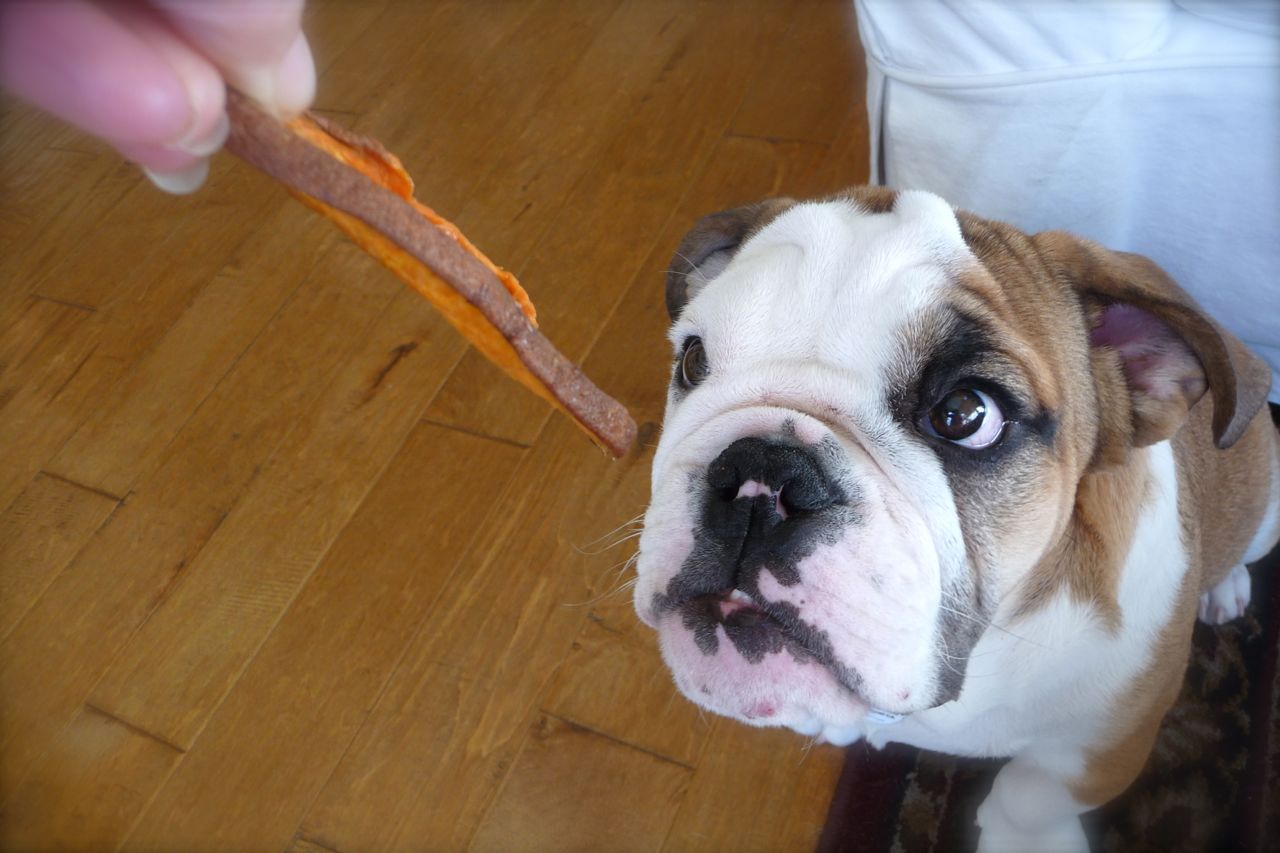
Oh yeah! You bet I’ll sit for one of these yummy wholesome treats!

Sweet Puppy 5

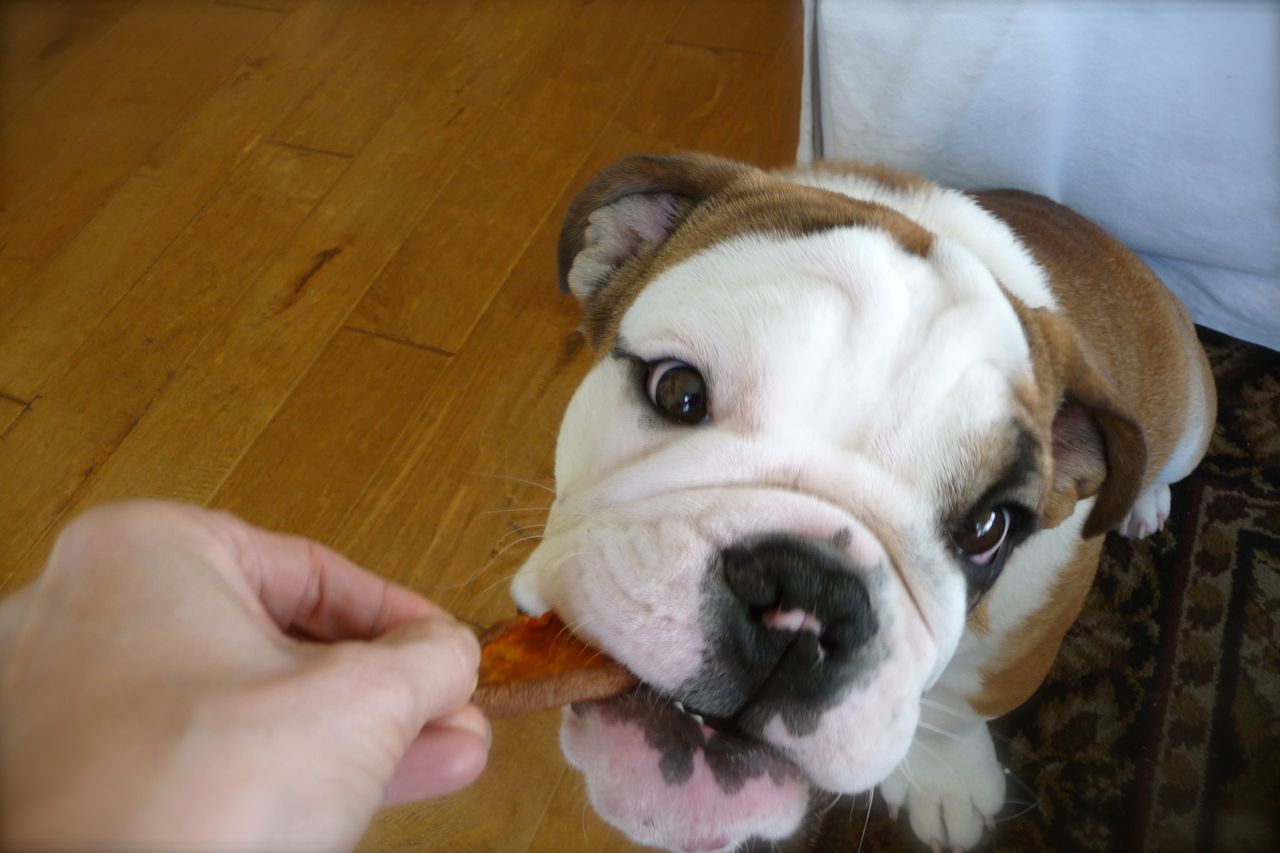
YUM! Victory is mine … at last!

How to Make Sweet Potato Puppy Treats

Step One: Slice
Rinse and dry the sweet potatoes. Then, slice them into 1/3-inch slices. I prefer to slice them lengthwise, so our puppy can hold down one end of the dried sweet potato with his big beefy paw, while gnawing on the other end – it’s just so cute to watch!

Step Two: Bake
There are two options for drying fruits and veggies. The best method to use is a food dehydrator. Dehydrators use very low temperatures over a long period of time to remove moisture from foods. This “low and slow” method helps retain more nutrients and enzymes for best nutritional value.

However, if you’re like me and the food dehydrator is still on your “wish list.” Then you can certainly use your oven to slow dry them. Simply, place the sweet potato slices on a parchment-lined baking sheet and bake at 175 degrees about 6-10 hours. Be sure to check for doneness about every 1-2 hours after you hit the 4-hour mark. If you have a convention oven, definitely use convection-bake, as it will save significant time since convention more evenly distributes heat.

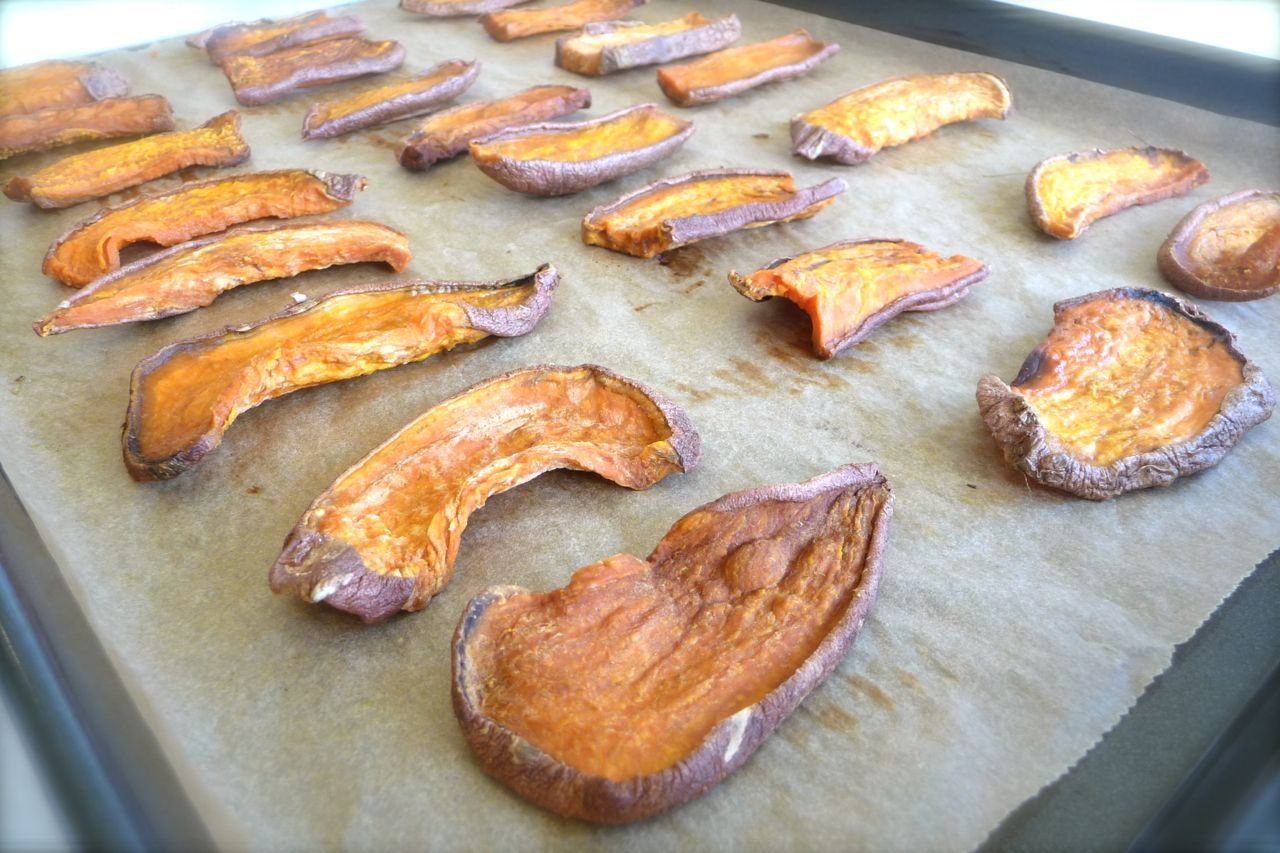
The sweet potato treats are done when they have shriveled to almost half their original size and are somewhat dry-rubbery. If you’re not sure, take one out, let it cool. If it’s dry-rubbery in texture, then it’s done. I prefer to serve my puppy a chewy-style treat, over a crisp one. So I don’t recommend baking them until they are too dry, otherwise the sweet potatoes become too crisp and crunchy.

Step Three: Enjoy!
“Sit” … “Good boy!” Reward with treat. Repeat! (keeping moderation in mind!)

Be sure to store your homemade puppy treats in an airtight container in the fridge for up to two weeks, or in freezer for up to one month. (There’s no preservatives in these wholesome little gems!)

sweet puppy2

Slow dried sweet potatoes are a nutritious and delicious way to reward your good puppy! They’re a much safer, all-natural and completely digestible alternative to rawhide.

While dried sweet potatoes and other dried fruits and veggies have numerous health benefits, the process of drying them (especially depending on the temperature used) can reduce their nutrient value. However, compared with the majority of dog treats on the market, homemade dried fruits and veggies make a great all-natural puppy treat – just remember moderation is key!

Sweet Puppy Apples

Dried apple and banana slices also make a wonderfully wholesome real food treat for puppies and people too! Use the same process as above, keeping in mind that baking/dehydrating times vary based on the thickness of the slice and moisture level of the fruit or veggie.

You Might Also Like:

Yogurt Banana Split Parfaits (GF)
Double Chocolate Banana Bars
Fruit & Nut Bars in a Jar (GF)

Filed Under: Sweet ·

Healthy “Caramel” Apple Dip (GF, DF)

By Kelly · 15 Comments

Apple-Dip

This creamy dip has subtle caramel undertones due to the richness of sweet dates. But its unique nut-buttery flavor comes from soaked raw cashews. It’s hard not to “double-dip!” Enjoy!

Love apples as much as we do? Here are even more delicious grain-free apple recipes perfect for celebrating Fall:
• Apple-Carrot Coleslaw
• Strawberry-Apple Salad
• Crockpot Applesauce

Print
Healthy "Caramel" Apple Dip (GF, DF)

Ingredients

  • 1 cup raw cashews
  • 10 whole medjool dates, pitted
  • 1/4 cup unsweetened almond milk or coconut milk
  • 1/2 tsp pure vanilla extract (use 1/2 vanilla bean seeds for Whole30)
  • Optional: 1 tbsp pure maple syrup (omit for Whole30)
  • 4-6 organic apples, cored and sliced

Instructions

  1. Cover the raw cashews with room temp water and allow them to soak for at least two hours (preferably 7-8 hours to decrease phytic acid and improve digestibility).
  2. Place the whole, pitted dates into a separate bowl, cover with water and allow them to soak for two hours. (Do not soak the dates longer, or they will become too mushy.)
  3. Once soaking time is completed, drain the cashews and dates. Add them to a blender or Vita-Mix, along with the remaining ingredients, except for the apples. Blend on medium-high until completely smooth. If the mixture is too thick, add more milk, one tablespoon at a time, until desired thickness is reached.
  4. Place the dip into a small bowl and refrigerate until ready to serve. Serve with fresh sliced apples for a deliciously healthy treat. Yum!
3.1
https://thenourishinghome.com/2012/10/healthy-caramel-apple-dip/

You Might Also Like:

Cinnamon-Walnut Buttons (GF)
Cherry Chocolate Chip "KIND" Bars (GF)
Secret Ingredient Guacamole: Easy, Tasty & Freezer-Friendly!

Filed Under: Dips/Dressings, Sweet · Tagged: healthy dip recipe

  • « Previous Page
  • 1
  • …
  • 6
  • 7
  • 8
  • 9
  • 10
  • …
  • 14
  • Next Page »

My New Cookbook is Here!

Welcome to The Nourishing Home!

I’m so glad you’re here and want you to feel right at home! My heart in creating this blog is to help you by sharing helpful meal planning strategies and nourishing GF recipes that are healthy, easy and delicious with thanksgiving to God! [Read More …]


All content (recipes, photos, posts, etc.) on this site is the creative property of Kelly Smith. You are welcome to share a photo via social media, as long as it contains a link back to the corresponding recipe or post from this site. However, you may not republish a recipe in its entirety in any form. For questions, or for permission to use a photo or recipe, please contact me via email at [email protected]. Thank you!

Please Note: All content (recipes, photos, text, etc.) on this site is the creative property of Kelly Smith of The Nourishing Home. You are welcome to share a photo via social media, as long as it contains a link back to the corresponding recipe from this site. However, re-publishing a recipe in any form is strictly prohibited. Additionally, please refrain from adapting recipes without properly linking back to the original recipe, and keep in mind that simple substitutions do not constitute an adapted or original recipe. For details regarding recipe copyright law, please visit the Food Blog Alliance.
The Nourishing Home is a participant in the Amazon Services LLC Associates Program, an affiliate advertising program designed to provide a means for sites to earn advertising fees by advertising and linking to amazon.com.

Privacy Policy
DMCA.com

Copyright © 2026 · All Rights Reserved · The Nourishing Home · Artwork by Nancy Panaccione · Site Design by Deluxe Designs · Log in