The Nourishing Home

living healthier lives in service to the King!

  • Home
  • About
    • About TNH
    • Contact
  • Meal Planning
  • Health & Wellness
    • Real Food Basics
  • Whole30
  • GF Recipes
    • Whole30
    • Breakfast
    • Lunch
    • Entrées
    • Slow Cooker
    • Soups & Stews
    • Sides & Salads
    • Snacks
    • Desserts
    • Kids in the Kitchen
  • My Cookbook
  • Subscribe

Healthy Snacking for Kids of All Ages!

By Kelly · 12 Comments

Healthy Snacking Just Got Easier with The Best Homemade Kids' Snacks on the Planet!

Often, one of the biggest pitfalls for those of us striving to eat healthier is snacking! And honestly, I’m not immune to the lure and convenience of packaged snacks, but as much as the box or bag may be labeled “nutritious” and “wholesome,” one glance at the ingredient listing usually proves otherwise. Bummer!

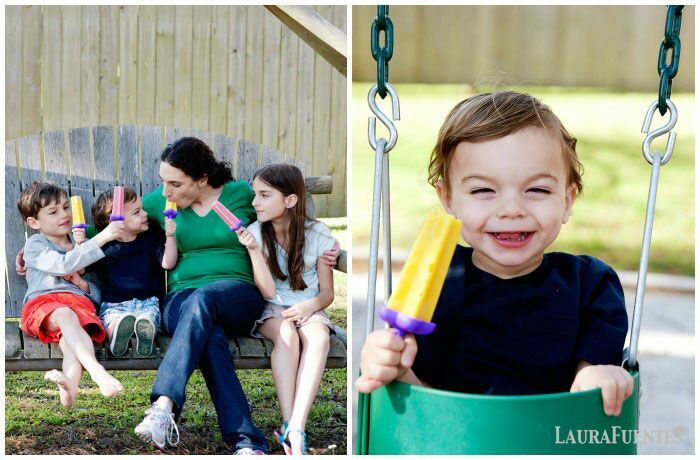
The good news is … it’s possible to stay on track with your healthy living goals and still enjoy an easy, tasty snack! My dear friend Laura at MOMables has written an entire cookbook full of healthier homemade snack recipes and ideas – and guess what? – I’m giving away a FREE copy to one of you sweet friends!

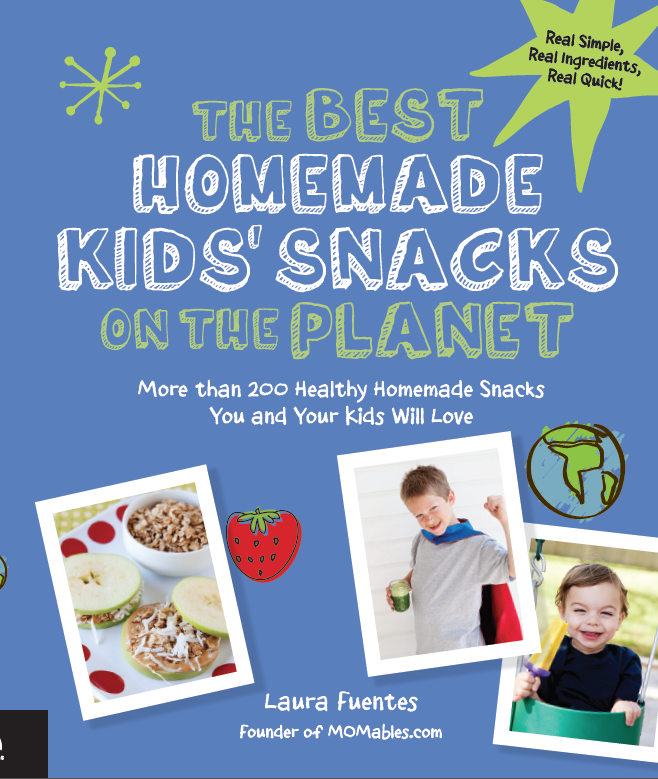
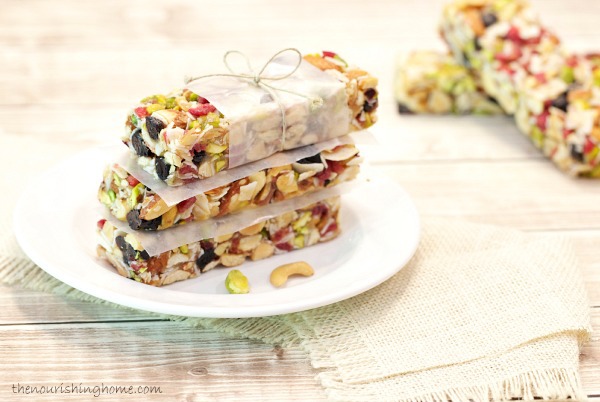
From fresh fruit and veggie snacks to no-bake bites, dips and frozen treats, The Best Homemade Kids’ Snacks on the Planet provides more than 200 kid-tested, mother-approved healthy, tasty recipes and snacking ideas. It truly is the best healthy snacking book for kids of all ages!

But rather than listen to me gush on and on about why this new resource is such a must-have addition to your healthy cookbook collection, why not watch this quick video from Laura to see firsthand just how awesome this book truly is …. just push play and take a peek!

The Best Homemade Kids’ Snacks on the Planet will be available in bookstores nationwide on June 1, but you can preorder a copy right now on Amazon and have it shipped direct to your door before it ever reaches stores.

Of course, you can also enter for a chance to win a copy of this awesome cookbook, by completing the giveaway entry form below. Just be sure to enter by Sunday, May 17, 2015. Giveaway is open to U.S. residents only. Good luck and happy snacking!

The-Best-Snacks-on-the-Planet-6-1
a Rafflecopter giveaway

You Might Also Like:

Cherry Chocolate Chip Scones
Spiced Holiday Nuts {Easy & Delicious Homemade Gift-in-a-Jar}
Almond Flour Blueberry Scones {Grain-Free, Dairy-Free Option}

Filed Under: Savory, Sweet ·

Fruit & Nut Grain-Free Bars

By Kelly · 36 Comments

How to Make KIND Fruit & Nut Bars (Grain Free).jpg

Inspired by my affinity for KIND Fruit & Nut Bars, this honey-sweetened, grain-free version is less expensive to make than purchasing its namesake. And even better, you can customize the recipe to make a wide variety of flavor-combinations based on your own personal taste preferences (and your kids too)!

These fruit & nut grain-free bars make a great health lunchbox addition for kids and adults alike, and are also the perfect snack bar for healthy eating on-the-go or anytime you need a quick energy boost!

Fruit & Nut Mock KIND Bars.jpg

Looking for more great bars? Check out these:
• Nut-Free “KIND” Bar – perfect for those with nut-allergies
• Cherry-Chocolate Chip Bar – chocolate chips, need I say more?
• Apricot-Almond Crunch Bar – mildly sweet, tangy & delicious!

EverydayGrainFreeBakingThis delightful recipe is just one of more than 100 irresistible grain-free, dairy-free recipes in my new cookbook – Everyday Grain-Free Baking!

From breads, biscuits and muffins to savory snacks and decadent treats, you’ll find step-by-step instructions, beautiful color photographs and helpful tips & tidbits to make all of your GF baking adventures a delicious success!

Click here to get a SNEAK PEEK of the book!

Print
Fruit & Nut Grain-Free Bars

Yield: 8 bars

Ingredients

  • 1/3 cup pure honey (mild honey such as clover is best)
  • 2 tablespoons coconut flour
  • 1 tablespoon *all-natural almond butter
  • 1/8 teaspoon sea salt
  • 1 1/3 cups chopped whole *nuts
  • 1/2 cup chopped dried fruit
  • 1 cup unsweetened coconut flakes (not finely shredded coconut)

Instructions

  1. Preheat oven to 300 degrees. Trim parchment paper to line an 8×8-inch baking dish, leaving parchment paper to hang over two sides of the dish.
  2. In a large bowl, add the honey, coconut flour, all-natural nut butter and salt. Use a spoon to stir until well combined.
  3. On a large cutting board, coarse-chop a couple of large handfuls of assorted whole nuts (see note below). Measure out 1 1/3 cup of the chopped nuts and add them to the honey mixture.
  4. Next, chop the dried fruit and measure out 1/2 cup and add to the honey mixture.
  5. Finally, measure 1 cup of coconut flakes (not shredded coconut). Place coconut flakes on the cutting board and coarse-chop. Add chopped coconut flakes to honey mixture.
  6. Using a spoon, mix ingredients together making sure they are thoroughly combined.
  7. Place the bar mixture into the parchment-lined baking dish. Fold overlapping flaps down and evenly press the top of the bar mixture firmly to pack-in the ingredients so they hold together better after baking. Then, peel back the parchments flaps from top of bars. (Do not trim, as the flaps make it easier to remove the bars after baking.)
  8. Bake for 20 minutes. Then remove from oven and allow to completely cool on stovetop for approximately one hour (or until bottom of baking dish is room temp).
  9. Place in fridge to continue cooling. (Do not freeze as it makes it impossible to cut the bars without them crumbling.) Once cold, remove dish from refrigerator. Then, run a knife along the two edges without parchment. Using the parchment paper ends, lift the bars from the baking dish and place on a cutting board.
  10. Cut into 8 bars and individually wrap and store in the fridge or freezer. Then you can easily take out what you need and place directly into your child’s lunchbox (or yours) – no need to thaw. However, for best results, bars should be kept cold so they do not become over-sticky. Simply include an ice pack, if placing them in a lunchbox, or taking them on the go.

Notes

*You can use any combination of nuts, such almonds, cashews, pistachios, peanuts, etc. Just be sure to rough-chop the nuts first and then measure out 1 1/3 cups. (Soaked and dehydrated nuts are best, especially for those with digestive issues.)

What nuts do I use? The bars in the photo are made by using 1/2 cup rough-chopped almonds, 1/2 cup rough-chopped cashews and 1/3 cup rough-chopped pistachios.

The same goes for dried fruit – rough-chop any combination of dried fruit you choose and then measure out 1/2 cup. (I use a combination of dried cranberries and dried wild blueberries.)

And finally, you can use any all-natural nut butter you choose, just be sure it’s simply ground nuts (without additives) for best results and nutrition. I use all-natural creamy almond butter.

What if I don't care for coconut? You can omit the coconut flakes and replace with additional chopped nuts and dried fruit. Substitute 1/3 to 1/2 cup of chopped nuts and 1/3 cup of chopped dried fruit. (Please note: If you substitute with an additional whole cup of nuts the bars will be too dry). Also, you can omit the coconut flour as well and replace it with ground flaxseed. Enjoy!

3.1
https://thenourishinghome.com/2014/05/mock-kind-fruit-nut-grain-free-bars/

Disclosure: The above recipe ingredient links are amazon affiliate links. By purchasing via these links The Nourishing Home receives a small percentage of the sale at no additional cost to you. Of course, you are not obligated to use these links to make a purchase, but if you do, please know that it helps to support this site and ministry. Thank you!

You Might Also Like:

Fruit and Raw Cheese Kabobs (GF)
Grain-Free Rosemary-Raisin Crackers
Fresh Pineapple Salsa (GF, DF, Whole30)

Filed Under: Savory, Snacks, Sweet ·

18 Frugal Dips for Outdoor Parties

By Kelly · 5 Comments

Frugal Dips

When it comes to bringing a dish to a pot-luck, I always get stuck on what to bring.  It’s important to me that we bring a healthy dish, since you never know what type of foods will be served at the party.  I’ve been to my fair share of gatherings where my dish was the only vegetable on the table!

Whatever we bring MUST be budget-friendly, since our budget isn’t very big to begin with.  Plus with warmer weather approaching, there’s bound to be more outdoor parties, and the cost of bringing pricey dishes to each party can add up quickly.

Food safety also concerns me, and I don’t want to assume the host has space in the fridge for my dish, so I prefer to bring something that can be served at room temperature.  No heating or cooling required, plus no chance of forgetting that my dish was in the freezer!

Finally, the dish should be something I can make using ingredients I already have in the house.  This way, I’m not tempted to make any last minute trips to the store for convenience-type foods.  This seems to be what usually happens when we get a last-minute invite to an impromptu BBQ party, but those foods are over-priced and full of additives and preservatives making them far from healthy!

This short list seems like a tall order, which is why I struggled for a really long time to come up with a solution!  Then one day it hit me:  Bring a healthy and delicious frugal dip! 

Everyone loves a delicious dip, and they’re the one sure-fire way you can ensure fruits and vegetables will get eaten, especially when it comes to kids.  Even if there is a HUGE mound of dip on a carrot, they’re still eating a carrot!

The best part about dips is that you can create one using the ingredients you already have in your kitchen.  This goes for both the dip AND the dippers!

Here’s a simple process for creating your next perfect pot-luck or outdoor party dish:

  1. Start by taking stock of what you have in the kitchen to serve with your dip.  Lots of carrots?  Plenty of apples?  A little bit of several items?  Got a few minutes to make some crackers?
  2. Then browse the appropriate dip category to match-up a recipe with your dippers.  Browse the ingredients of the recipe to ensure you have everything needed.
  3. Substitute ingredients as needed using the “money saving ideas” at the end of this post.

Use this method the next time you’re invited to a party, and save time and money without sacrificing nutrition!

Favorite Frugal Dips for Outdoor Parties

Apple-Dip

Fruit Dips

Great fruits for dipping:  Apple slices, banana chunks, blueberries, cantaloupe, peeled clementines, grapes, honeydew, kiwi, mango, peaches, pears, pineapple or strawberries.  Fruits that are prone to browning (i.e. apples, bananas, pears, etc.) can be tossed with lemon juice to maintain their pretty appearance.

  • Caramel Apple Dip
  • Chocolate Dip
  • Cream Cheese Fruit Dip
  • Honey-Lime Yogurt Dip

Veggie Dips

Great veggies for dipping:  Asparagus, broccoli, bean pods, bell pepper, carrots, cauliflower, celery, cucumber, radish, tomatoes and zucchini.

  • Avocado Dip
  • Creamy DF Basil Dip
  • Traditional Hummus
  • Creamy Mustard Sauce
  • Super Green Guacamole
  • Homemade Ranch Dressing
  • Confetti Veggie Spread

veggie-dip_600

Homemade Crackers

Here are a few gluten-free/grain-free cracker options that are delicious with any of the above dips!

  • Cheese & Chia Crackers (gluten-free)
  • Multi-seed Crackers (grain-free)
  • Rosemary & Raisin Crackers (grain-free)
  • Simple Herb Crackers (grain-free)
  • Baked Cumin Tortilla Chips  (gluten-free)
  • Homemade Graham Crackers (grain-free)

Additional Money Saving Tips for Dips

Beans:  If you have time, make beans from scratch instead of buying canned beans.  Your savings is 70¢ per can.  If you don’t have garbanzo beans on hand, use white beans instead.  The taste will be only slightly different, yet it will still be healthy and delicious!

Citrus:  Bottled citrus juice (lemon or lime) is a fine substitute for fresh citrus juice if you don’t have the fruit.  The opposite switch works too if you have the fruit, but not the juice.  If you need lemon juice, but only have lime, make the switch!  The slight flavor difference is hardly noticeable in most dishes.

Cream:  Heavy cream can often be substituted with half & half in a 1:1 ratio.  If the dip is thick, cut back on another liquid to maintain consistency.  If you don’t have half & half, try thinning 1/4 cup sour cream with 1-2 Tbsp milk.

Garlic:  Fresh garlic is interchangeable for powdered garlic, and the opposite is true as well. Substitute 1 tsp of garlic powder for 1 garlic clove, minced or crushed.

Mayonnaise:  Sour cream, Greek yogurt and mayonnaise are often interchangeable in recipes.  Use what you have on-hand and add a bit of lemon juice, if the dip needs more tang.

Mustard:  All mustards can be used interchangeably:  brown, yellow, deli, honey or spicy.  The recipe will change slightly in flavor, but you’ll still get that signature mustard tang.

Oils:  If you don’t have an oil but have the seed (ex: you have sesame seeds but no tahini, or flax seeds but no flax seed oil), add 1 Tbsp of the seed to the recipe with 1/2 tsp olive oil and blend as usual.  Another option is to substitute olive oil for the oil called for in the recipe.

Finally, don’t feel pressured to bring a certain amount of any one particular vegetable, or even the typical dipping veggie.  Often, having a mixed/matched variety is the most appealing!

What’s your favorite dip to bring to parties?  Do you prefer a sweet dessert dip with fruit, or a savory dip with veggies?  Share your ideas in the comments below.

Note from Kelly: Don’t miss all of the other great budgeting posts that Tiffany has shared here. Simply click here and keep scrolling through to see her many helpful posts on how to save money on your food budget.

You Might Also Like:

15 Fabulous Ways to Enjoy Dried Strawberries
Healthy Valley Ranch Dressing (GF)
Easy Slow Cooker "Apple Pie" Sauce

Filed Under: Dips/Dressings, Savory, Snacks, Sweet ·

  • 1
  • 2
  • 3
  • …
  • 5
  • Next Page »

My New Cookbook is Here!

Welcome to The Nourishing Home!

I’m so glad you’re here and want you to feel right at home! My heart in creating this blog is to help you by sharing helpful meal planning strategies and nourishing GF recipes that are healthy, easy and delicious with thanksgiving to God! [Read More …]


All content (recipes, photos, posts, etc.) on this site is the creative property of Kelly Smith. You are welcome to share a photo via social media, as long as it contains a link back to the corresponding recipe or post from this site. However, you may not republish a recipe in its entirety in any form. For questions, or for permission to use a photo or recipe, please contact me via email at [email protected]. Thank you!

Please Note: All content (recipes, photos, text, etc.) on this site is the creative property of Kelly Smith of The Nourishing Home. You are welcome to share a photo via social media, as long as it contains a link back to the corresponding recipe from this site. However, re-publishing a recipe in any form is strictly prohibited. Additionally, please refrain from adapting recipes without properly linking back to the original recipe, and keep in mind that simple substitutions do not constitute an adapted or original recipe. For details regarding recipe copyright law, please visit the Food Blog Alliance.
The Nourishing Home is a participant in the Amazon Services LLC Associates Program, an affiliate advertising program designed to provide a means for sites to earn advertising fees by advertising and linking to amazon.com.

Privacy Policy
DMCA.com

Copyright © 2025 · All Rights Reserved · The Nourishing Home · Artwork by Nancy Panaccione · Site Design by Deluxe Designs · Log in