The Nourishing Home

living healthier lives in service to the King!

  • Home
  • About
    • About TNH
    • Contact
  • Meal Planning
  • Health & Wellness
    • Real Food Basics
  • Whole30
  • GF Recipes
    • Whole30
    • Breakfast
    • Lunch
    • Entrées
    • Slow Cooker
    • Soups & Stews
    • Sides & Salads
    • Snacks
    • Desserts
    • Kids in the Kitchen
  • My Cookbook
  • Subscribe

Italian Stuffed Peppers

By Kelly · 1 Comment

Italian Stuffed Peppers on Plate

Guest recipe post by Dena at Back to the Book Nutrition

We all have certain meals that mean “comfort” to us – whether they’re a childhood favorite, or a special recipe passed down from generation to generation.

One of my favorite comfort foods is stuffed peppers. Growing up, my grandmother made them often and I can still remember the smell of her delicious, homemade-with-love, stuffed peppers baking. Today, I’m excited to share with you a grain-free version of this classic dish.

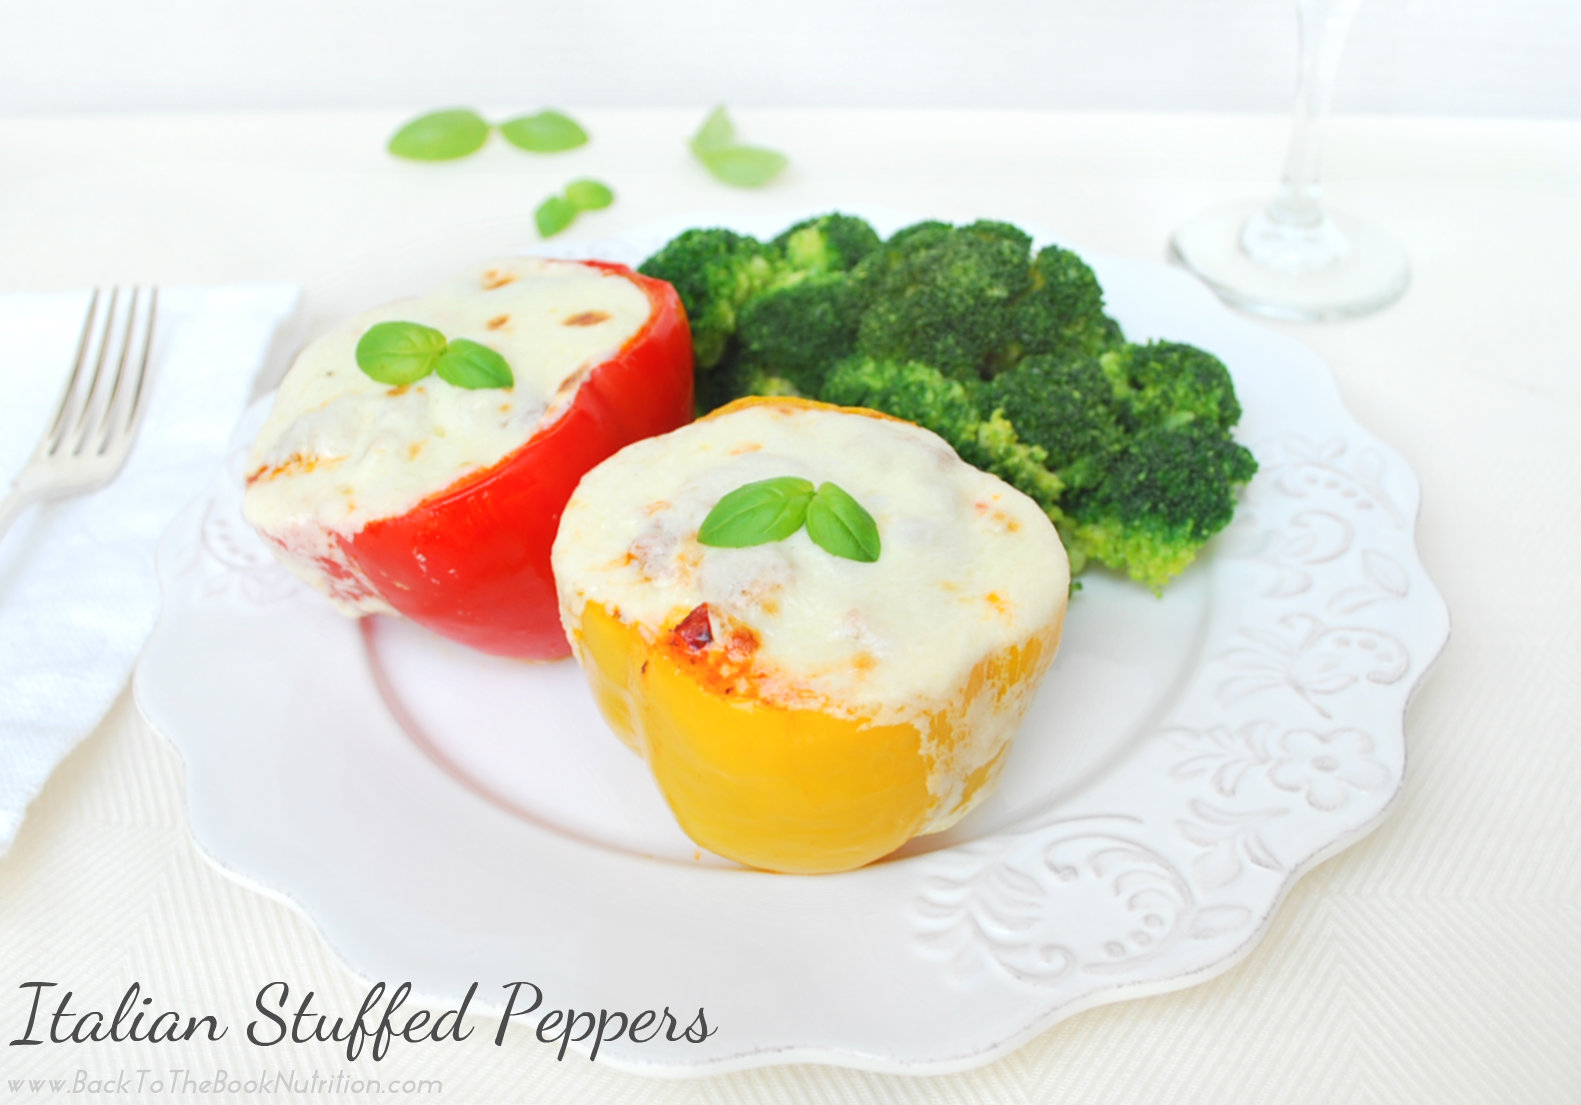
These savory Italian Stuffed Peppers are veggie-loaded, grain free, and completely delicious!

The key to this recipe is the quality of the ingredients. It sounds cliché, but it’s really true! Paying a little more for good Italian sausage (from pastured pork, if possible) and fresh mozzarella is so worth the authentic flavor and texture they add. Homemade, or higher quality store-bought marinara sauce will give a nice robust flavor to the filling as well.

Viva l’Italia!

Italian Stuffed Peppers in pan 2

Although they do take a bit of time to assemble and cook, it’s worth the effort since they hold up well for a few days in the fridge (leftovers!) and can also be frozen and defrosted for a quick weeknight meal.

I don’t mind occasionally putting in more time on the front end for a dinner that’s a comforting favorite, and that pays me back by being able to take a night off of cooking and serve it a second time with equally delicious results!

Plus, these savory stuffed peppers are so satisfying that this recipe can easily be stretched into three dinners. Mine is a family of four with two young children and I can serve 4 of the stuffed peppers one night, another four leftover peppers on another night, and freeze the final four for a later date.

Now that’s what I call saving time in the kitchen! And what to do with all that time you’ve saved? Why not celebrate by whipping up an Easy, Grain Free Peach Crumble or a batch of Black Cherry Cobbler Squares (grain & dairy free) for an extra special treat!

Looking for even more delicious whole food recipes? Be sure to check out Kelly’s Healthy Recipes section. She also provides FREE Weekly Whole Meal Plans with links to each of the delicious family-friendly recipes featured. Three cheers for healthy meals the whole family will love!

Print
Italian Stuffed Peppers (Grain-Free)

Ingredients

  • 12 large bell peppers, any color (red, orange and yellow varieties are best)
  • 3 Tbsp + 2 tsp butter, divided
  • 4 large cloves garlic, minced or pressed
  • ½ large yellow onion, finely chopped
  • 6 medium red potatoes
  • ½ large yellow squash
  • ½ large zucchini
  • 1 pound pastured Italian pork sausage (casings removed if links)
  • ½ tsp sea salt
  • 2 tsp dried oregano
  • 1 tsp dried thyme
  • 24 ounces homemade or high quality store-bought marinara
  • ¼ cup grated Parmesan cheese
  • 12 ounces fresh mozzarella (not shredded)
  • Optional: Fresh basil for garnish

Instructions

    To boil the peppers:
  1. Fill 2 large stock pots (or a stock pot and a Dutch Oven) about 2/3 full with water and place over high heat. While waiting for the water to come to a boil, remove the top of each pepper (cap with stem) by carefully cutting the pepper horizontally about ½” from the top. Set aside the pepper caps. Use clean hands to remove the white membrane and seeds from the inside of each pepper; discard.
  2. Once the water is boiling, gently add all the hollowed peppers to the pot. Use metal tongs to occasionally turn the peppers so that they cook evenly. Boil about 5 minutes, then use tongs to remove peppers from water and place upside down on a clean kitchen towel to cool and dry.
  3. To make the Italian stuffing:
  4. Melt 3 Tbsp butter in a large stock pot or Dutch oven. While butter is melting, remove stems from the uncooked bell pepper caps and finely chop the pepper caps.
  5. Add the chopped peppers, garlic, and onion to the melted butter and sauté over medium heat, stirring often with a wooden spoon, until onion is translucent.
  6. Dice the red potatoes (leave skins on). Add diced potatoes to the cooking pot as you chop them, giving the mixture a good stir every so often. Then, dice the squash and zucchini and add to the mixture, stirring after each addition.
  7. Next, add the sausage, sea salt, and dried herbs. Stir, using the wooden spoon to break the sausage into small crumbles. Continue cooking, stirring constantly until veggies are soft and sausage begins to brown.
  8. Stir in the marinara sauce and grated Parmesan, then turn off the heat.
  9. To assemble and bake the stuffed peppers:
  10. Preheat oven to 375°F. Butter two casserole dishes with one teaspoon of butter each.
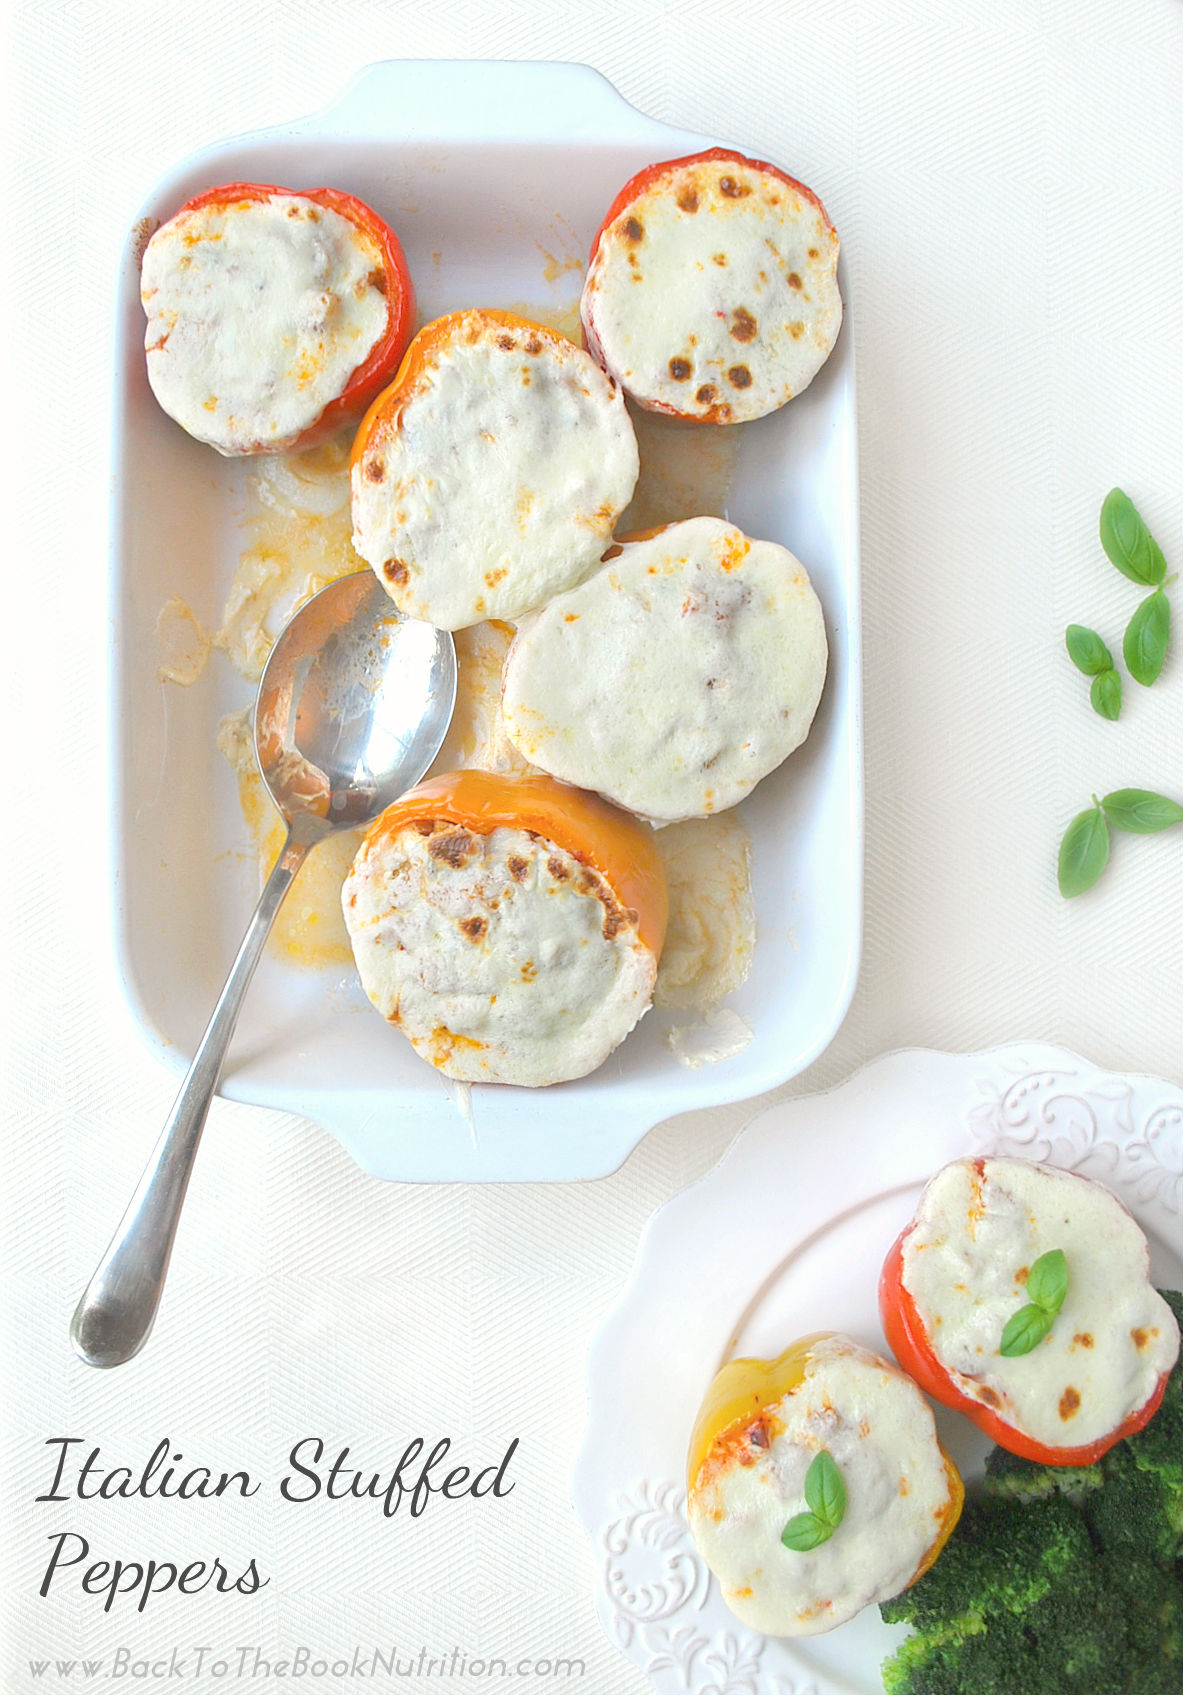
  11. Use a spoon to fill each pepper with the Italian stuffing. Place the filled peppers, right side up, into the casserole dishes, making sure they’re evenly spaced in the dishes.
  12. Slice the fresh mozzarella into 12 rounds about ¼” thick. Place one slice of mozzarella on top of each pepper, gently pressing it into the Italian mixture so it’s fixed in place.
  13. Place the casserole dishes in the oven and bake for 10-15 minutes, or until cheese is melted. If desired, broil for 1-2 minutes until the cheese begins to lightly brown and bubble. (This adds a wonderful depth of flavor to the dish.)
  14. Remove from oven, garnish with basil ribbons, or a sprig of baby basil leaves, and serve.
  15. Store leftover peppers in an airtight container in the refrigerator for up to 3 days. You can also freeze the peppers for up to one month. (Defrost in the fridge overnight before reheating.) To reheat, place peppers in a foil-covered casserole dish and bake at 350°F for about 20 minutes, or until hot.
3.1
https://thenourishinghome.com/2014/09/italian-stuffed-peppers/

DSC_5115-2-177x193Dena Norton is a registered dietitian (RD) turned stay at home mom. She and her husband, Rick currently have two precious children, ages 4 and 22 months. In 2013 she started Back To The Book Nutrition, a business and blog that inspires others to enjoy and worship God through nutrition and health. Subscribe to Dena’s blog or join her on Facebook, Twitter, and Pinterest!

You Might Also Like:

Skillet Lasagna with Ribbon Zoodles
30 Favorite Whole30 Recipes
Favorite Summertime Fajitas (GF)

Filed Under: Beef/Pork ·

Slow Cooker Asian Style Chicken Wraps

By Kelly · 5 Comments

Slow Cooker Asian-Style Chicken Wraps

Guest post by Debra Worth, Worth Cooking

I am so excited to be here today sharing a simple, and healthy, chicken recipe. So, thank you, Kelly, for having me over!

In keeping with this month’s slow cooker series, I’m sharing one of my family’s personal favorites! This Asian-style Chicken Wraps recipe is super simple. (Since I have a 5, 3, and 1 year old, easy meals are my friend!) So this recipe takes just five minutes to assemble for cooking in the slow cooker. Then, right before serving it, you’re looking at about another 10 minutes to prep the sauce and shred the chicken.

I use boneless skinless chicken thighs in this dish vs. the more common chicken breast for several reasons. The two main reasons are – it keeps the dish moist and it shreds quicker.

An easy tip for shredding chicken … Simply squeeze the cooked chicken thighs with tongs and it breaks into perfect shreds. This method takes just a few seconds to do the entire batch. (No battles with two forks and dry chicken breasts.)

It’s important to note that the seasoned chicken by itself is not the most flavorful. The reason I kept the seasoning simple is because sometimes chicken thighs release a lot of juices, and therefore, most of my attempts at flavoring the chicken ended up in the liquids rather than on the chicken.

So be sure to not skimp on the sauce! That’s where the delicious savory-sweet flavor comes in. With coconut aminos (a soy sauce substitute), toasted sesame seed oil, spices, ginger, garlic, and maple syrup – this flavorful sauce really is what makes the dish come alive!

Asian-style Chicken Wraps

Layering everything in a boston lettuce cup makes for a tasty texture, and healthy dish. I do recommend serving with an Asian-themed vegetable dish (such as this Sesame Broccoli Salad) to up the vegetable content as well as the bulk of the meal.

Note from Kelly: A special thank you to my sweet friend Debra for sharing this delicious and healthy gluten-free dinner recipe with us. I highly recommend putting this incredibly flavorful dish on your next meal plan! And I also recommend popping over to check out Debra’s site at Worth Cooking. She’s a wonderfully talented home chef with a wealth of family-friendly whole food recipes that are as tasty as they are healthy!

Print
Slow Cooker Asian-Style Chicken Lettuce Wraps (GF)

Yield: Serves 4 (4 lettuce cups per person)

Ingredients

    For the Chicken:
  • 1 1/2 lb boneless/skinless chicken thighs
  • 1/2 teaspoon 5-spice seasoning
  • 1/2 teaspoon ground ginger
  • 1/2 teaspoon garlic powder
  • 1 teaspoon onion powder
  • 1 teaspoon salt
  • For the Sauce:
  • Zest of two oranges (save the oranges for serving)
  • 1/4 cup coconut aminos (I use this instead of soy sauce)
  • 1/3 cup maple syrup
  • 3 tablespoon rice vinegar
  • 1/2 teaspoon toasted sesame oil
  • 1/8 teaspoon + a pinch real salt
  • 1 teaspoon garlic powder
  • 1/2 teaspoon ground ginger
  • 1/2 teaspoon 5-spice seasoning
  • 1/4 teaspoon red pepper flakes
  • 1/2 teaspoon starch (arrowroot or tapioca) mixed with 2 teaspoons water
  • For Serving:
  • 16 leaves of Boston lettuce (from about two heads)
  • 1 red bell pepper, chopped
  • Orange wedges (use the oranges zested for the sauce)
  • Optional: Sesame seeds, chopped chives and cilantro

Instructions

    For the Chicken:
  1. Mix the seasonings together. Sprinkle on the chicken. Put in the slow cooker. Cook on high for 4 hours.
  2. If there is a lot of liquid in the slow cooker when the chicken is done, remove the chicken to a bowl and shred (discard juices, or save the juices for another use). If there is just a little juice, shred right in the slow cooker. The easiest way I've found to shred chicken is to squeeze it using kitchen tongs.
  3. Making the Sauce:
  4. In a medium bowl, mix together the orange zest, coconut aminos, maple syrup, rice vinegar, sesame oil, starch and salt. Set aside.
  5. In a small skillet, add the garlic powder, ginger powder, five spice seasoning and red pepper flakes. Turn heat to medium. Stir and toast until the spices increase in fragrance and smell toasted (approx. 3 minutes).
  6. Add the orange-maple liquid mixture. Turn the heat up to high and bring to a gentle boil. Boil the sauce for 3 minutes, occasionally stirring. Turn off the heat.
  7. Add the starch-water mixture and whisk well. Remove sauce from heat.
  8. For Serving:
  9. Put a small amount of chicken in the lettuce cup, pour sauce on, and then top red pepper, other desired toppings, and a little squeeze of orange juice.
3.1
https://thenourishinghome.com/2014/08/slow-cooker-asian-chicken-wraps/

headerDebra Worth is first and foremost a daughter of the King of kings. She resides in central Missouri with her husband of 6 years and three young kids. She is passionate about serving her family nutritious and delicious foods, especially after needing to cut out many foods due her family’s food intolerances. In March, she started the blog Worth Cooking where she shares her healthy, delicious, and allergy-friendly recipes.

You Might Also Like:

Turkey Cutlets w/Pan Gravy (GF Option)
From Freezer to Table: Slow Cooker Sweet & Spicy Chicken
3 Meals with 1 Main Dish: Slow Cooker Roast Chicken

Filed Under: Poultry, Slow Cooker ·

Garlic Thyme Chicken {Slow Cooker Recipe}

By Kelly · 70 Comments

Crockpot Garlic Thyme Chicken

It’s hard to believe that in a few short weeks, it’s back-to-school season! With the hustle-bustle of that time of year, I always make sure to schedule as many quick-n-easy dinners as possible on my meal plans those first few weeks.

Lately, I’ve been perfecting a few new slow cooker recipes – cause nothing could be easier than tossing in a bunch of fresh ingredients and coming home to a delicious home cooked meal!

This Slow Cooker Garlic Thyme Chicken is a newfound favorite – it’s truly a garlic lovers dream! My inspiration for this recipe came from the wonderful cookbook “Make it Fast, Cook it Slow.” Author Stephanie O’Dea has so many delicious gluten-free crockpot recipes that are wonderful as is, or can easily be tweaked to suit your personal taste preferences, or dietary lifestyle.

So it is with this recipe … I modified it by changing out the seasonings and I chose to use chicken thighs instead, since they cook so beautifully in the crockpot. I also prefer to use skinless chicken in the crockpot, as the skin can become quite rubbery. A tip to overcome that issue is to follow the slow cooking process with a quick broil in the oven to crisp the skin, as I often do when making Slow Cooker Roasted Chicken. However, for the sake of ease, we’ll forgo the crispy skin, because this recipe is delicious without that extra step.

Garlic Thyme Chicken (Crockpot)

By the way, if you love slow cooking as much as we do, be sure to check out my SLOW COOKER RECIPES section – it’s a quick way to reference some of my family’s favorite easy, healthy slow cooker recipes.

P.S. If you’re not quite sure about using 20 cloves of garlic, then you can always reduce the amount a bit to suit your taste. But personally, the buttery melt-in-your-mouth texture of slow cooked garlic, combined with its mellow garlic taste, is what makes this recipe one of my personal favorites!

Print
Garlic Thyme Chicken {Slow Cooker Recipe}

Yield: 5-6 servings

Ingredients

  • 1 large sweet onion, peeled and sliced into thin rings
  • 3 lbs bone-in chicken thighs, skin removed
  • 1 tbsp olive oil
  • 20 garlic cloves (about 2 large heads of garlic)
  • 2 tsp sea salt
  • 1 tsp dried thyme
  • 1 tsp paprika
  • 1 tsp fresh-ground black pepper

Instructions

  1. In the bottom of a 6-quart slow cooker, evenly distribute the sliced onion along the bottom.
  2. Smash and peel the garlic cloves, making sure to gather 15-20 large cloves. (See note below on "how to smash garlic," if you're unfamiliar with this method.)
  3. Place the chicken thighs into a large mixing bowl and drizzle with olive oil. Add the smashed garlic cloves and toss to combine.
  4. Sprinkle the seasonings across the top of the chicken-garlic mixture and toss until chicken is well coated with seasonings.
  5. Transfer the chicken-garlic mixture to the slow cooker and cover.
  6. Cook on low for 6-7 hours, or on high for 4-5 hours. Serve with a side of your favorite veggies.

Notes

How to Smash Garlic Cloves: Smashed whole garlic cloves provide a much mellower flavor than minced garlic which is why this method is used in many oven roasted and slow cooker recipes. To smash garlic, simply separate the garlic cloves and smash each whole clove with the flat side of a knife. To do this, carefully place the flat side of a large chef's knife on the garlic clove, then strike the knife with your palm to flatten the clove. Of course, it goes without saying you need to be careful! (I always make sure to position the blade of the knife against the cutting board to ensure it doesn't come into contact with my hand.) Once you've smashed the garlic clove, peel the skin off of the clove and add it to your dish.

3.1
https://thenourishinghome.com/2014/08/slow-cooker-garlic-thyme-chicken/


Disclosure: Some of the links in this post include affiliate links, providing The Nourishing Home a small percentage of the sale at no additional cost to you. Of course, you are not obligated to use these links to make a purchase, but if you do, it helps to support this site and ministry. Thank you!

You Might Also Like:

5 Tips for Surviving {and Thriving} during your Whole30 Journey
Secret Ingredient Guacamole: Easy, Tasty & Freezer-Friendly!
How to Season and Grill Veggies Like Pro!

Filed Under: Poultry, Slow Cooker, Whole30 ·

  • « Previous Page
  • 1
  • …
  • 13
  • 14
  • 15
  • 16
  • 17
  • …
  • 37
  • Next Page »

My New Cookbook is Here!

Welcome to The Nourishing Home!

I’m so glad you’re here and want you to feel right at home! My heart in creating this blog is to help you by sharing helpful meal planning strategies and nourishing GF recipes that are healthy, easy and delicious with thanksgiving to God! [Read More …]


All content (recipes, photos, posts, etc.) on this site is the creative property of Kelly Smith. You are welcome to share a photo via social media, as long as it contains a link back to the corresponding recipe or post from this site. However, you may not republish a recipe in its entirety in any form. For questions, or for permission to use a photo or recipe, please contact me via email at [email protected]. Thank you!

Please Note: All content (recipes, photos, text, etc.) on this site is the creative property of Kelly Smith of The Nourishing Home. You are welcome to share a photo via social media, as long as it contains a link back to the corresponding recipe from this site. However, re-publishing a recipe in any form is strictly prohibited. Additionally, please refrain from adapting recipes without properly linking back to the original recipe, and keep in mind that simple substitutions do not constitute an adapted or original recipe. For details regarding recipe copyright law, please visit the Food Blog Alliance.
The Nourishing Home is a participant in the Amazon Services LLC Associates Program, an affiliate advertising program designed to provide a means for sites to earn advertising fees by advertising and linking to amazon.com.

Privacy Policy
DMCA.com

Copyright © 2026 · All Rights Reserved · The Nourishing Home · Artwork by Nancy Panaccione · Site Design by Deluxe Designs · Log in