The Nourishing Home

living healthier lives in service to the King!

  • Home
  • About
    • About TNH
    • Contact
  • Meal Planning
  • Health & Wellness
    • Real Food Basics
  • Whole30
  • GF Recipes
    • Whole30
    • Breakfast
    • Lunch
    • Entrées
    • Slow Cooker
    • Soups & Stews
    • Sides & Salads
    • Snacks
    • Desserts
    • Kids in the Kitchen
  • My Cookbook
  • Subscribe

Power Protein Oatmeal

By Kelly · 10 Comments

egg in oatmeal

Have you ever thought about adding an egg to your family’s morning oatmeal? I’m not talking about adding a side of eggs with your oatmeal, I mean really putting an egg IN your oatmeal!

If this sounds a bit odd, I thought it was too – until we tried it! So before you think I’m crazy, trust me … it really is GOOD! Not just because it adds a special creaminess to traditional oatmeal, but most importantly because it provides an extra boost of protein and nutrients from our favorite real food friend – the pastured egg!

And incase you’re worried what your kids (or spouse) might think … Shh! It will be our little secret!

egg in oatmeal creamy

How to Add a Boost of Healthy Protein & Nutrients to Your Favorite Oatmeal:

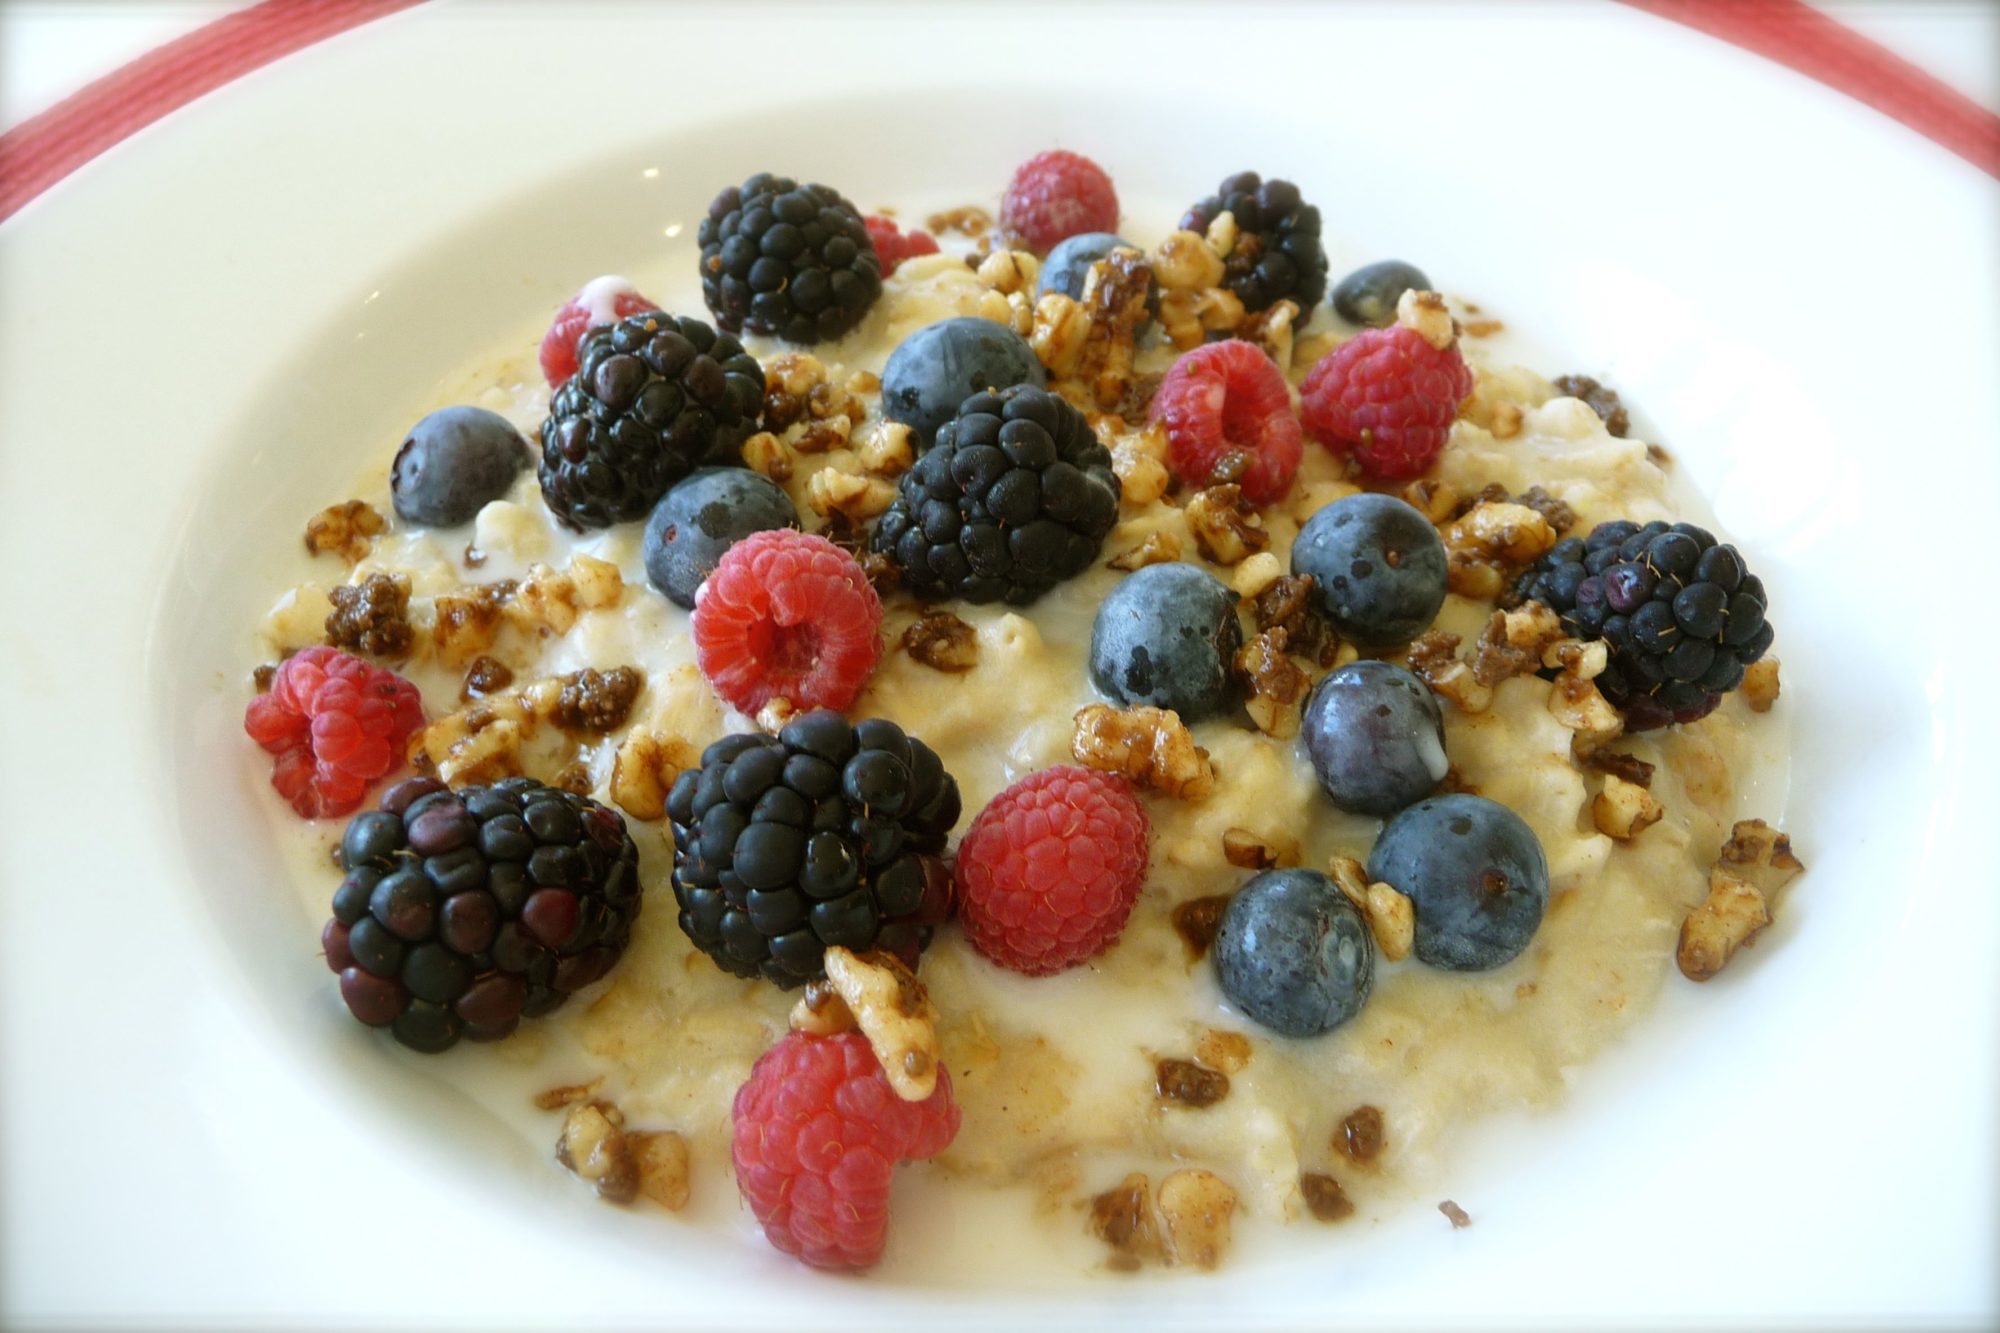
Step 1: Pick Your Favorite Oatmeal Recipe
My hubby and boys love gluten-free oatmeal, so if you’re looking for a tasty GF oatmeal recipe (or two or three), just pop over to my special recipe section devoted to Wholesome Breakfast Porridges for lots of healthy, delicious options. The photo above simply shows my favorite Cinnamon Maple Crunch Oatmeal topped with a splash of almond milk and some fresh seasonal berries for an extra dose of nutritious antioxidants! Yum!

Step 2: Soak Your Oats!
If you’re new to the concept of soaking, then I encourage you to check out “How to Soak Grains for Optimal Nutrition.” This centuries-old process helps to breakdown the anti-nutrients and hard-to-digest components found in oats, while also helping your body better absorb beneficial nutrients.

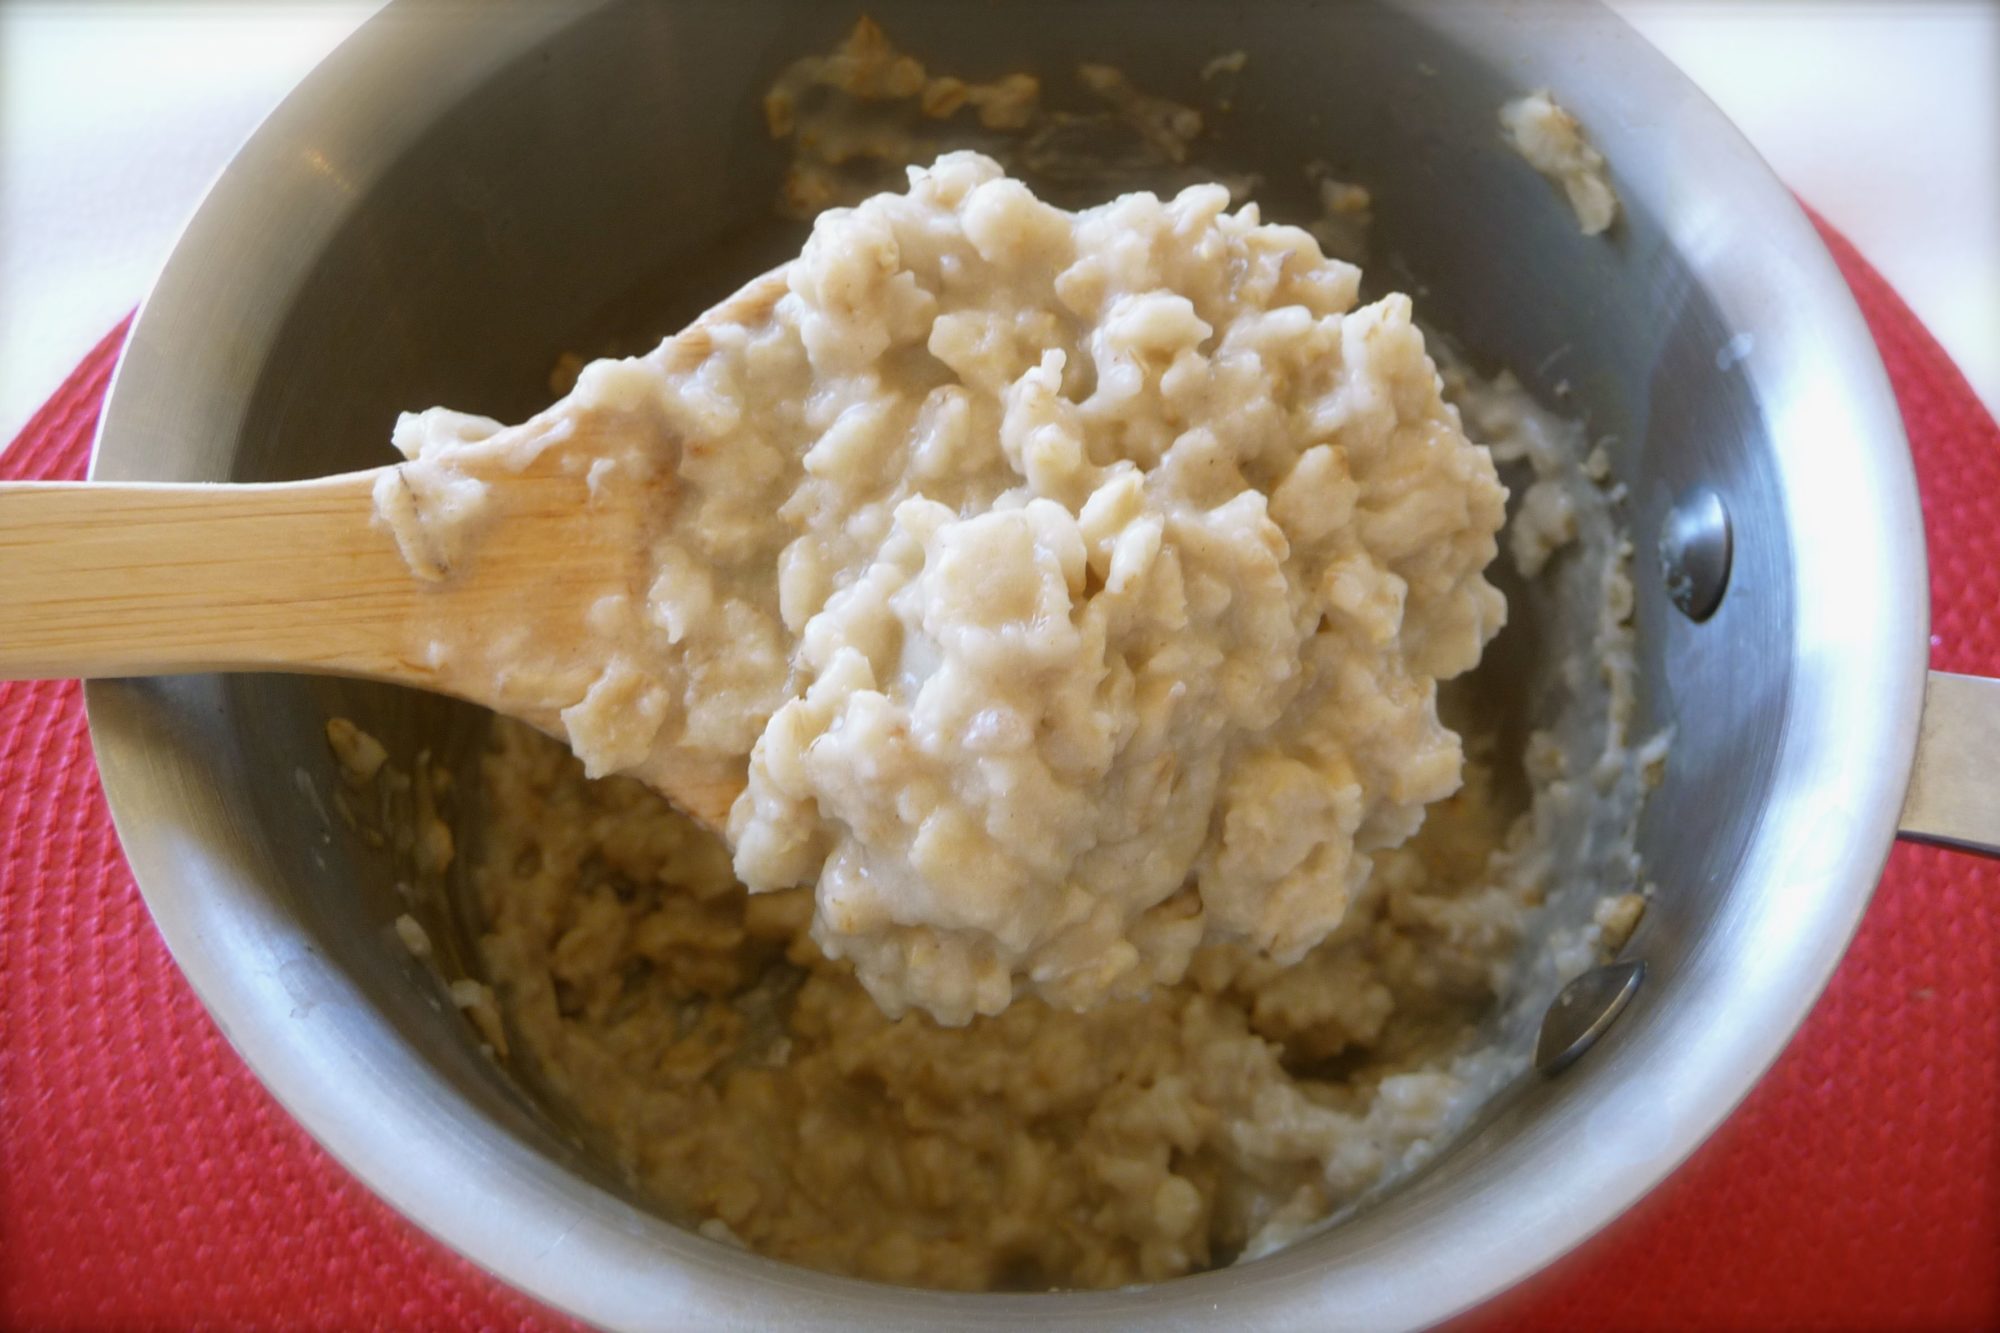
Step 3: Preparing Your Oatmeal
After you’ve soaked your oats, rinse and drain them. Then refer to whichever one of my oatmeal recipes you plan to make and place whatever the required amount of liquid is into a saucepan.

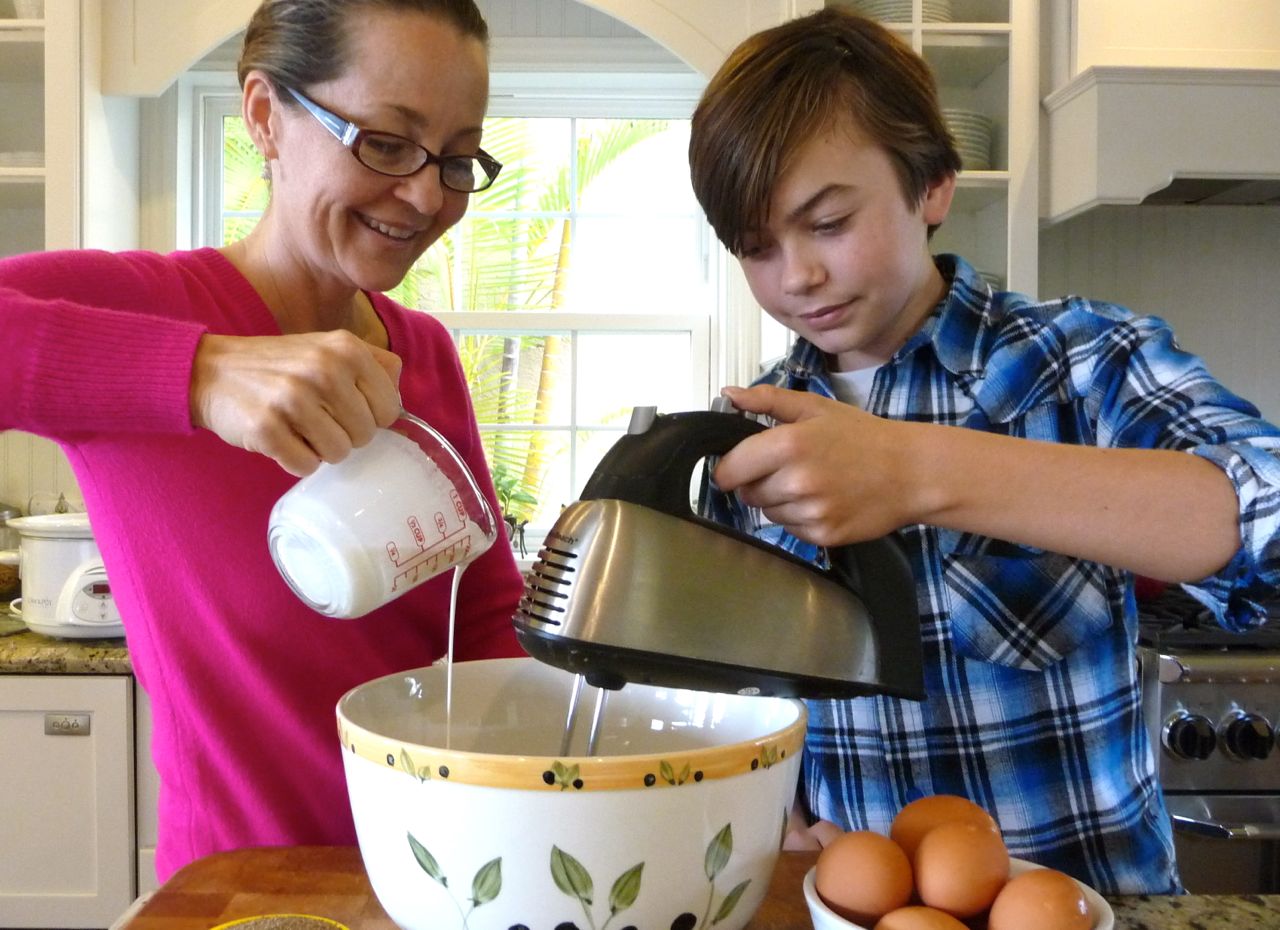
Step 4: Add A Pastured Egg 
Before you add your soaked oats to the saucepan, it’s important to first thoroughly whisk in an egg into the cold cooking liquid, until well blended. I find that adding one pastured egg per one to two cups of soaked oats gives it a nice creaminess without any noticeable taste difference. Next, add your soaked oats to the saucepan and combine well with the egg-cooking mixture. Then, follow the recipe as directed making sure to use low heat (such as medium-low) to slowly bring the oatmeal to a gentle simmer.

Step 5: ENJOY!

Eggs truly are an “Incredible Edible” source of nutrients – One pastured egg has about 6-7 grams of protein (including all 9 essential amino acids), along with many other nutritional benefits such as naturally-occuring vitamin D, A, E, B2, B6, B9, and important minerals such as iron, calcium, phosphorous, potassium and choline. In addition, recent studies have revealed what real foodies have know for years – moderate consumption of eggs does not negatively affect a person’s lipid profile and may, in fact, improve it. 

follow-me-on-pinterest-button

You Might Also Like:

Peasant Soup: Simple & Delicious!
Grilled Pineapple Chicken (GF, DF, Whole30)
Perfect Buttered Popcorn (Gluten-Free)

Filed Under: Uncategorized ·

Creamy Custard with Summer Berries (GF, DF Option)

By Kelly · 5 Comments

Custard - Close Up

A summer berry recipe in the middle of winter?? I know it sounds a bit strange to post a recipe that calls for summer berries in February!! But perhaps you, like me, have a nice little stockpile of frozen berries from your berry-picking and/or farmer’s market adventures this past summer. Yet, even if this isn’t the case, there are usually local markets that carry frozen berries at this time of year. (And let me assure you, another great option is to simply enjoy this delicious creamy custard all by itself!

Truth is, the boys and I are REALLY ready for summer! So as silly as it may seem, I must admit that this special treat brings a smile to our faces – that’s because each bite of this warm, creamy custard is just bursting with the sweet flavors of summertime!

Another wonderful thing about this recipe is that you can easily enjoy whipping it up with the kiddos! It’s just a few simple ingredients that come together beautifully, as you can see below. (And you can also make it dairy-free, see recipe note below!)

Custard - Aidan

You don’t have to use real vanilla bean in this recipe, pure vanilla extract will do just fine. Frankly, any recipe that provides an opportunity to use a knife, is a sure fire way to get my youngest excited about being in the kitchen – LOL!

Custard - Cav & Me

Similarly, a whisk works just fine to blend together the custard ingredients. But since I know my older son enjoys using the electric hand mixer, that’s what I brought out. (It’s a no-brainer that men of all ages just love power tools – LOL!) 

custard-Aidan

When placing thawed blackberries and raspberries in the custard mixture, be sure to allow them to thaw completely and leave out the juices – those would make the custard too moist to set well.

Custard close1

This delightful creamy custard is a wonderful way to highlight the sweet flavors of summertime berries, or to simply enjoy all on its own!

Choco Custard Cups - Valentines closeup

P.S. You can also use this recipe to create adorable little individual chocolate-vanilla custard cups, like the ones shown above. I shared this as a sweet Valentine’s Day idea, but it’s also a great idea for anniversary celebrations, baby and bridal showers, Mother’s Day, or anytime you want to create a beautiful, delicious dessert for that someone special! You can find my Chocolate-Vanilla Custard Cups recipe over at Honeyville Farms Cookin’ Cousins Blog.

Print
Creamy Custard with Summer Berries

3-4 servings

Creamy Custard with Summer Berries

Ingredients

  • 1 1/2 cups fresh or frozen organic berries

  • 1 large egg, plus 1 egg yolk

  • 2 tbsp pure honey (I prefer sage honey due to its mild flavor)
  • 2 tsp organic coconut flour
  • Seeds from 1 vanilla bean (or 2 tsp pure vanilla extract)
  • 1/2 cup organic heavy cream (see *note below for DF option)
  • 2 tbsp organic whole milk yogurt (see *note below for DF option)

Instructions

  1. Preheat oven to 350 degrees. Lightly oil an 8-inch or 9-inch baking dish with coconut oil. (The larger the baking dish, the thinner the depth of the custard.)
  2. If using frozen berries, place them in a small bowl first and allow them to thaw completely.
  3. In a medium bowl, add the whole egg, egg yolk, honey, coconut flour and vanilla bean seeds (or extract). Use a whisk (or mixer) to thoroughly combine. Next, mix in the cream and yogurt, until smooth and creamy. (If DF, see *note below.)
  4. Carefully pour the custard mixture into prepared baking dish. Use your fingers to place the berries on top of the custard, making sure they aren’t clumped together in one spot. (If using thawed berries, do not place any berry juices in the custard. Either discard or save the liquid for another use.)
  5. Bake custard for about 25 minutes, until it’s very lightly browned along edges and set in middle (a slight jiggle in the center is fine, as the custard will continue to set a bit as it cools). Serve warm. Yum!

Notes

* Dairy-Free Option: Omit the cream and yogurt and substitute with 2/3 cup canned coconut milk. Here's a trick I use to ensure my coconut milk is well combined ... Heat some water in a small saucepan, until it just starts to steam (not boil). Then add the can to the pan of hot water and allow it to sit a few minutes to warm the milk. Next, shake the can thoroughly, then open. The milk will now be well combined and ready to use in your favorite DF recipes.

3.1
https://thenourishinghome.com/2013/02/creamy-custard-with-summer-berries/

follow-me-on-pinterest-button

You Might Also Like:

How to Plan Healthy Lunches Kids LOVE!
Featured Recipe: Easy Nut Butter Cookies (GF, DF)
Fruit & Yogurt Parfaits (GF)

Filed Under: Kid Friendly Recipes, Other Desserts ·

Save 10% on Honeyville’s Blanched Almond & Coconut Flours!

By Kelly · 2 Comments

Apple Streusel Cake (GF)

From muffins, cakes and cookies to pies, biscuits and crackers – the ideas are endless for creating nutritious and delicious recipes using blanched almond flour and coconut flour! (photo of Apple Streusel Cake)

My wonderful friends at Honeyville Farms are at it again – providing 10% off your ENTIRE order starting Monday, February 18 through Friday, February 22, 2013.

Simply enter coupon code ORGANIC during checkout.

So if you’ve been tossing around the idea of doing your own Test Kitchen Showdown with their high quality blanched almond flour or coconut flour, or you’re simply looking for a great bargain on their terrific products, now’s the time to order!

As most of you know, blanched almond flour and coconut flour are two of my favorite GF staples! Both are quite easy to work with and make the most delicious light, fluffy baked goods. Even more important, they are much more nutritious compared to typical GF flour blends that consist mainly of starches such as rice, tapioca and potato. Blanched almond flour and coconut flour are both low in carbohydrates and are high in protein and dietary fiber, as well as contain many beneficial nutrients.

*Tip: If you decide to save big and purchase the 25-lb size, simply repackage it into your own 5-lb containers or ziplock-style bags and place one 5-pound bag in your pantry and the rest in the freezer. Blanched almond flour will stay fresh in an airtight container in the pantry for about 6-8 weeks and will stay fresh in an airtight container in the freezer for up to six months.

jpeg

You Might Also Like:

Healthier Cracker Jack Snack
Free Class: Meal Planning Made Simple–Lunch Edition!
Open-Face Tuna Melt

Filed Under: Uncategorized ·

  • « Previous Page
  • 1
  • …
  • 97
  • 98
  • 99
  • 100
  • 101
  • …
  • 182
  • Next Page »

My New Cookbook is Here!

Welcome to The Nourishing Home!

I’m so glad you’re here and want you to feel right at home! My heart in creating this blog is to help you by sharing helpful meal planning strategies and nourishing GF recipes that are healthy, easy and delicious with thanksgiving to God! [Read More …]


All content (recipes, photos, posts, etc.) on this site is the creative property of Kelly Smith. You are welcome to share a photo via social media, as long as it contains a link back to the corresponding recipe or post from this site. However, you may not republish a recipe in its entirety in any form. For questions, or for permission to use a photo or recipe, please contact me via email at [email protected]. Thank you!

Please Note: All content (recipes, photos, text, etc.) on this site is the creative property of Kelly Smith of The Nourishing Home. You are welcome to share a photo via social media, as long as it contains a link back to the corresponding recipe from this site. However, re-publishing a recipe in any form is strictly prohibited. Additionally, please refrain from adapting recipes without properly linking back to the original recipe, and keep in mind that simple substitutions do not constitute an adapted or original recipe. For details regarding recipe copyright law, please visit the Food Blog Alliance.
The Nourishing Home is a participant in the Amazon Services LLC Associates Program, an affiliate advertising program designed to provide a means for sites to earn advertising fees by advertising and linking to amazon.com.

Privacy Policy
DMCA.com

Copyright © 2026 · All Rights Reserved · The Nourishing Home · Artwork by Nancy Panaccione · Site Design by Deluxe Designs · Log in