The Nourishing Home

living healthier lives in service to the King!

  • Home
  • About
    • About TNH
    • Contact
  • Meal Planning
  • Health & Wellness
    • Real Food Basics
  • Whole30
  • GF Recipes
    • Whole30
    • Breakfast
    • Lunch
    • Entrées
    • Slow Cooker
    • Soups & Stews
    • Sides & Salads
    • Snacks
    • Desserts
    • Kids in the Kitchen
  • My Cookbook
  • Subscribe

Easy Chocolate Ganache Icing (DF Option)

By Kelly · 7 Comments

Coconut Flour Brownie

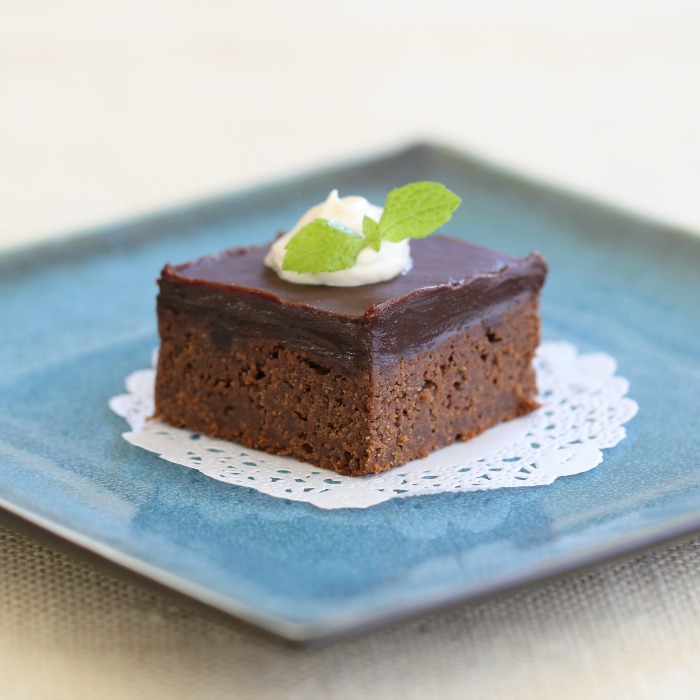
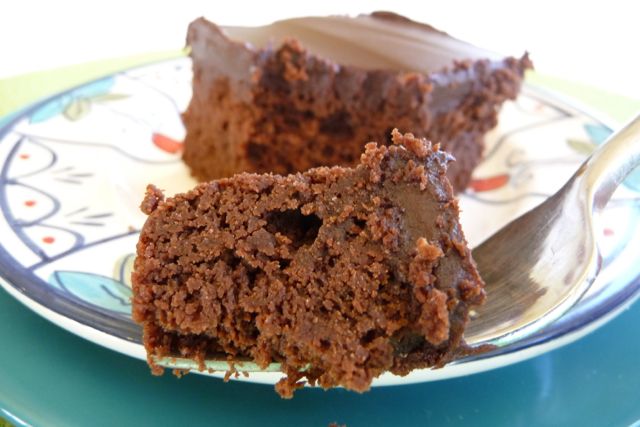
Traditional ganache is made using heavy cream and semi-sweet chocolate. However, this renegade recipe utilizes a little coconut milk in place of the cream, along with a touch of cocoa powder to create a delicious thick chocolatey icing perfect for topping cakes and brownies. 

How to use Ganache: Ganache is traditionally used as a glaze or icing, and it can be whipped to a mousse-like consistency using a mixer for use as a filling in pastries. When ganache is still warm it’s pourable, so you can easily pour and spread it over a pan of brownies or a sheet cake (shown above). You can also use warm ganache to make chocolate dipped strawberries. Once it’s cooled to room temperature, chocolate ganache makes a great icing for frosting cakes or cupcakes.

How to store Ganache: In general, ganache can be left at room temperature for 1-2 days. If you find yourself with leftover ganache, you can refrigerate it for up to two weeks. To use it, bring it back to room temperature for use as an icing, or rewarm it to use it as a glaze or sauce (warm ganache is delicious over ice cream).

P.S. For those of you who are dairy-free, you can easily use ghee or palm shortening in place of the butter with equally delicious results! (I’ve found it to be similar to butter to use a combination of 2 Tbsp of ghee with 2 Tbsp of palm shortening in this recipe.)

Print
Easy Chocolate Ganache Icing (DF Option)

Yield: Makes 1 1/4 cups

Easy Chocolate Ganache Icing (DF Option)

Ingredients

  • 1/4 cup butter (if DF, use ghee or palm shortening)
  • 1/2 cup dairy-free mini-chocolate chips
  • 1 tbsp unsweetened fair trade cacao powder
  • 1 tbsp pure coconut milk
  • 1/4 cup honey (mild clover honey is best)

Instructions

  1. In a small saucepan over low heat, melt the butter.
  2. Once melted, turn off the heat and add the chocolate chips, slowly whisking until melted.
  3. Move pan to a cool area on the stovetop and whisk in the cocoa powder, coconut milk and honey.
  4. Allow mixture to cool to room temperature in order for ganache to firm up (see note below). Then use it to frost your favorite cakes, cupcakes or brownies. Use an offset spatula to evenly distribute the ganache icing.

Notes

In order for the ganache to fully set, you can either leave it out at room temperature until cooled. Or you can refrigerate the ganache briefly, until icing reaches desired firmness – about 20-30 minutes. (Please note: If you refrigerate the ganache overnight, it will harden completely, and will need to come back to room temperature again before you'll be able to use it as frosting/icing.)

Read How to Store Ganache in post above for storage instructions. See How to Use Ganache in post above for more delicious uses for ganache.
3.1
https://thenourishinghome.com/2013/01/easy-chocolate-ganache-icing-df-option/

You Might Also Like:

15 Fabulous Ways to Enjoy Dried Strawberries
Cinnamon Crumb Coffee Cake from Everyday Grain-Free Baking
Coconut Flour Brownie Cake (GF, DF Option)

Filed Under: Cakes/Cupcakes, Other Desserts ·

Apple Streusel Upside Down Cake (GF)

By Kelly · 32 Comments

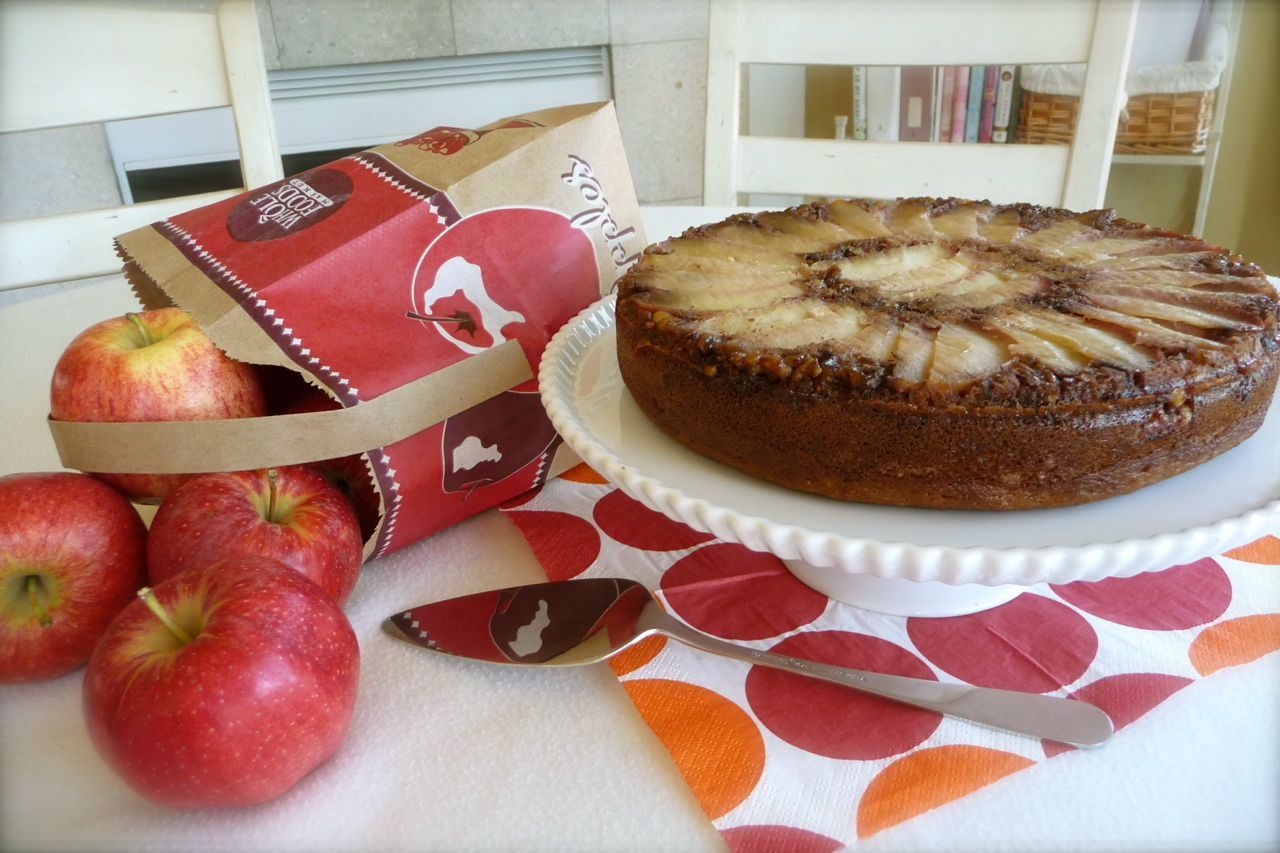
Before our boys started school, we would travel to New Jersey every October to see my husband’s family and enjoy the amazingly gorgeous display of fall colors throughout the countryside. While there, one of our favorite traditions was to go apple-picking together. It was such a treat to pick an apple right off the tree and eat it! Of course, we’d come back with barrels of apples and that’s when the fun would really begin … coming up with all kinds of delicious ways to enjoy our bounty of apples!

Since then, we try to make a yearly trip during Thanksgiving break. Unfortunately, apple season has passed and all of the beautiful leaves have fallen from the trees. However, our favorite family-owned apple farm is still open, selling their scrumptious fresh-pressed apple cider and lots of fresh-baked apple treats. Inspired by their delicious apple creations, I developed this delightful grain-free apple streusel upside down cake. It’s like having a little slice of fall each time I bake it!

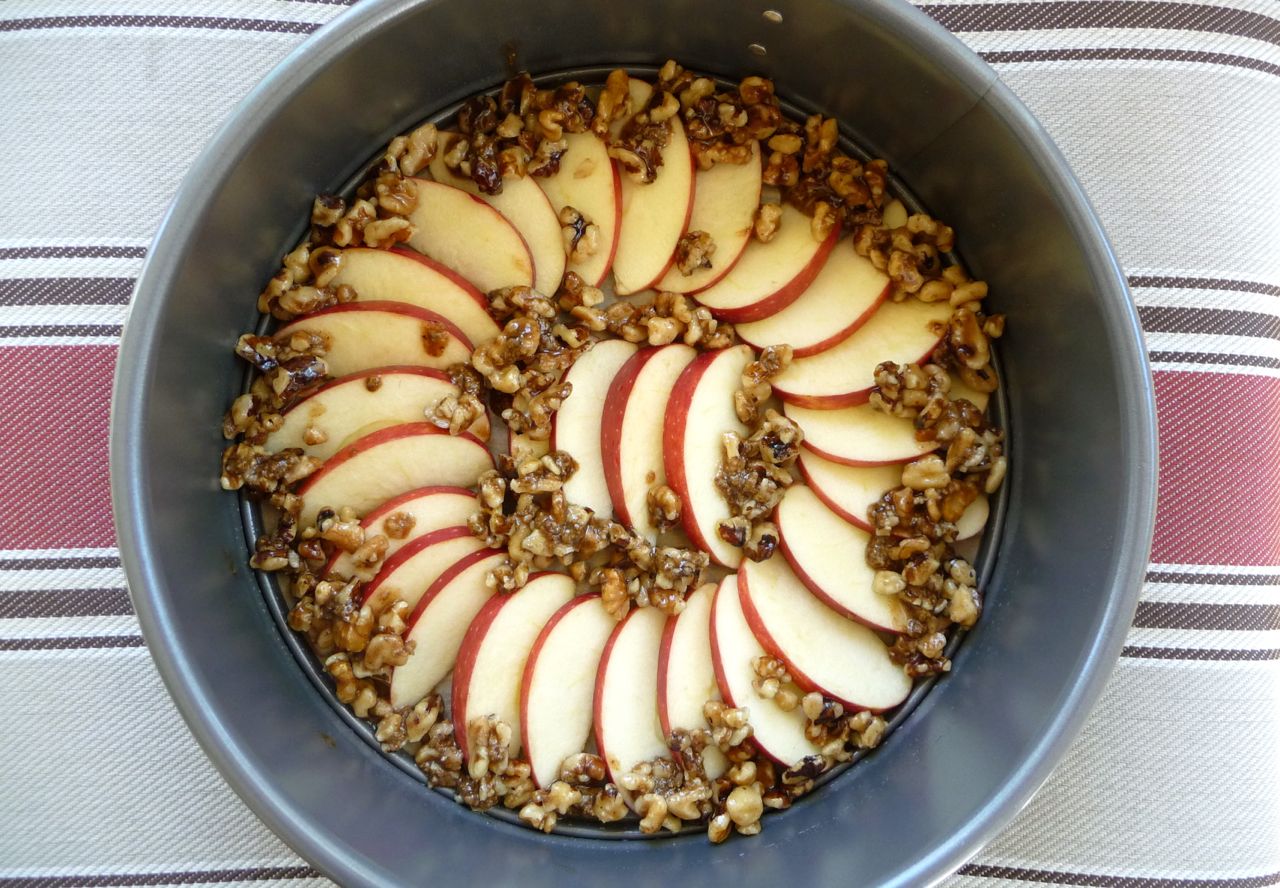
As shown below, to make this cake as pretty as it is tasty, arrange the apple slices in a pleasing pattern on the bottom of a springform pan. Then, spoon the walnut mixture in a circular pattern across the top of the apple slices, filling in the gaps between the apple slices. Beautiful and delicious!

Print
Apple Streusel Upside Down Cake (GF)

Yield: 8 slices

Apple Streusel Upside Down Cake (GF)

Ingredients

  • 2 1/4 cups blanched almond flour
  • 1 tsp baking soda
  • 1/2 tsp sea salt
  • 1 tsp ground cinnamon
  • 1/4 tsp ground ginger
  • 1/2 cup unsweetened organic applesauce
  • 1/2 cup pure maple syrup
  • 4 large eggs
  • 1 tsp pure vanilla extract
  • Apple Topping
  • 1 medium organic apple
  • 2 tbsp coconut oil (or butter), melted
  • 1 tbsp rapadara (or 2 tbsp maple syrup)
  • 1/4 tsp ground cinnamon
  • 2/3 cups crispy walnut pieces

Instructions

  1. Step One: Prepare Pan – Preheat oven to 350 degrees. Remove the bottom round of an 9x3-inch springform pan. Using parchment paper, trace the bottom round and cut the paper slightly smaller than the traced circle so that it fits neatly into the bottom (no overlap). Place the bottom back into the springform pan and secure in place. Lightly oil the pan and then place the parchment cut-out into the bottom of the pan and lightly oil. (If you don't have a springform pan, you can use a parchment-lined 9x9-inch baking dish instead.)
  2. Step Two: Prepare Topping – Core and slice one apple (about 1/4 inch slices) and arrange the apple slices in a pleasing pattern on the bottom of the prepared pan/baking dish (as shown in photo above).
  3. In a small bowl, combine the melted butter, rapadura (sucanat) and cinnamon. Then toss the walnuts in the mixture until well coated.
  4. Spoon the walnuts in a circular pattern across the top of the apple slices, filling in the gaps between the apple slices (as shown in photo above).
  5. Place the pan in the oven and bake the topping for 6-8 minutes, just until the apples begin to soften. Then remove from oven and add the cake batter, as described below.
  6. Step Three: Prepare Cake Batter – While the topping is cooking, prepare the cake batter. In a small bowl, combine the almond flour, baking soda, salt and spices. Set aside.
  7. Using an electric hand mixer, blend (on low speed) the applesauce, maple syrup, eggs and vanilla, until well combined.
  8. Slowly mix the dry ingredients into the wet and continue mixing for a full minute, until smooth and well blended.
  9. Gently pour the cake batter over the partially baked apple topping, using a rubber spatula to help remove all of the batter from the bowl. Spread batter evenly across top.
  10. Place back in oven and continue to bake for approximately 25-28 minutes, until a toothpick inserted in center comes out clean. (If using a springform pan, I recommend placing the cake pan onto a baking sheet, as some of the apple juice may leak out of the pan during baking.)
  11. Allow cake to cool completely, then remove the springform pan and invert the cake onto a plate or cake stand to serve. (If using a 9x9-inch baking dish, place a serving platter over the top of the baking dish and invert the cake onto the platter.)
  12. Slice, serve and enjoy!
3.1
https://thenourishinghome.com/2012/10/apple-pie-cake-gf/

You Might Also Like:

Lemon Poppy Seed Muffins {GF, DF}
Easy Chocolate Ganache Icing (DF Option)
Grain-Free Chocolate Cake with Fudge Icing

Filed Under: Cakes/Cupcakes · Tagged: almond flour cake

Pumpkin Spice Cake: Special Fall Guest Post!

By Kelly · 7 Comments

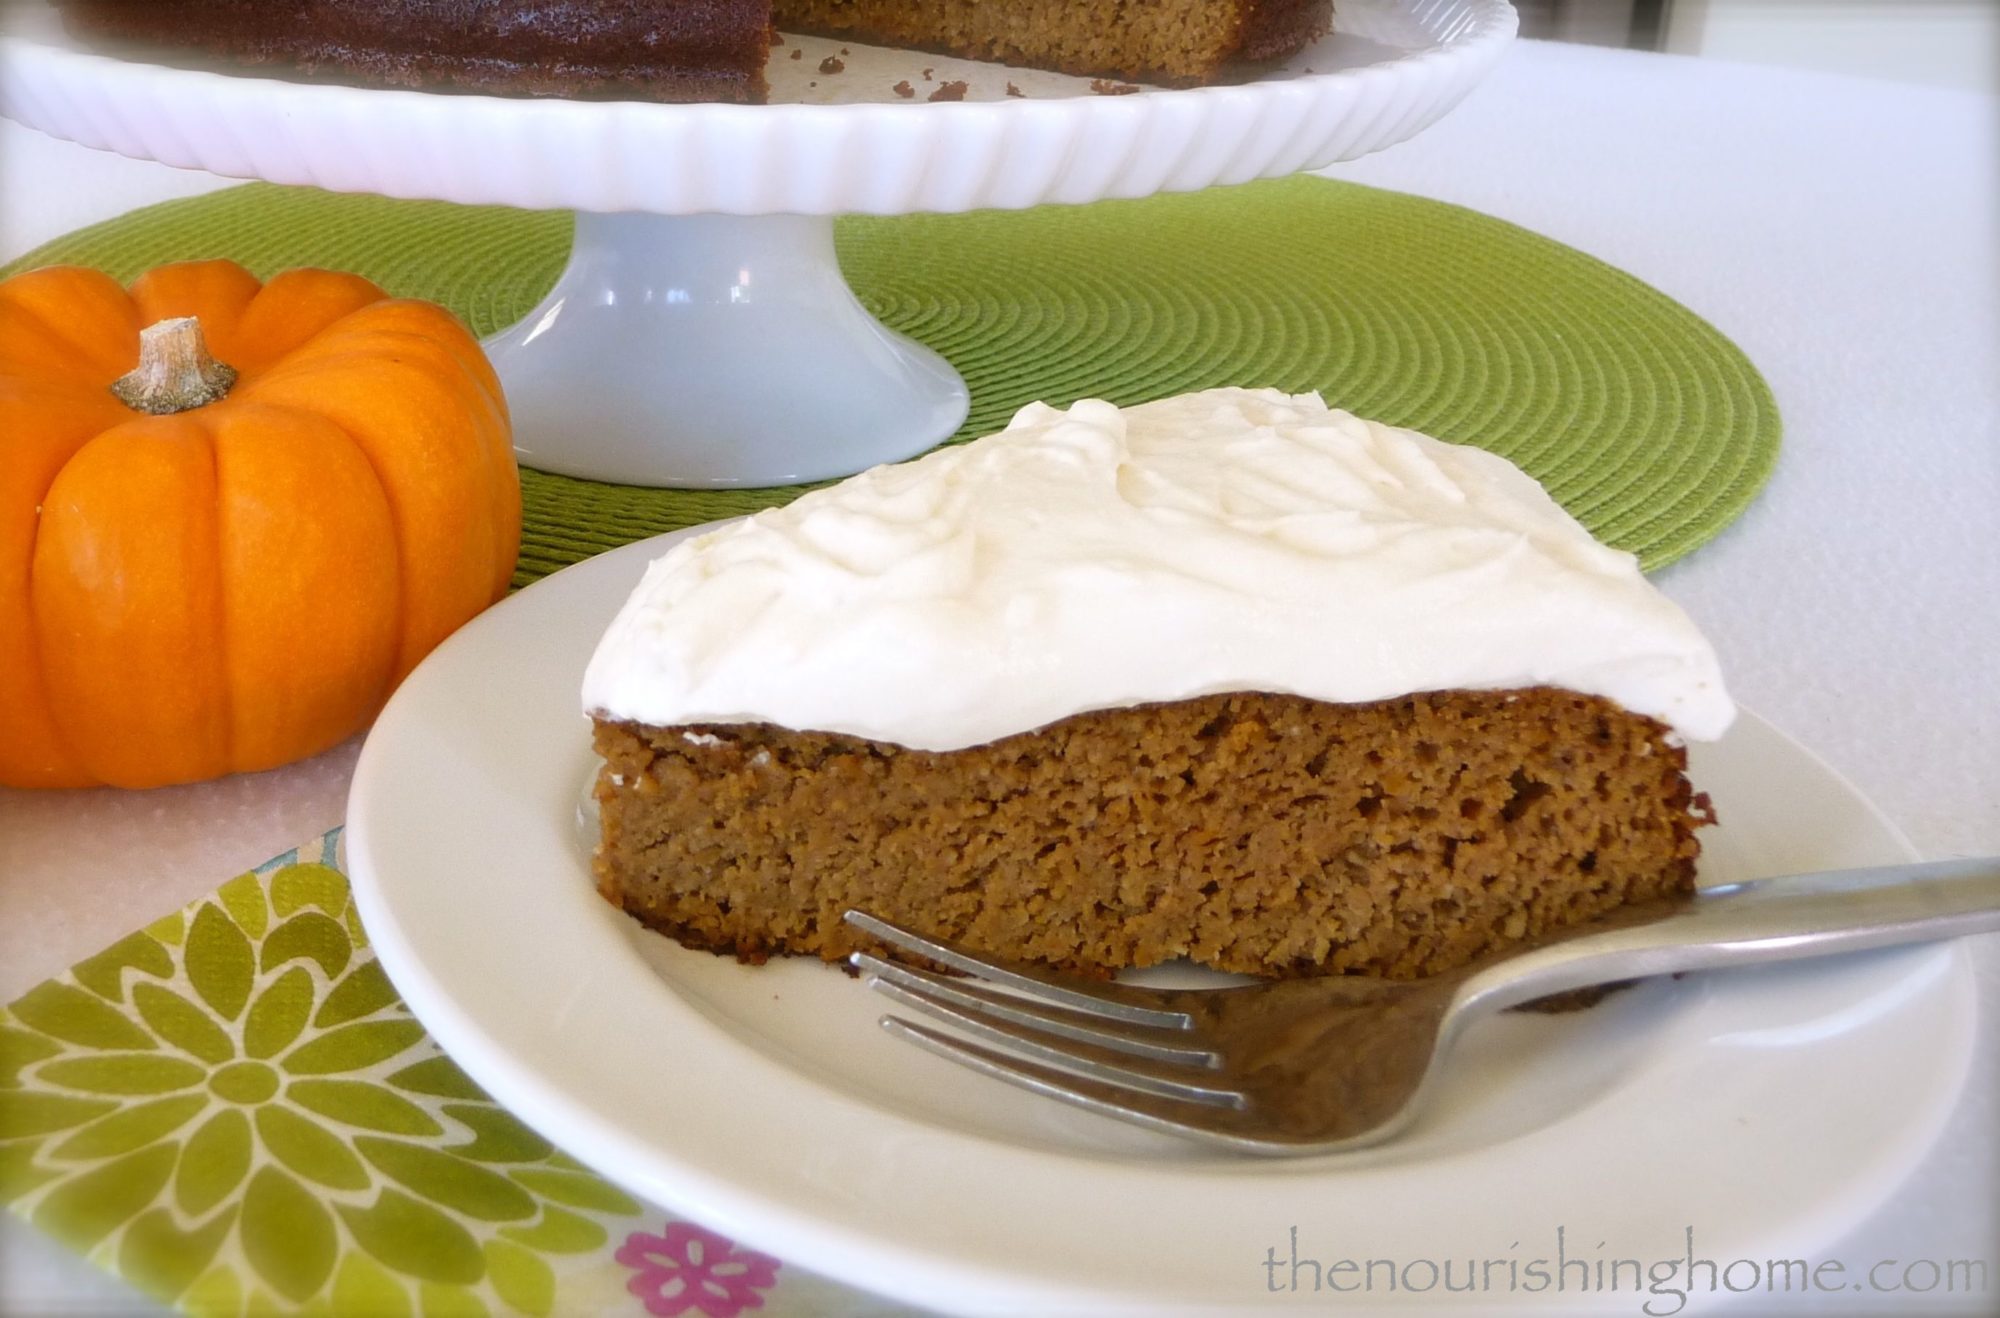
I’m honored to be a special guest over at Honeyville Grains, sharing my oh-so-moist and delicious Pumpkin Spice Cake recipe. This delightful treat really captures the fabulous flavors of fall, and it always gets rave reviews from kids and adults alike.

Made with Honeyville blanched almond flour, this cake is so moist and light that it’s hard not to say, “Mmm” with every bite. The truth is, I’ve been a huge fan of Honeyville Grains blanched almond flour ever since they won my Test Kitchen Showdown. Since then, I’ve also come to appreciate many of their other fine products, especially their organic coconut flour – another delicious and nutritious grain-free baking option!

So, I invited you to pop over to Honeyville’s recipe blog – The Cookin’ Cousins – to check out my delicious and wholesome Pumpkin Spice Cake. It’s definitely the perfect treat for happy fall gatherings with family and friends!

Thank You for Your COMMENTS!

Hi, friends! I always am blessed by your sweet comments! If you would like to comment about this recipe, may I ask a favor – please pop on over to the recipe at Honeyville Grains and leave your comment there. Thanks so  much! I promise you’re going to LOVE this recipe!

Wishing you a joy-filled Fall season, Kelly

You Might Also Like:

Coconut Flour Brownie Cake (GF, DF Option)
Easy Chocolate Ganache Icing (DF Option)
Apple Streusel Upside Down Cake (GF)

Filed Under: Cakes/Cupcakes · Tagged: almond flour pumpkin cake

  • « Previous Page
  • 1
  • 2
  • 3
  • 4
  • 5
  • 6
  • Next Page »

My New Cookbook is Here!

Welcome to The Nourishing Home!

I’m so glad you’re here and want you to feel right at home! My heart in creating this blog is to help you by sharing helpful meal planning strategies and nourishing GF recipes that are healthy, easy and delicious with thanksgiving to God! [Read More …]


All content (recipes, photos, posts, etc.) on this site is the creative property of Kelly Smith. You are welcome to share a photo via social media, as long as it contains a link back to the corresponding recipe or post from this site. However, you may not republish a recipe in its entirety in any form. For questions, or for permission to use a photo or recipe, please contact me via email at [email protected] Thank you!

Please Note: All content (recipes, photos, text, etc.) on this site is the creative property of Kelly Smith of The Nourishing Home. You are welcome to share a photo via social media, as long as it contains a link back to the corresponding recipe from this site. However, re-publishing a recipe in any form is strictly prohibited. Additionally, please refrain from adapting recipes without properly linking back to the original recipe, and keep in mind that simple substitutions do not constitute an adapted or original recipe. For details regarding recipe copyright law, please visit the Food Blog Alliance.
The Nourishing Home is a participant in the Amazon Services LLC Associates Program, an affiliate advertising program designed to provide a means for sites to earn advertising fees by advertising and linking to amazon.com.

Privacy Policy
DMCA.com

Copyright © 2023 · All Rights Reserved · The Nourishing Home · Artwork by Nancy Panaccione · Site Design by Deluxe Designs · Log in