

Dive into a simply delicious way to use up leftover roast turkey {or chicken}!
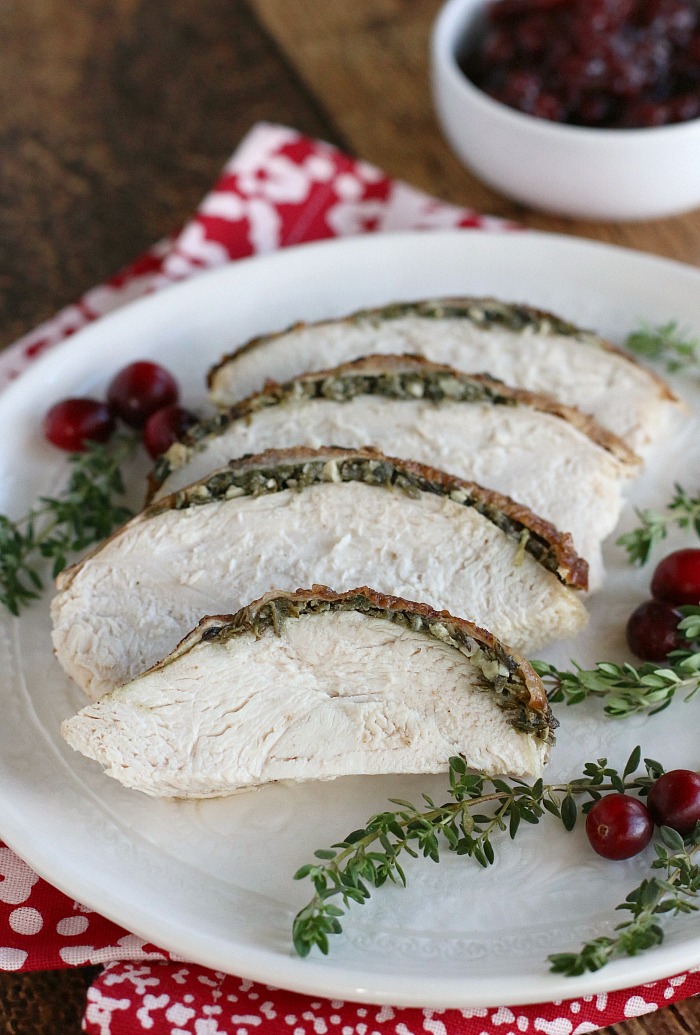
My post-Thanksgiving tradition for using up leftover roast turkey is to make my family’s favorite Creamy Turkey & Veggies Soup. However, this year, those plans ran-aground when we found ourselves somewhat underwater dealing with a burst pipe in our kitchen. {Yikes!}
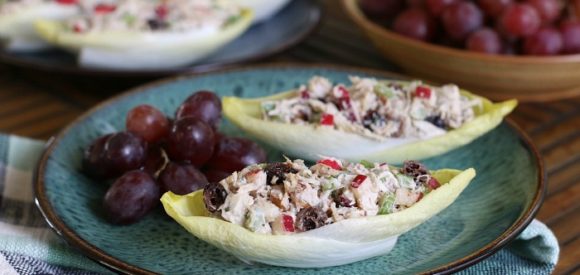
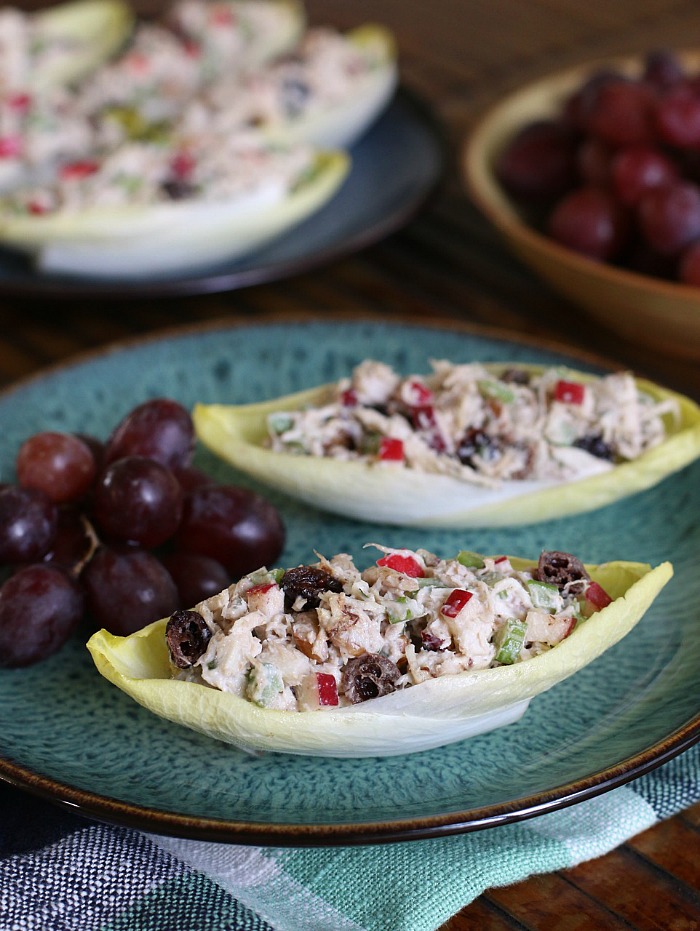
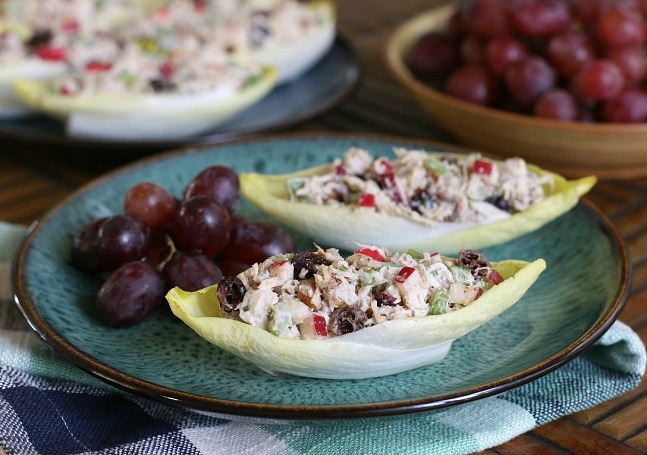
Since we won’t have the water back on until later this week, I’m sticking with quick-n-easy {and practically dish-free} meals like these super simple and Tasty Turkey Salad Boats instead.

The secret to the cute-factor here is simple endive, which is actually just as healthy as it is cute and tasty. Endive is chockfull of vitamins and minerals … and obviously it makes the most adorable little edible “boats” perfect for stuffing with your favorite fillings like this easy and tasty turkey salad.
By the way, if you don’t have leftover Roast Turkey on hand, no worries! Simply substitute with leftover Roast Chicken, or Slow Cooker Rotisserie Chicken instead. It’s just as delicious, and a great way to put those leftovers to work for you!
Ingredients
- 2-3 heads of endive
- 2 cups shredded roast turkey (or chicken)
- 1/2 cup diced celery
- 1/2 cup diced apple
- 1/4 cup Whole30-compliant dried cranberries (or raisins or currants)
- 1/4 tsp dried tarragon
- 3-4 Tbsp of Whole30-compliant mayo
- Sea salt to taste
Instructions
- Add all of the ingredients to a large bowl. Mix well to combine. Season with a dash of salt to taste.
- To create edible “boats” for serving, carefully, cut off the end of a head of endive and carefully remove the leaves.
- Stack two leaves on top of each other to form one “boat.” Repeat with additional endive leaves.
- Fill each endive boat with turkey salad and enjoy!
Notes
These tasty little boats can be made up to 3 days ahead of time. Either wrap individually, or place close together on a serving plater and wrap tightly.