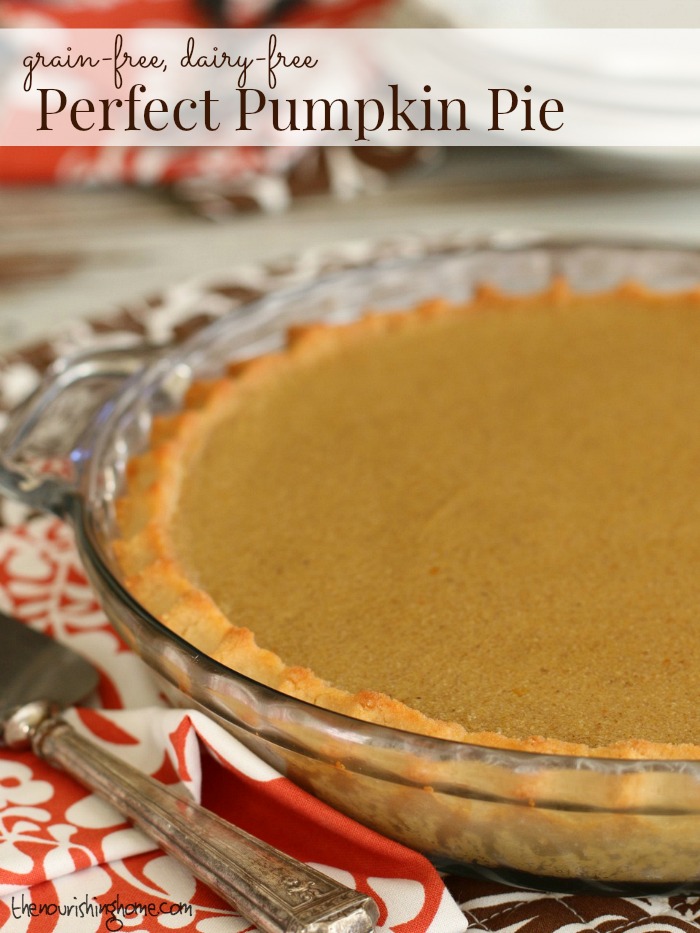
Discover the secret to no more over-baked grain-free pumpkin pies – ever!

The hardest part of making any grain-free pie is not over-baking the crust! That’s because the delicate nut flours often used in grain-free baking are sensitive to high temperatures, as well as prolonged baking times.
In an attempt to compensate, I’ve tried myriad ingredient combinations, handy-dandy pie crust shields, and even freezing the crust before filling and baking it. All of this resulted in the same old problem … an over-baked pie crust.
So what’s a pumpkin pie lovin’ grain-free girl to do?
Like most solutions to a problem, it takes a little thinking outside the box – or in this case – thinking outside the crust!

So what’s the secret to a perfect grain-free pumpkin pie every. single. time?
It’s actually really simple! Just bake your favorite grain-free pie crust to absolute perfection; cook this scrumptious pumpkin pie filling on your stovetop; then fill your pie crust, allow it to chill and enjoy!

I know it goes against every pumpkin pie making tradition, but trust me, this stovetop method for making a no-bake pumpkin pie is A M A Z I N G! The filling is perfectly smooth, creamy and flavorful! Plus, just six simple ingredients make this easy stovetop method a snap!
P.S. The lovely linens featured in these photos are courtesy of my friends at Hen House Linens. I just adore their beautiful table linens, and even more so, their mission to make mealtimes special by adding a touch of warmth and beauty to the table.
Ingredients
- 1 cup pure coconut milk
- 1 1/4 tsp unflavored gelatin, preferably grassfed
- 1 1/4 cup plain pumpkin puree (canned or homemade)
- 3/4 cup pure maple syrup
- 3 large eggs
- 1 Tbsp pumpkin pie spice blend
- 1 baked Grain-Free Perfect Pie Crust
Instructions
- Prepare and bake one 9-inch grain-free piecrust according to recipe instructions. Set aside to cool.
- In a 4-quart saucepan, add the coconut milk. Sprinkle the unflavored gelatin evenly on top of the milk. Allow the gelatin to soften about 5 minutes.
- Meanwhile, in a large mixing bowl, whisk together the pumpkin puree, maple syrup, eggs and pumpkin pie spice until smooth and creamy.
- Once gelatin has softened, place saucepan over medium heat. Whisk constantly until the milk and gelatin are well combined, and the milk is warmed, but not hot. (About 1-2 minutes.)
- Slowly add the pumpkin mixture to the warm milk while whisking to thoroughly combine. Continue stirring the pumpkin pie filling with the whisk until it reaches a gentle simmer.
- Once the filling reaches a gentle simmer, whisk continually for 3 full minutes until the filling begins to thicken like custard. Remove pan from heat and allow the filling to cool to room temperature.
- Pour cooled pumpkin pie filling into baked piecrust, making sure to not overfill. Use an offset spatula to even out the top. Then transfer to fridge to chill at least 4-6 hours before serving. Slice and enjoy! (For an extra special treat, add a dollop or two of whipped coconut cream on top. Yum!)
Notes
Recipe Variation: You can use this easy stovetop method for making pumpkin pie with any baked pie crust of your choice!
Serving Note: Because almond flour gets very moist the longer it sits, this pie is best when served within two days of baking. Enjoy!

So, since this is refrigerated, is it ok to make a couple of days in advance or do you think the crust texture would change?
Thanks!
Apologies for the delay in not being able to respond sooner. Almond flour baked goods always get soft and moist when refrigerated. But we don’t find this to be a problem with this pie. It tastes great for several days after it’s baked, just be sure to keep it tightly covered. Hope you had a blessed Thanksgiving! 🙂
Can you use regular milk rather than coconut?
I haven’t tried it, but you could try using whole milk, or half whole milk and half heavy cream in the recipe. The higher fat content is what helps this custard to be creamy and set properly. Happy Thanksgiving! 🙂 With blessings, Kelly