The Nourishing Home

living healthier lives in service to the King!

  • Home
  • About
    • About TNH
    • Contact
  • Meal Planning
  • Health & Wellness
    • Real Food Basics
  • Whole30
  • GF Recipes
    • Whole30
    • Breakfast
    • Lunch
    • Entrées
    • Slow Cooker
    • Soups & Stews
    • Sides & Salads
    • Snacks
    • Desserts
    • Kids in the Kitchen
  • My Cookbook
  • Subscribe

Turkey Salad Boats {or Chicken Salad Boats}

A Simply Delicious Thanksgiving Menu

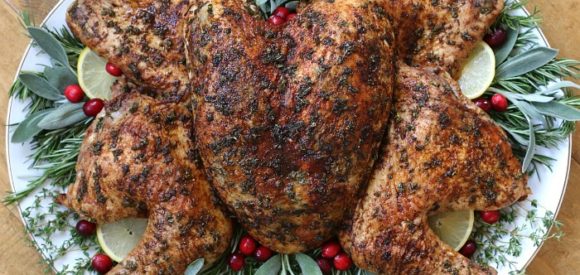
Herb-Stuffed Roasted Spatchcock Turkey

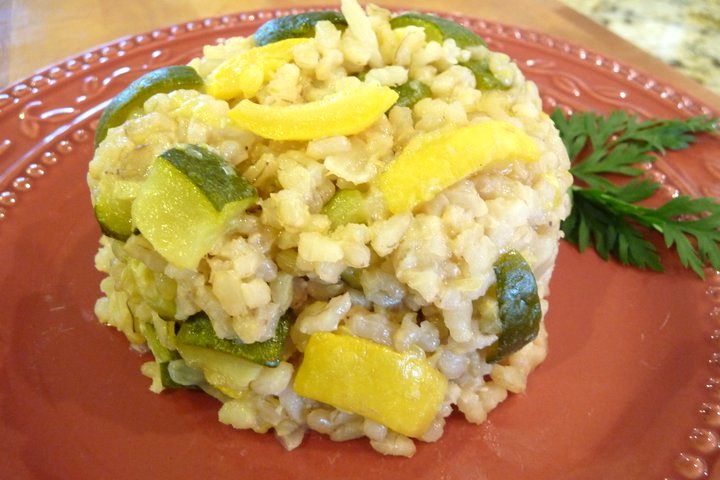
Summer Veggies Brown Rice Risotto (Gluten-Free)

By Kelly · Leave a Comment


Using soaked short grain brown rice, results in a delicious wholesome risotto that provides added fiber and nutrition – the perfect complement to grass-fed steak, roasted chicken or grilled salmon.

Please note: Brown rice risotto does have a more al dente texture than typical risotto made with white rice. If you don’t care for the chewier al dente texture typical of brown rice, you can easily substitute with white rice risotto (Arborio rice) in this recipe.

Print
Summer Veggies Brown Rice Risotto (Gluten-Free)

Yield: 4 servings

Summer Veggies Brown Rice Risotto (Gluten-Free)

Ingredients

    Step One: Sauté Veggies
  • 2 tbsp butter
  • 1 tbsp olive oil
  • 1 clove garlic, finely minced
  • 1/3 cup yellow onion, chopped
  • 1 medium organic zucchini, diced
  • 1 medium organic yellow squash, diced
  • Step Two: Making Brown Rice Risotto
  • 6 cups [homemade chicken stock]
  • 1/2 cup white cooking wine
  • 3 tbsp butter
  • 1 tbsp olive oil
  • 2/3 cup yellow onion, finely chopped
  • 2 cups soaked organic short grain brown rice, drained and rinsed (see note below)
  • 1 1/2 cups filtered water (if using white rice risotto, skip the water)
  • 1/2 cup freshly grated parmesan
  • 2 tbsp of fresh parsley, minced
  • Celtic sea salt and pepper to taste

Instructions

    Step One: Sauté Veggies
  1. Heat large skillet over medium-high heat. Add butter, oil, garlic and veggies. Sauté until veggies are semi-soft. Remove from heat and set aside.
  2. Step Two: Making Brown Rice Risotto
  3. In a small saucepan, add chicken stock and cooking wine. Bring to a gentle simmer, then reduce heat to keep the stock warm.
  4. In a large skillet over medium-high heat, add butter, oil and onion. Sauté until onion begins to soften. Then add rice and cook stirring constantly until grains are well coated and become translucent (at least 5-6 minutes).
  5. If using soaked brown rice: Add 1 1/2 cups of water and cover pan. Reduce heat, and allow rice to gently simmer for approximately 8-10 minutes or until water is absorbed. (If using white rice risotto: Skip this step and go to step 5 below.)
  6. Then, add two cups of warm stock and cook uncovered, stirring constantly until liquid is absorbed (3-5 minutes).
  7. Continue adding broth, one cup at a time, stirring constantly and making sure that the liquid is completely absorbed before adding more.
  8. Once rice is done cooking, turn off heat and stir in sautéed veggies and parmesan. Season with salt and pepper to taste.
  9. Top with a sprinkling of fresh parsley.

Notes

Soaked organic short grain brown rice works best for this recipe. You will want to soak the rice first BEFORE measuring out your two cups of rice for the risotto recipe. That’s because the rice generally expands a bit during the soaking process.

To soak brown rice, simply place two cups of rice in a glass or ceramic bowl and completely cover with warm water, plus two tablespoons of an acid medium (like apple-cider vinegar, whey, whole milk yogurt or kefir). Stir well to combine. Cover and allow the rice to soak for 12-24 hours. When soaking time is completed, drain the rice using a fine-mesh strainer and gently rinse. Then, measure out two cups of soaked brown rice and proceed with recipe as outlined above.

Recipe Variation: Another great option is to replace (or add to) the veggie sauté a cup of sliced mushrooms and a cup of chopped asparagus. If replacing the veggies with your favorites, be sure to keep the onion and garlic for best flavor.
3.1
https://thenourishinghome.com/2012/03/summer-veggies-brown-rice-risotto-gluten-free/


You Might Also Like:

How to Season and Grill Veggies Like Pro!
Grain-Free Classic Brown Bread & Rolls (GF, DF)
Roasted Herb Potatoes (GF)

Filed Under: Meatless, Sides ·

Gotta Love Chocolate Chip Cookies

By Kelly · 14 Comments


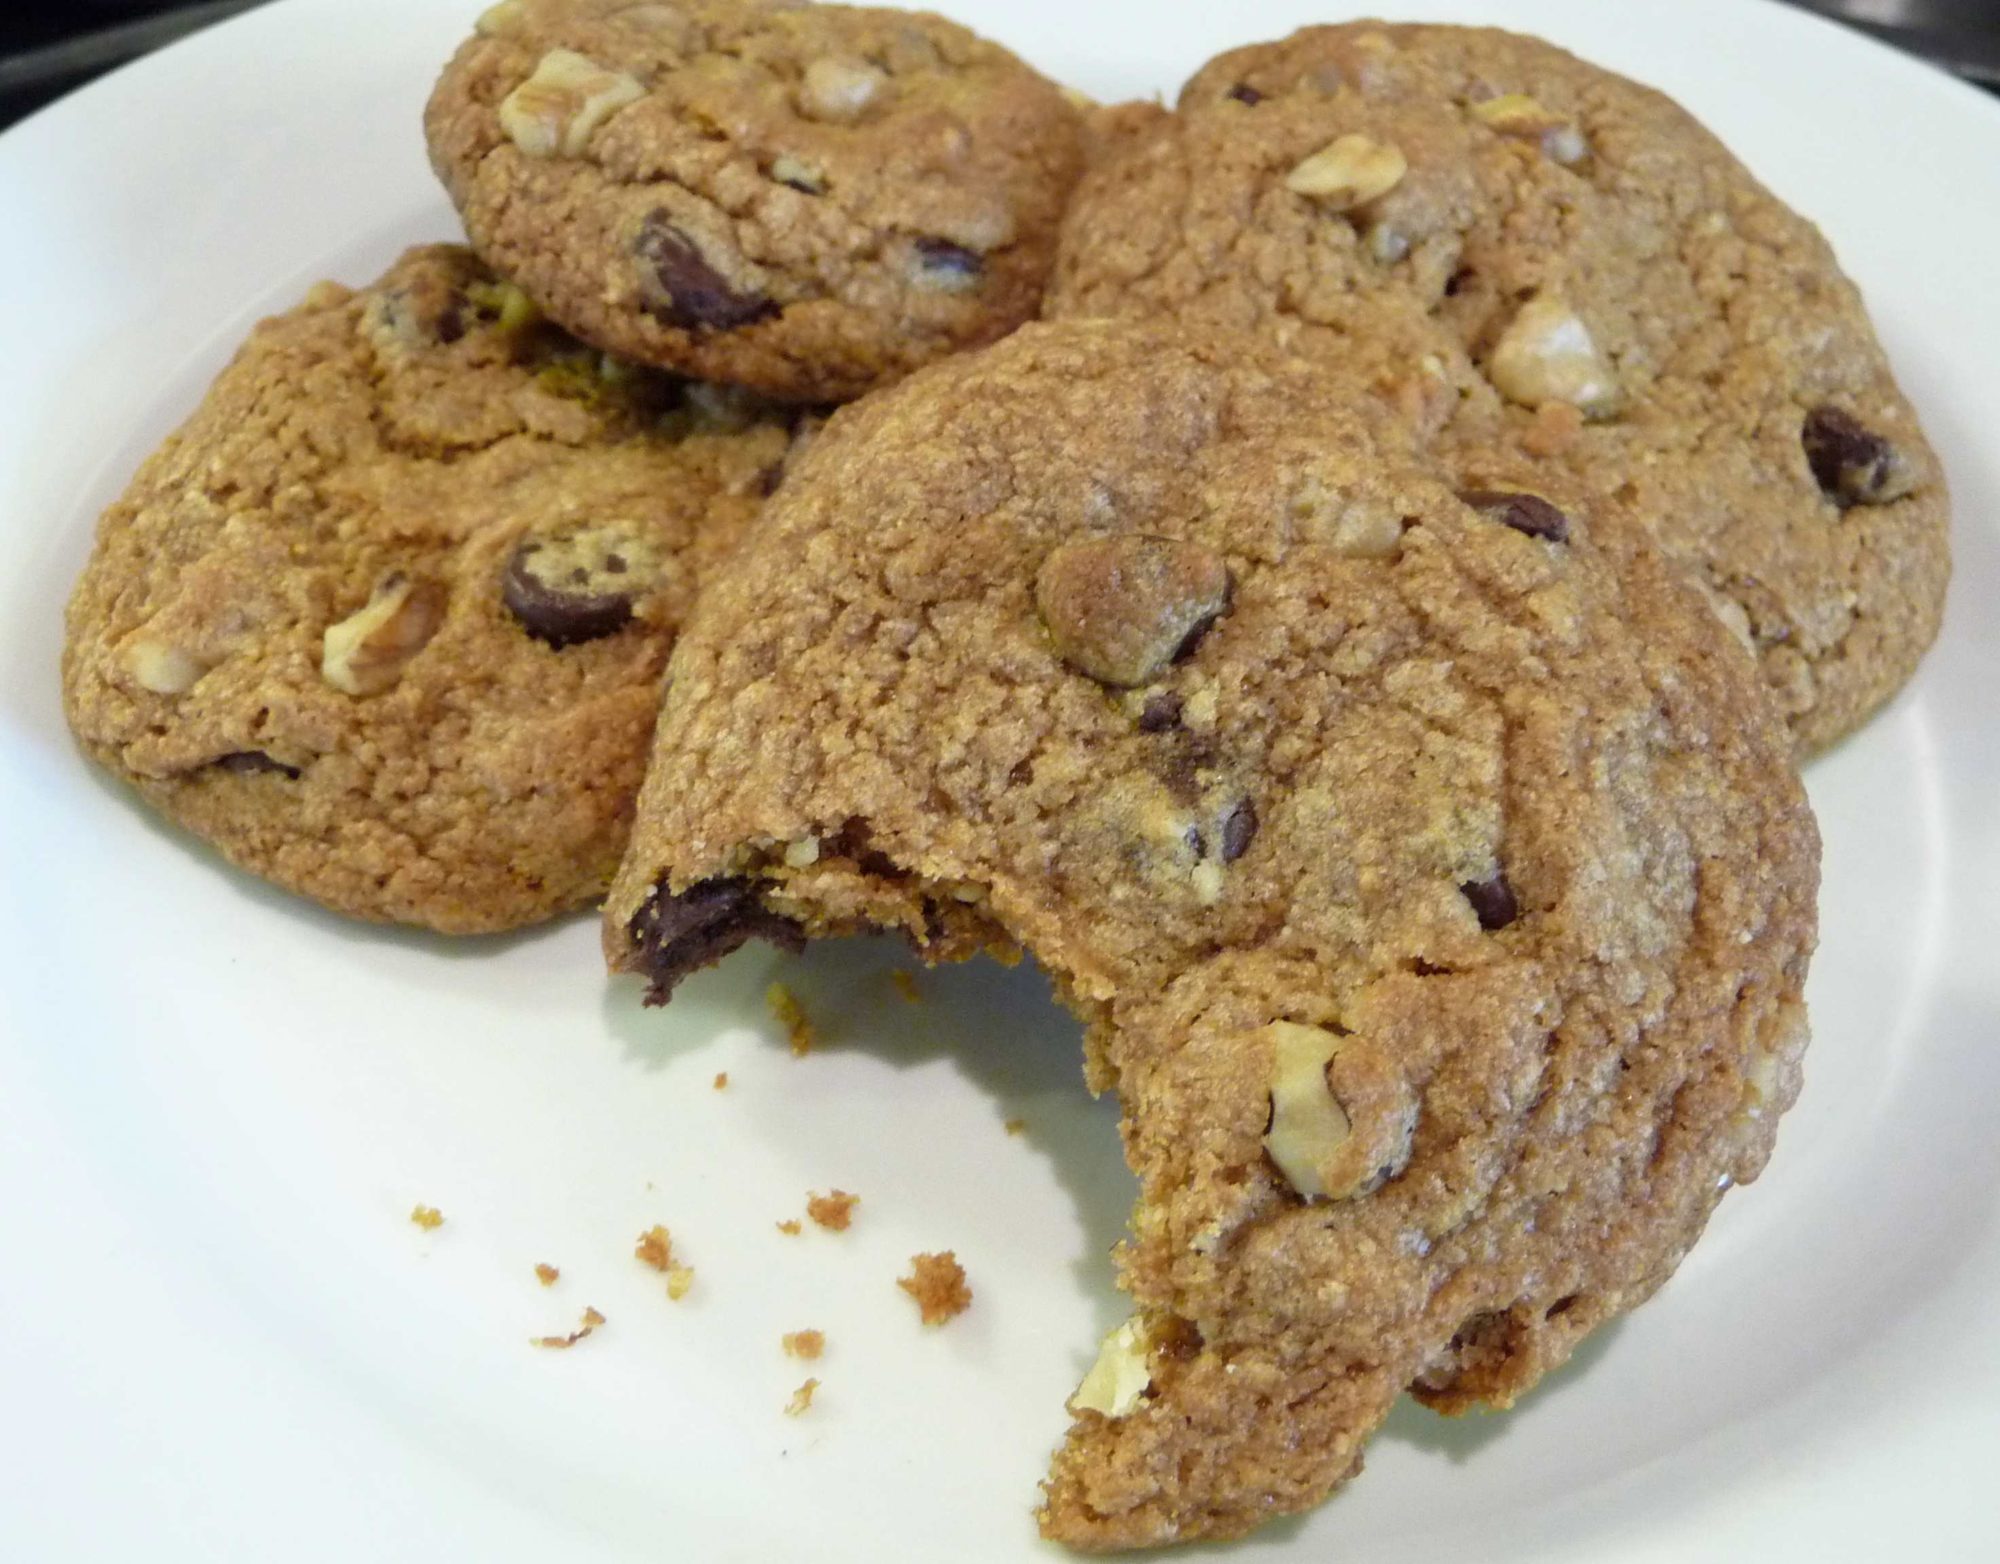
Who doesn’t love a fresh-baked chocolate chip cookie with just the right crunch on the outside and a chewy, gooey center? We think this healthier version of an old favorite fits the bill perfectly! Almond flour is the secret ingredient – it gives the cookie a light, chewy texture without compromising the crunch! Gotta go now … must bake more cookies!

P.S. If you’re looking for a 100% gluten-free, grain-free chocolate chip cookie that rocks please check out my GF version – Our Favorite Almond Flour Chocolate Chip Cookie.

Time-Saving Tip:  Did you know that nearly all cookie dough is perfect for freezing! So why not make a double or triple batch and freeze the extra dough for future baking. Simply, drop dough by rounded tablespoonfuls about one-inch apart on a parchment paper-lined baking sheet and place in freezer. Once unbaked cookies are completely frozen solid, remove them from the parchment and place them into a freezer safe container and return to the freezer. When ready to bake, simply place frozen cookie dough balls on a parchment-lined baking sheet, and allow them to thaw. Then, bake as directed below.

(P.S. If you don’t have blanched almond flour, you can still make these using 1 3/4 cups of whole spelt flour instead of 1 1/2 cups. They’re still delicious, just a bit thinner and not quite as yummy in flavor as the almond flour version – but again, still very delicious!)

Print
Gotta Love Chocolate Chip Cookies

Yield: 2 dozen

Gotta Love Chocolate Chip Cookies

Ingredients

  • 1 cup Rapadura (or sucanat)
  • 1/2 cup butter, softened
  • 1/4 cup coconut oil
  • 1 tsp vanilla
  • 1 large egg
  • 1 tsp baking soda
  • 1/4 teaspoon salt
  • 1 1/2 cups whole spelt flour (or sprouted spelt flour, see note below)
  • 1/2 cup blanched almond flour
  • 1 cup *fair trade dark chocolate chips (65% cacao or higher)
  • 1/2 cup crispy walnut pieces (optional)

Instructions

  1. Preheat oven to 375 degrees. Using an electric mixer, mix together the rapadura, butter and coconut oil in a large bowl until very creamy (like frosting). Add the vanilla and egg, mixing until well incorporated. Mix in the baking soda and salt. Then slowly mix in the flour, 1/2 cup at a time, until well blended. Using a rubber spatula, fold in the chocolate chips and walnuts, if desired.
  2. Drop dough by rounded tablespoonfuls about three-inches apart on a parchment paper-lined baking sheet. Bake 8-10 minutes or until lightly brown. Cool for a minute on the baking sheet, then transfer to a wire rack to finish cooling. (If you can wait that long!)

Notes

To make these cookies even healthier, I recommend using organic sprouted spelt flour. Sprouted flour contains a tremendous amount of beneficial nutrients and is great for recipes in which soaking just doesn't yield a good end product.

*For information about why I only purchase fair trade chocolate and other products, click here.

3.1
https://thenourishinghome.com/2012/03/gotta-love-chocolate-chip-cookies/

You Might Also Like:

Peach Crisp Yogurt Cup
Cheesy-Basil Eggs (GF)
What's it like to be a Food Blogger?

Filed Under: Uncategorized ·

Pineapple-Coconut Muffins (GF)

By Kelly · 51 Comments


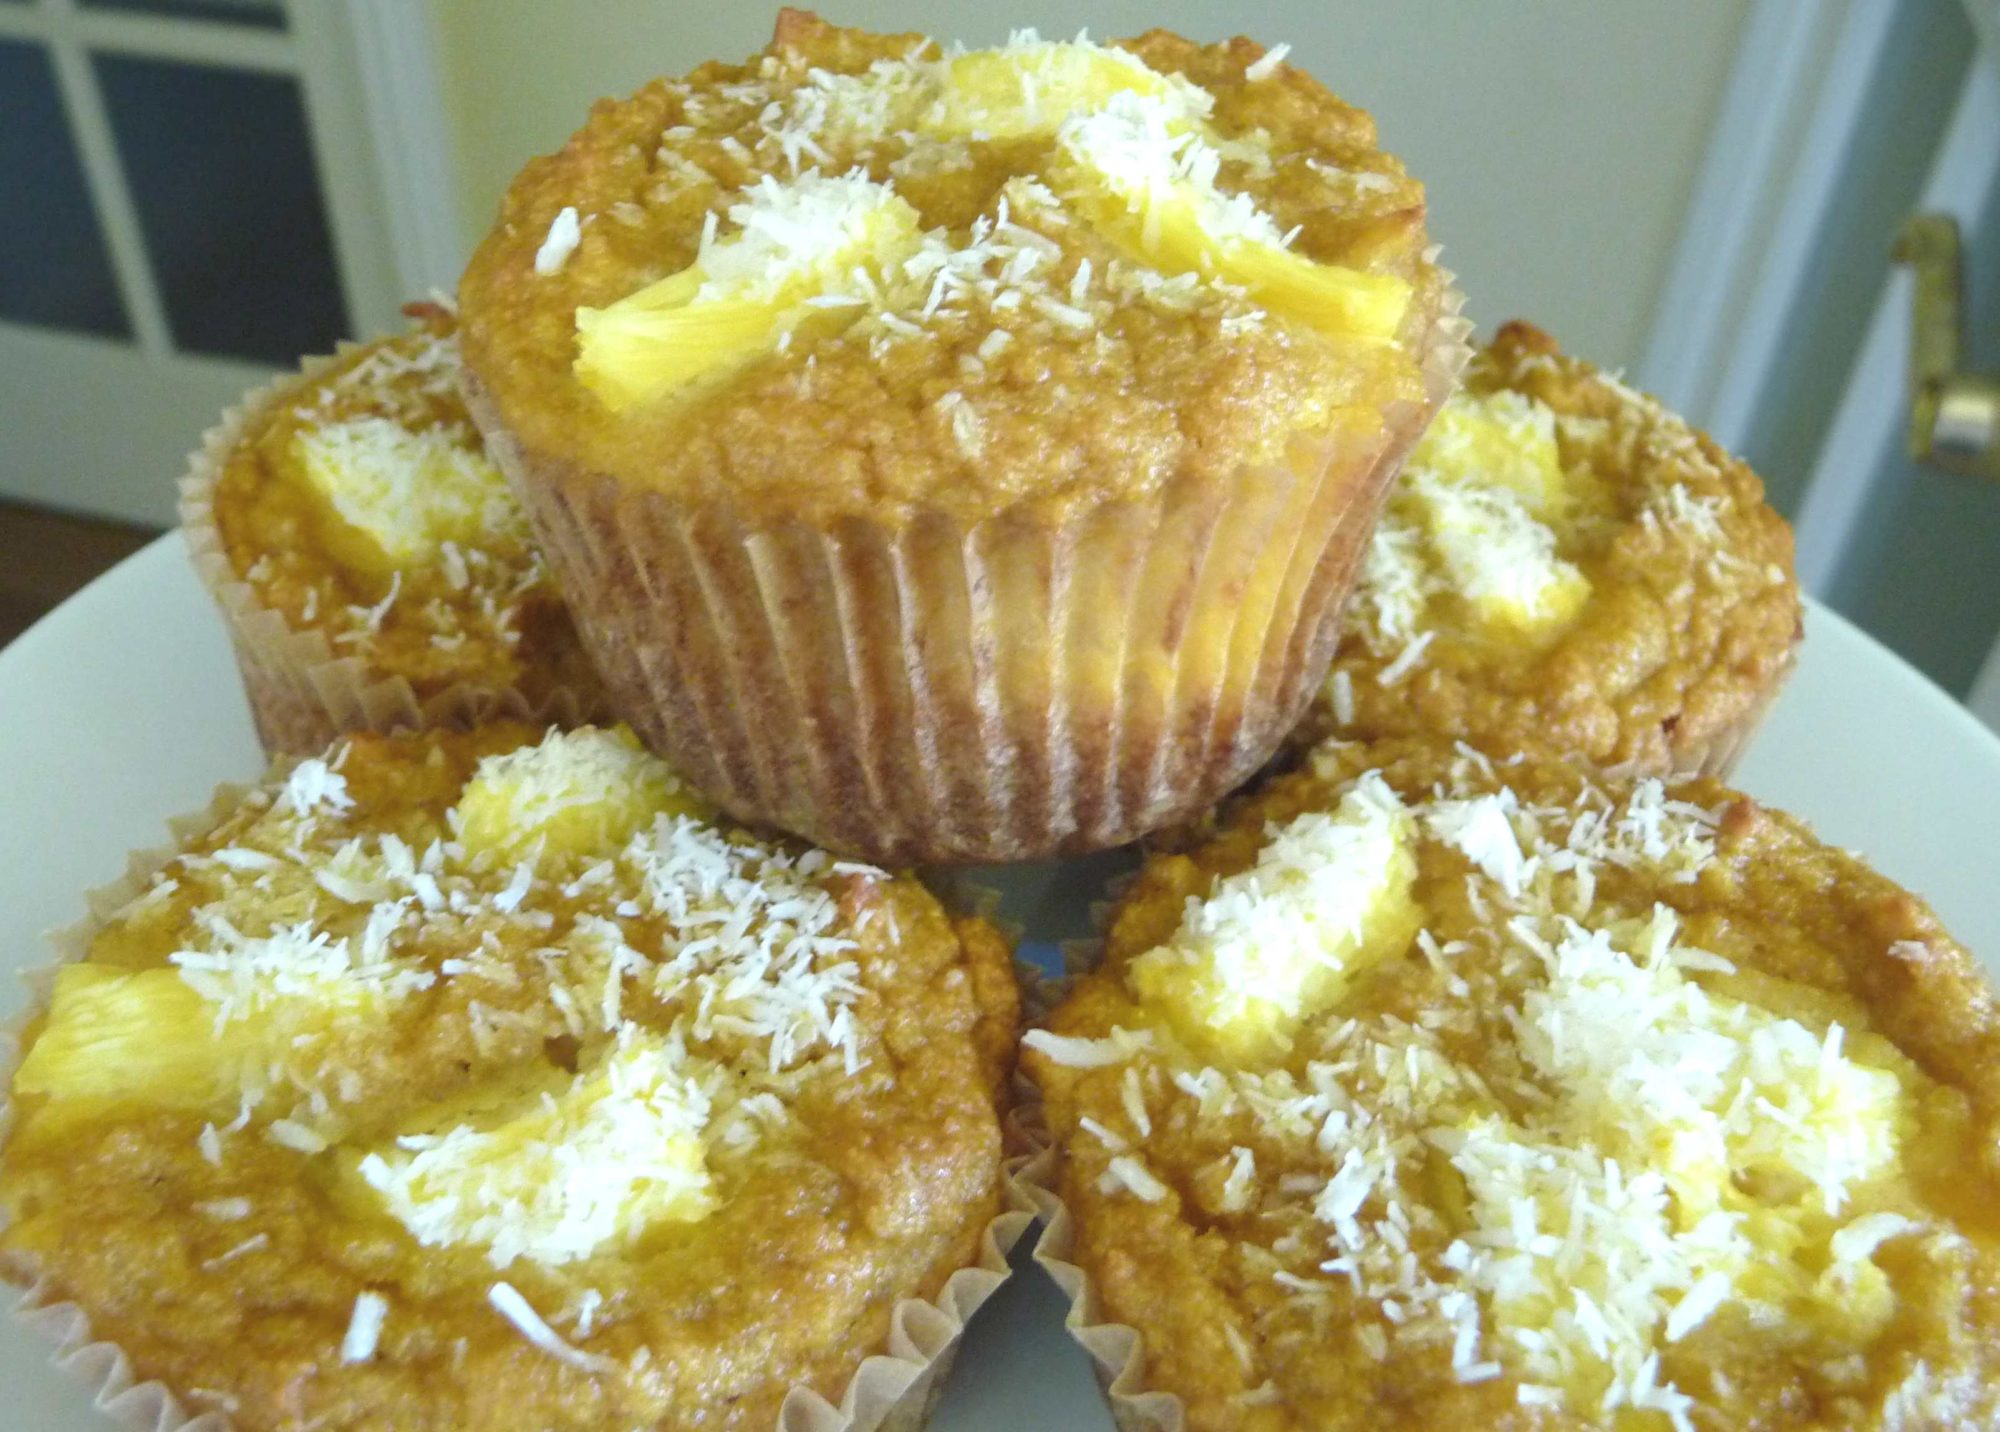
Made with nutritious coconut flour, these GF muffins are tropically delicious! Their taste is similar to pineapple upside down cake! Mmm!

Looking for more delicious GF coconut flour recipes? Here are a few top reader favorites:
• Lemonberry Muffins
• Fruity Coconut Flour Pancakes
• Raw Cookie Dough Bites
• Lemondrop Cupcakes

Print
Pineapple-Coconut Muffins (GF)

Yield: 8

Pineapple-Coconut Muffins (GF)

Ingredients

  • 1/2 cup organic coconut flour
  • 1/2 tsp baking soda
  • 1/4 tsp sea salt
  • 4 large eggs
  • 1/3 cup plain organic whole milk yogurt (or coconut milk)
  • 1/3 cup pure maple syrup (I prefer to use light grade for baking)
  • 2 tbsp unsalted butter, melted (or coconut oil)
  • 1 1/2 tsp pure vanilla extract
  • 1 cup of fresh diced pineapple
  • Unsweetened shredded coconut

Instructions

  1. Preheat oven to 350 degrees. Line a 12-cup muffin pan with 8 paper liners. In a small bowl, mix together the coconut flour, baking soda and salt. In a large bowl, whisk together the eggs, kefir, maple syrup, butter and vanilla extract. Add the dry ingredients to the wet and whisk well to combine until no lumps remain and batter is thick.
  2. Add a spoonful of the muffin batter to each of the lined muffin cups making sure to fill no more than 1/3 of the muffin liner. Using both hands, lift the muffin tin evenly tap the bottom on the counter to evenly distribute the batter in the bottom of the muffin cups.
  3. Then, add a few pieces of diced pineapple to each muffin cup. Next, place another spoonful of batter on top of the pineapple, making sure to evenly distribute the remaining batter among all the muffin cups. Finally, add more pineapple to the top of each muffin and sprinkle lightly with a few pinches of shredded coconut.
  4. Bake for approximately 22-25 minutes, until top and edges begin to turn a light golden brown. Allow to cool in the pan for 5 minutes, then serve. Enjoy!
3.1
https://thenourishinghome.com/2012/03/pineapple-coconut-muffins-gf/

You Might Also Like:

grain-free Chile-Cheese “Cornbread” Muffins
Huevos a la Mexicana (GF)
Pancake & Sausage Pops {GF, DF}

Filed Under: Breakfast, Muffins/Breads/Biscuits ·

  • « Previous Page
  • 1
  • …
  • 174
  • 175
  • 176
  • 177
  • 178
  • …
  • 182
  • Next Page »

My New Cookbook is Here!

Welcome to The Nourishing Home!

I’m so glad you’re here and want you to feel right at home! My heart in creating this blog is to help you by sharing helpful meal planning strategies and nourishing GF recipes that are healthy, easy and delicious with thanksgiving to God! [Read More …]


All content (recipes, photos, posts, etc.) on this site is the creative property of Kelly Smith. You are welcome to share a photo via social media, as long as it contains a link back to the corresponding recipe or post from this site. However, you may not republish a recipe in its entirety in any form. For questions, or for permission to use a photo or recipe, please contact me via email at [email protected]. Thank you!

Please Note: All content (recipes, photos, text, etc.) on this site is the creative property of Kelly Smith of The Nourishing Home. You are welcome to share a photo via social media, as long as it contains a link back to the corresponding recipe from this site. However, re-publishing a recipe in any form is strictly prohibited. Additionally, please refrain from adapting recipes without properly linking back to the original recipe, and keep in mind that simple substitutions do not constitute an adapted or original recipe. For details regarding recipe copyright law, please visit the Food Blog Alliance.
The Nourishing Home is a participant in the Amazon Services LLC Associates Program, an affiliate advertising program designed to provide a means for sites to earn advertising fees by advertising and linking to amazon.com.

Privacy Policy
DMCA.com

Copyright © 2025 · All Rights Reserved · The Nourishing Home · Artwork by Nancy Panaccione · Site Design by Deluxe Designs · Log in