The Nourishing Home

living healthier lives in service to the King!

  • Home
  • About
    • About TNH
    • Contact
  • Meal Planning
  • Health & Wellness
    • Real Food Basics
  • Whole30
  • GF Recipes
    • Whole30
    • Breakfast
    • Lunch
    • Entrées
    • Slow Cooker
    • Soups & Stews
    • Sides & Salads
    • Snacks
    • Desserts
    • Kids in the Kitchen
  • My Cookbook
  • Subscribe

Frozen Banana Bites – Summer Fun with the Kids!

By Kelly · 6 Comments

These super easy Frozen Banana Bites – made with homemade magic shell topping – literally take just minutes to make, and seconds to eat!

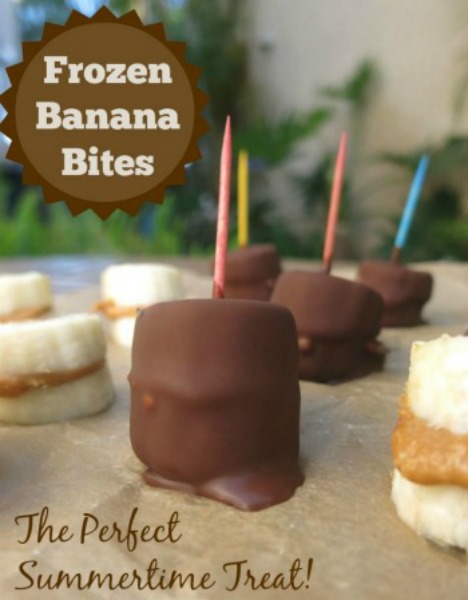
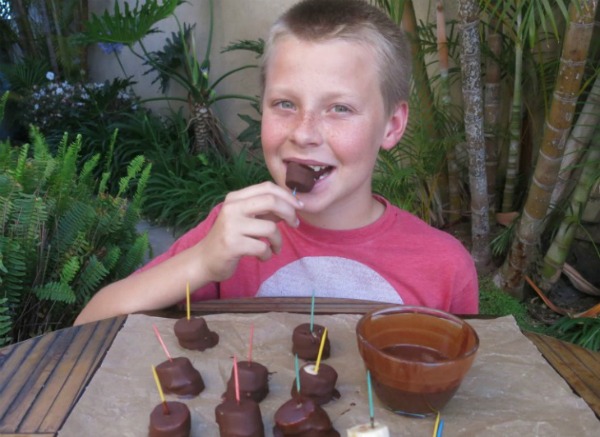
Summer is officially here! And to celebrate “no more pencils, no more books,” I’m sharing a super fun recipe you can make with your kids over at The Better Mom – Frozen Banana Bites!

Made with fresh banana slices, a dab of nut butter and my special Homemade Chocolate Hard Shell, these scrumptious little bite-sized treats take only minutes to make and seconds to eat. (I bet you can’t eat just one!)

These super easy Frozen Banana Bites – made with homemade magic shell topping – literally take just minutes to make, and seconds to eat!

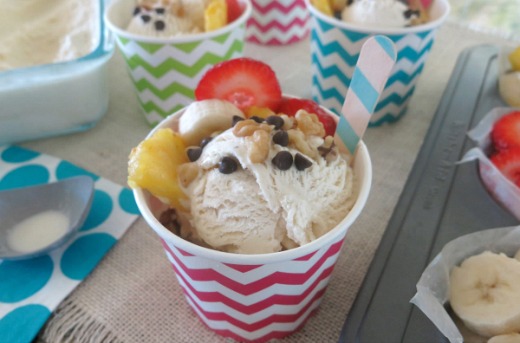
These super-duper easy frozen treats are from my FREE “Healthy Ice Pops & Frozen Treats” eBook, which you can get FREE when you Subscribe to The Nourishing Home.

And of course, you can get this fun, kid-friendly recipe over at The Better Mom. Wishing you and your family a happy and blessed summer!

You Might Also Like:

Six Strategies for Super Healthy Lunches Kids Love!
Healthier Ice Cream Sandwich Cookies (GF Options)
Fruit & Yogurt Parfaits (GF)

Filed Under: Frozen Treats, Kid Friendly Recipes ·

Homemade Vanilla Bean Ice Cream {and Exciting News!}

By Kelly · 23 Comments

Throw a fun ice cream sundae party featuring this naturally-sweetened, homemade vanilla bean ice cream recipe. You and your kids (and their friends) will love it!

I’m thrilled to share some exciting news with you … I recently joined the KitchenAid contributor team as a featured blogger at their beautiful recipe site – Kitchenthusiast. What an honor!

As a huge fan of KitchenAid appliances, it’s such a privilege to be able to join some of my favorite bloggers to share delicious seasonal recipes that highlight a few of my favorite KitchenAid products.

Since summer is finally here, I thought it would be fun to celebrate this exciting news with an Ice Cream Sundae Party featuring my family’s favorite naturally-sweetened homemade vanilla bean ice cream recipe.

Throw a fun ice cream sundae party featuring this naturally-sweetened, homemade vanilla bean ice cream recipe. You and your kids (and their friends) will love it!

So join the party and come visit me over at KitchenAid today where I’m sharing a super simple recipe to beat the heat of summer and have a lot of fun in the process!

P.S. These absolutely adorable chevron-stripe ice cream cups make any party fun! Another party-friendly serving tip – use muffin tins to serve toppings for ice cream parties, burrito or taco night, make-your-own pizza night and MORE! (aff.links)

Disclosure: As a contributor for KitchenAid’s blog, I occasionally receive free products, as well as a small stipend for writing posts for Kitchenthusiast. This in no way impacts my review of their products. All opinions given are my honest thoughts after testing and using their products on a regular basis. Thank you!


You Might Also Like:

Tips for Making Healthy Homemade Frozen Pops {Plus, Free Healthy Pops eBook!}
Banana Split Pop (GF, DF Option)
Spicy Tropical Fruit Skewers {Grilled}

Filed Under: Frozen Treats ·

No Bake Mini-Cheesecakes (GF)

By Kelly · 8 Comments

These scrumptious little grain-free mini-cheesecakes are so creamy and lemony with just the right balance of sweetness. And you can make them ahead of time for company!We love to entertain in the summer, so I’m always looking for easy, healthy recipes that can be made ahead of time. That way, I can enjoy spending more time with my guests and less time in the kitchen.

The warm weather of summer lends itself to a light, refreshing no-bake dessert ­. So I decided to rework my favorite no-bake cheesecake recipe to create these beautiful single-serving treats perfect for summer entertaining (recipe below).

These scrumptious little grain-free mini-cheesecakes are so creamy and lemony with just the right balance of sweetness. Made from wholesome real food ingredients rich in probiotics, these little gems are not only delicious, they’re nutritious too!

Another wonderful thing about this easy-to-make recipe is there’s something for everyone, since you can provide a nice little assortment using a variety of your favorite fresh fruit toppings. Or simply top them with an additional sprinkle of grated lemon zest for an extra punch of tart goodness.

These scrumptious little grain-free mini-cheesecakes are so creamy and lemony with just the right balance of sweetness. And you can make them ahead of time for company!

Print
No Bake Mini-Cheesecakes (GF)

Yield: 12 mini-cheesecakes

Ingredients

    Nutty Crust
  • 1 cup walnut baking pieces
  • 12 whole pitted organic medjjool dates
  • 2 tsp coconut oil (or butter, softened)
  • Cheesecake Filling
  • 8 oz. organic plain (or cultured) cream cheese, room temp
  • 1/3 cup pure raw honey
  • 2 tbsp fresh squeezed lemon juice (about 1 lemon)
  • 2 tsp fresh grated lemon zest (about 1 lemon)
  • 1 cup plain organic whole milk Greek yogurt
  • Fresh Berry Topping
  • 2 1/2 cups of your favorite assorted fresh organic berries

Instructions

    Nutty Crust
  1. Combine walnut pieces, pitted and halved dates and coconut oil in a food processor and process until very finely chopped. (The mixture will resemble a graham cracker style crust.)
  2. Line a 12-cup muffin tin with paper liners. Using your fingers, press the nut mixture into the bottom of each paper muffin liner. (Use about 1 heaping tablespoon per muffin cup.)
  3. Cheesecake Filling
  4. Carefully wipe out the food processor container and blade with a clean paper towel (or dish towel). Then add the cream cheese, honey, lemon juice and lemon zest to the clean container and process until well combined.
  5. Add the whole milk Greek yogurt and process until smooth and creamy.
  6. Divide filling evenly among the 12 muffin cups. Use your finger to even out the top of each muffin cup to ensure the filling is evenly distributed within each cup.
  7. Place the muffin tin in the freezer for at least two hours until frozen solid.
  8. Fresh Berry Topping
  9. When ready to serve, remove the muffin tin from the freezer. Then remove the mini-cheesecakes one at a time from the muffin tin and gently peel off the paper liners. (Or you can place the frozen solid mini-cheesecakes – liners left on – into an airtight container and just take out what you need and keep the rest frozen for future use.)
  10. Place the paperless mini-cheesecakes on a serving platter and allow them to sit on the counter about 20 minutes before serving.
  11. While waiting for them to thaw a bit, arrange your favorite fresh berries in a pleasing pattern across the top of each mini-cheesecake.
  12. Then serve and enjoy the accolades! These lemony little cheesecakes are AMAZING!
3.1
https://thenourishinghome.com/2013/08/no-bake-mini-cheesecakes/

Here’s to a cool and refreshing summer! With blessings, Kelly

You Might Also Like:

Frozen Banana Bites – Summer Fun with the Kids!
Banana Split Pop (GF, DF Option)
Healthy Fruit & Cream Bars!

Filed Under: Frozen Treats ·

  • 1
  • 2
  • 3
  • 4
  • Next Page »

My New Cookbook is Here!

Welcome to The Nourishing Home!

I’m so glad you’re here and want you to feel right at home! My heart in creating this blog is to help you by sharing helpful meal planning strategies and nourishing GF recipes that are healthy, easy and delicious with thanksgiving to God! [Read More …]


All content (recipes, photos, posts, etc.) on this site is the creative property of Kelly Smith. You are welcome to share a photo via social media, as long as it contains a link back to the corresponding recipe or post from this site. However, you may not republish a recipe in its entirety in any form. For questions, or for permission to use a photo or recipe, please contact me via email at [email protected] Thank you!

Please Note: All content (recipes, photos, text, etc.) on this site is the creative property of Kelly Smith of The Nourishing Home. You are welcome to share a photo via social media, as long as it contains a link back to the corresponding recipe from this site. However, re-publishing a recipe in any form is strictly prohibited. Additionally, please refrain from adapting recipes without properly linking back to the original recipe, and keep in mind that simple substitutions do not constitute an adapted or original recipe. For details regarding recipe copyright law, please visit the Food Blog Alliance.
The Nourishing Home is a participant in the Amazon Services LLC Associates Program, an affiliate advertising program designed to provide a means for sites to earn advertising fees by advertising and linking to amazon.com.

Privacy Policy
DMCA.com

Copyright © 2023 · All Rights Reserved · The Nourishing Home · Artwork by Nancy Panaccione · Site Design by Deluxe Designs · Log in