The Nourishing Home

living healthier lives in service to the King!

  • Home
  • About
    • About TNH
    • Contact
  • Meal Planning
  • Health & Wellness
    • Real Food Basics
  • Whole30
  • GF Recipes
    • Whole30
    • Breakfast
    • Lunch
    • Entrées
    • Slow Cooker
    • Soups & Stews
    • Sides & Salads
    • Snacks
    • Desserts
    • Kids in the Kitchen
  • My Cookbook
  • Subscribe

Honey Butter Biscuits made with LOVE!

By Kelly · 6 Comments

Honey Butter Biscuits made with LOVE!

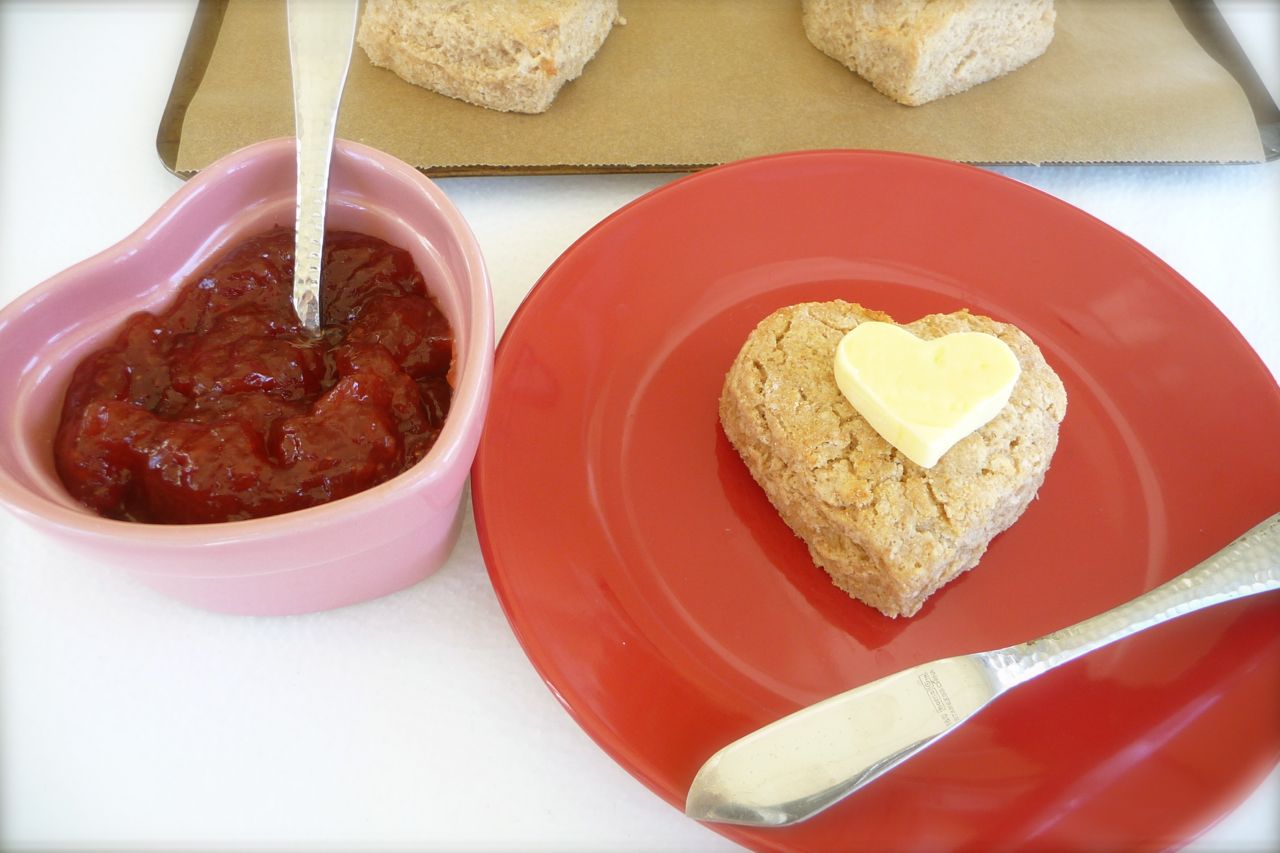
Something as simple as baking up a batch of heart-shaped biscuits is such sweet way to add a little extra love to start the day! I‘ve always felt that it’s these little extra expressions of love and care that add up to making your family feel extra special! And it’s these sweet gestures that also serve to forge happy memories that last a lifetime!

A fond memory dear to my heart is how my Mom would make my brother and I the most adorable little mouse-ear pancakes. She would decorate them with bits of fruit and chocolate chips so they looked just like Mickey and Minnie – it really made our day!

So as I putter around the kitchen, I often try to think of little extra ways to say “I love you” in the meals I’m serving to my family. It’s lots of fun to see them smile, or even sometimes roll their eyes at some of my silly concoctions (as in the case of my just-turned-teen getting a meal arranged like a smiley face – LOL!).

Honey Butter Biscuits made with LOVE!

Print
Honey Butter Biscuits made with LOVE!

Honey Butter Biscuits made with LOVE!

Ingredients

  • 1 batch of Almond Flour Shortcake Biscuits
  • Honey-Butter Hearts
  • 1/2 cup cultured butter, softened
  • 1 tbsp raw honey
  • 1/8 tsp pure vanilla extract

Instructions

    Make Honey-Butter:
  1. Using an electric mixer, blend the softened butter, honey and vanilla together until well combined.
  2. Using a rubber spatula, remove honey-butter from the mixing bowl and place it on a sheet of plastic wrap.
  3. Shape it into a log or a rectangle. (I use the top of my butter dish as a mold to shape the honey-butter into a rectangle - simply place the plastic wrap into the top of the butter dish and press the honey-butter into it.)
  4. Refrigerate honey-butter overnight, or at least 2-3 hours until completely firm. (You can also store honey-butter in the freezer.)
  5. Make Biscuits:
  6. Preheat oven and prepare biscuit dough according to recipe instructions.
  7. Refrigerate the biscuit dough for at least 30 minutes. Then roll out the dough between two sheets of parchment paper just until it's one-inch thick. Use a large heart-shaped cookie cutter to cut out biscuits. (Place the cookie cutter in coconut flour or almond flour to prevent biscuits from sticking.)
  8. Bake biscuits according to recipe instructions.
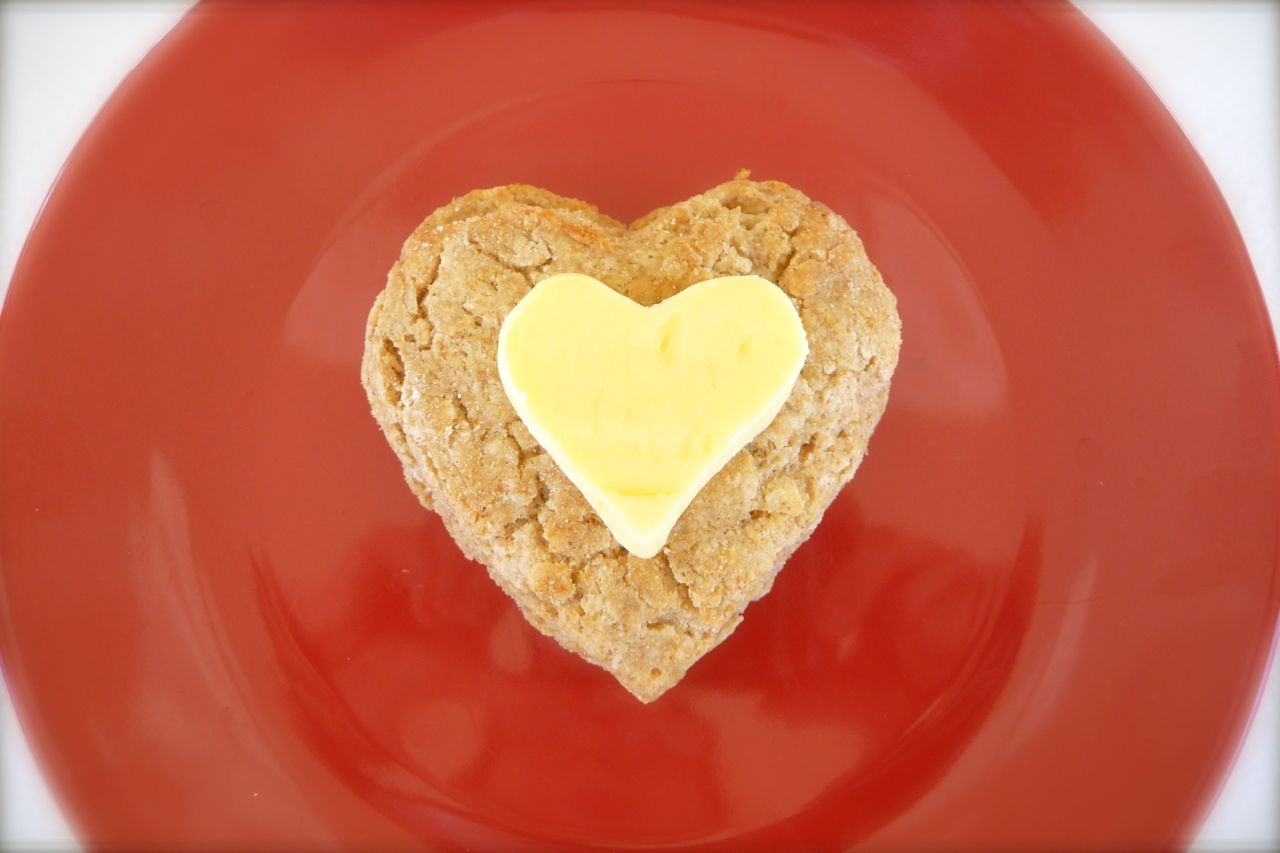
  9. While biscuits are baking, use a tiny heart-shaped cookie cutter to cut the honey-butter into heart shapes, if desired.
  10. Serve biscuits warm with honey-butter and strawberry jam. Enjoy!
3.1
https://thenourishinghome.com/2013/02/biscuits-made-with-love/

What are some of your favorite ways to add a little extra love to your family’s meals?

follow-me-on-pinterest-button

You Might Also Like:

Morning Glory Muffins (GF, DF)
Cherry Chocolate Chip Scones
Lemonberry Muffins (GF)

Filed Under: Muffins/Breads/Biscuits ·

Garden Herb Biscuits (GF)

By Kelly · 49 Comments

Since it’s wintertime, I decided to cut back most of my herbs in my little container garden.
I chopped up about half and froze them like I normally do, but then decided to slowly air-dry out the rest to create a nice assortment of homemade dried herbs too. (I was inspired by this post on how to preserve fresh herbs over at Keeper of the Home.)

Once they were done drying, I was eager to try them out. So I decided to use an assortment of these fresh-dried herbs to make these delightful grain-free biscuits. I usually make them with fresh herbs (as shown in the photo), but I’m happy to report that they are just as tasty with dried herbs too!

These light and fluffy, yet filling, biscuits are just a simple twist on my popular Almond Flour Biscuits recipe. We find these savory little fellows to be the perfect accompaniment to hearty wintertime soups and stews, as well as roasted chicken. We hope you enjoy them too!

Print
Garden Herb Biscuits (GF)

Yield: 6 four-inch round biscuits

Garden Herb Biscuits (GF)

Ingredients

  • 2 1/2 cups blanched almond flour
  • 1/2 cup shredded grassfed cheddar cheese
  • 1 1/2 tsp finely minced fresh herbs, or 1/2 tsp dried herbs (I use a combo of thyme, parsley & rosemary)
  • 1/2 tsp baking soda
  • 1/4 tsp sea salt
  • 1/8 tsp garlic powder
  • 2 large eggs

  • 1/4 cup organic buttermilk (or coconut milk)

Instructions

  1. Preheat oven to 350 degrees. In a medium bowl, combine almond flour, cheddar cheese, herbs, baking soda, salt and garlic powder.
  2. In a small bowl, whisk together the eggs and buttermilk until well combined. Using a spoon, stir the wet mixture into the dry mixture until thoroughly combined.
  3. For quick and easy drop biscuits: Drop biscuit dough by large spoonfuls onto a parchment-lined baking sheet, placing the biscuits approximately two-inches apart.
  4. For classic-style rolled-looking biscuits: Scoop a large spoonful of batter into your hands and roll into a ball about the size of an apricot. Then place the dough balls on a parchment-lined baking sheet and gently flatten using the palm of your hand.
  5. Bake about 15 minutes, until golden brown on top and a toothpick inserted in middle comes out clean. Serve warm with butter. These make the perfect accompaniment to hearty soups and stews!
3.1
https://thenourishinghome.com/2013/01/garden-herb-biscuits-gf/

Do you have an herb garden? What are your favorite ways to use and preserve your fresh-grown herbs?

You Might Also Like:

Lentils & Carrots with Swiss Chard (GF)
Pumpkin Pie Muffins {Grain-Free, Dairy-Free}
Peach Cobbler Donuts (& Muffins!)

Filed Under: Muffins/Breads/Biscuits, Sides ·

Pumpkin-y Pancakes (GF)

By Kelly · 19 Comments

I’m quite a pumpkin aficionado, so developing an almond flour pumpkin pancake was on the top of my “to-do” list for Fall! And thankfully, this recipe was fairly easy to create, because I simply used my delicious Fluffy Little Almond Flour Pancake recipe as the base. The result is a moist, fluffy pancake that truly captures the flavors and aroma of Fall!

Keeping the pancakes small (about 3″ in diameter) makes it easier to flip them and also helps them cook-up nice and fluffy!

By the way, you don’t have to be gluten-free or grain-free to enjoy the benefits of blanched almond flour. Whether your GF or not, adding it to your diet is a healthy way to add variety and satisfy those carb-cravings without sacrificing good nutrition. That’s because blanched almond flour is low in carbs, high in protein and fiber, and provides many essential vitamins and minerals, as well as healthy fats.

EverydayGrainFreeBakingThis delightful recipe is just one of more than 100 irresistible grain-free, dairy-free recipes in my new cookbook – Everyday Grain-Free Baking!

From breads, biscuits and muffins to savory snacks and decadent treats, you’ll find step-by-step instructions, beautiful color photographs and helpful tips & tidbits to make all of your GF baking adventures a delicious success!

Click here to get a SNEAK PEEK of the book!

Print
Pumpkin-y Pancakes (GF, DF Option)

Yield: 12 silver dollar size pancakes

Ingredients

  • 1 1/4 cups blanched almond flour
  • 1/2 tsp baking soda
  • 1/4 tsp sea salt
  • 3 large eggs, room temperature
  • 1/3 cup pumpkin puree
  • 2 tbsp butter, melted (or coconut oil)
  • 1 tbsp pure maple syrup
  • 1 tsp pure vanilla extract
  • 1 tsp pumpkin pie spice

Instructions

    UPDATE: I am excited to share a faster and easier way to make these delicious pumpkin-y pancakes by using your blender. This method is what I recommend in my cookbook, Everyday Grain-Free Baking. It not only saves a lot of time (and dishes), but we've also discovered that the pancakes are just as fluffy, yet with a much lighter flavor and texture. Here are the updated instructions:
  1. Preheat griddle over medium heat.
  2. Place all of the liquid ingredients into your blender, then place all of the dry ingredients on top. Cover and blend on low to start, then increase to high and blend at least 1 full minute.
  3. Please note: The batter will be very thick like a thick cake batter. If it is too thick for your liking, a simple option to correct the consistency is to simply add a tablespoon of coconut milk to the batter one tablespoon at a time, blending thoroughly before adding another tablespoon, until the desired consistency of batter is reached. Adding extra milk may make the pancakes a bit thinner (depending upon how much extra milk is added), but it should not dramatically impact the flavor.
  4. Grease preheated griddle with butter (or coconut oil).
  5. Ladle a spoonful of batter onto the griddle to form a silver dollar size pancake (about 3” in diameter).
  6. Cook for a few minutes, until pancakes begin to dry out at edges and the bottoms are a golden brown. It’s important to keep a careful eye on them as almond flour pancakes burn easily. (I like to take a little peek under one of the pancakes to check, before flipping.)
  7. Carefully flip and cook another few minutes until done, but not over-browned.
  8. Serve hot off the griddle with cultured butter, pure maple syrup and a medley of fresh berries.
  9. Original Instructions for Preparing: For those who would like to follow the original instructions, I've left them intact below.
  10. Preheat griddle over medium heat.
  11. In a small bowl combine the blanched almond flour, baking soda and salt.
  12. Next, separate the egg whites from the yolks. Place the egg whites in a medium bowl; set aside.
  13. Place the egg yolks in a large bowl and whisk in the pumpkin puree and melted butter. Next, whisk in the maple syrup, vanilla and pumpkin pie spice.
  14. Then, add the dry mixture to the pumpkin mixture, whisking well to thoroughly combine, making sure there are no lumps in the batter. (Batter will be very thick.)
  15. Using a clean large wire whisk, whisk the egg whites rapidly until very foamy (about two minutes).
  16. Then, use the whisk to fold the whipped egg whites into the batter; by gently turning the batter over and over again, until well combined.
  17. Grease preheated griddle with butter (or coconut oil).
  18. Ladle a spoonful of batter onto the griddle to form a silver dollar size pancake (about 3” in diameter).
  19. Cook for a few minutes, until pancakes begin to dry out at edges and the bottoms are a golden brown. It’s important to keep a careful eye on them as almond flour pancakes burn easily. (I like to take a little peek under one of the pancakes to check, before flipping.)
  20. Carefully flip and cook another few minutes until done.
  21. Serve hot off the griddle with cultured butter, crispy walnuts and a drizzle of pure maple syrup. Happy Fall!
3.1
https://thenourishinghome.com/2012/12/pumpkin-y-pancakes-gf/

You Might Also Like:

Peach Pancakes
Cinnamon Toast Waffles {Grain-free, Dairy-free}
Fruity Coconut Flour Pancakes (GF, DF Option)

Filed Under: Pancakes/Waffles · Tagged: almond flour pancakes

  • « Previous Page
  • 1
  • …
  • 12
  • 13
  • 14
  • 15
  • 16
  • …
  • 20
  • Next Page »

My New Cookbook is Here!

Welcome to The Nourishing Home!

I’m so glad you’re here and want you to feel right at home! My heart in creating this blog is to help you by sharing helpful meal planning strategies and nourishing GF recipes that are healthy, easy and delicious with thanksgiving to God! [Read More …]


All content (recipes, photos, posts, etc.) on this site is the creative property of Kelly Smith. You are welcome to share a photo via social media, as long as it contains a link back to the corresponding recipe or post from this site. However, you may not republish a recipe in its entirety in any form. For questions, or for permission to use a photo or recipe, please contact me via email at [email protected]. Thank you!

Please Note: All content (recipes, photos, text, etc.) on this site is the creative property of Kelly Smith of The Nourishing Home. You are welcome to share a photo via social media, as long as it contains a link back to the corresponding recipe from this site. However, re-publishing a recipe in any form is strictly prohibited. Additionally, please refrain from adapting recipes without properly linking back to the original recipe, and keep in mind that simple substitutions do not constitute an adapted or original recipe. For details regarding recipe copyright law, please visit the Food Blog Alliance.
The Nourishing Home is a participant in the Amazon Services LLC Associates Program, an affiliate advertising program designed to provide a means for sites to earn advertising fees by advertising and linking to amazon.com.

Privacy Policy
DMCA.com

Copyright © 2026 · All Rights Reserved · The Nourishing Home · Artwork by Nancy Panaccione · Site Design by Deluxe Designs · Log in