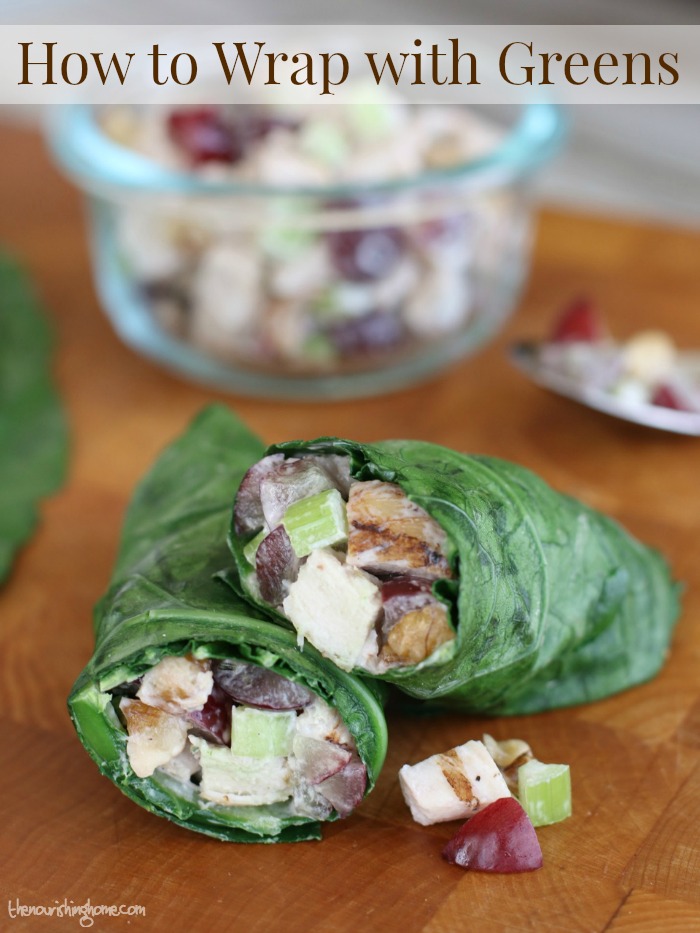
If you’re living grain-free, low-carb, or simply want to get more healthy veggies on your plate, why not swap out bread with healthy green sandwich wraps?!
It’s so easy to create tasty wraps by rolling up your favorite sandwich fillings in lettuce leaves or fresh greens. This beautiful low-carb, gluten-free, grain-free option not only tastes great, it also provides a boost of extra fiber and nutrients.
When selecting greens for wrapping, there are two options. You can use soft lettuce leaves such as Bibb or Butter lettuces, or the softer top portion of romaine or looseleaf varieties. Another great option is to use greens such as mustard, collard or Swiss chard. Since greens tend to be a bit tougher, you can make it easier to wrap by giving them a quick blanch.
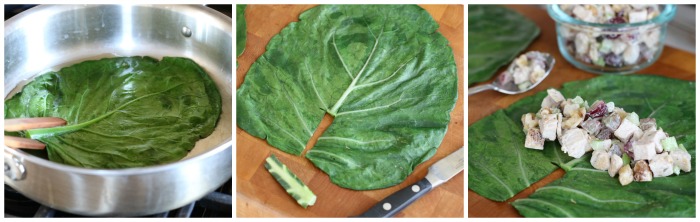
To blanch greens: Place some ice cubes in a large bowl filled with water. Set aside. In a large sauté pan, bring a cup of water to a simmer. As shown in the photo below, use tongs to place the leaves one at a time into the simmering water for 15-20 seconds, turning to blanch each side. Then, place the blanched green into the ice bath for 10 seconds to cool. Remove and pat dry with a clean kitchen towel. Repeat, until the entire bunch has been blanched and dried. Use a pairing knife to remove the tough stem so the leaf lies flat. Store the blanched greens in an airtight container (or baggie) in your fridge for up to three days. Follow the tips below to make delicious and healthy sandwich wraps.
How to Make Sandwich Wraps with Greens
Step One: Whether you opt to use blanched greens (as noted above) or soft lettuce leaves, be sure to cut the tough stem off from each of the leaves so that the leaf lies flat.
Step Two: Add a small amount of your favorite filling, such as grilled chicken salad, to the center of the leaf.
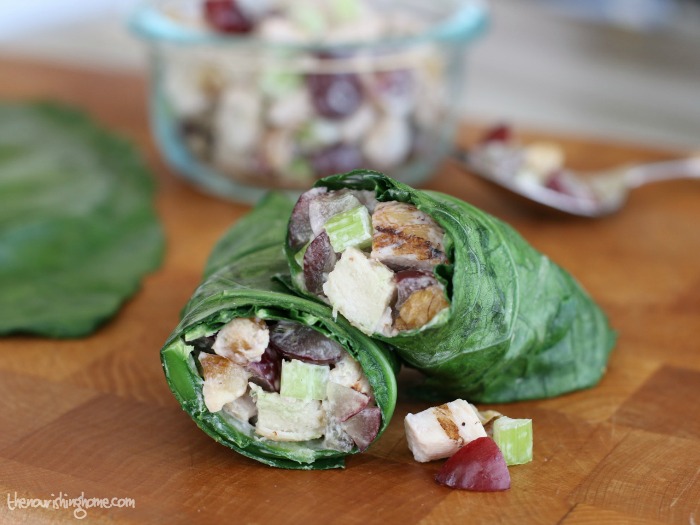
Step Three: Carefully roll up your tasty creation and enjoy every delicious bite! The secret to rolling is to fold the short sides of the green over the filling first. Then bring the two long pieces with the stem cut out up over the filling, and tightly roll forward. (Tuck the fillings in and roll tight.) Keep the wrap seam side down and cut in half, if desired.
Looking for more delicious ways to enjoy bread-free sandwiches? Be sure to check out “How to Make Deli Meat Wraps” for another tasty option for a healthier lunch!

Looks delicious!! Will try
Thanks, Melissa! Happy wrapping! 🙂
Can you make a video showing you wrapping up the sandwich? Your wraps look amazing, but I never get anything close to that.
You are so sweet, Becky. One of the days, I do need to make some videos. In the meantime, the secret is to fold the short sides of the green over the filling first. Then bring the long side with the stem cut out up over the filling and tightly roll. You can put a toothpick into the roll to hold it in place if you cut it in half like I did in the photos. I hope this helps! 🙂 Enjoy!
I am so inspired to try some tougher greens and blanch them for wraps! I have never done that before! My girls would love that grilled chicken salad in there! Wow – yum!
Thanks so much, Renee! I appreciate your kind words. Thanks for popping over to say howdy! Hope you enjoy wrapping with your girls! 🙂
I love this, Kelly! You have a knack for posting how-tos for all the things I struggle with most–I tried to make collard wraps a while ago and they were a disaster. I can’t wait to try again using these tips!
You are so kind, Becky! I just love your blog. Thanks so much for your kind words. You always make me smile! Blessings to you! 🙂
I can’t wait to try blanching my collard greens next time. The first time I tried using them raw for wraps (I bought them at the store) they were a bit tough and hard to chew. I also bought some from a Farmer’s Market and they worked alright raw, but I love how yours wrap so nicely after they’ve been blanched – this is going to be perfect for my husband’s lunch!
Yes, I think you’ll find the quick blanch makes them much easier to wrap with and provides a nice texture as well. Thanks for your kind notes! I appreciate you taking the time to be so positive! 🙂
OMG, Kelly! This looks soooooo good – now I’m hungry!
Thanks so much, sweet friend! I appreciate you taking the time to leave a kind note! 🙂