The Nourishing Home

living healthier lives in service to the King!

  • Home
  • About
    • About TNH
    • Contact
  • Meal Planning
  • Health & Wellness
    • Real Food Basics
  • Whole30
  • GF Recipes
    • Whole30
    • Breakfast
    • Lunch
    • Entrées
    • Slow Cooker
    • Soups & Stews
    • Sides & Salads
    • Snacks
    • Desserts
    • Kids in the Kitchen
  • My Cookbook
  • Subscribe

Search Results for: jam

How Much Food is Enough?

By Kelly · 48 Comments

TNH Too Much Food Cover

If you were to walk into my kitchen today, you would find roughly 400lbs of food. Included are at least 50lbs of whole grains that a friend gave to me before they moved to Peru a couple months ago and several cans of Italian tomatoes we ordered in bulk for our favorite pizza sauce.

There’s also six different types of sweeteners, several varieties of flour (at least five, but probably closer to 10), and seven kinds of dried beans.

Between the fridge and freezer, you’ll find 40lbs of chicken and 70lbs of berries. There’s another 4lbs of berries on the counter, 5lbs of potatoes on the dryer, 9lbs of strawberries in the dehydrator and 4lbs of blueberries turning into leather in the oven.

Don’t forget the myriad of sauces and vinegars in the pantry, homemade yogurt and dressings in the fridge and the zucchini bread and chocolate chip cookies on top of the microwave.

The more I think about the kitchen, the more I’m apt to believe that saying we have a lot of food is a gross understatement.

The problem? The feeling that I still need to go grocery shopping.

Most of this food wasn’t in our kitchen two days ago. Every year my dad brings home an overflow of produce, and when he does, it’s a race to dehydrate, can, jam, freezer or eat as much as we can before it goes bad.

But just last weekend, when there was 200lbs less food in my kitchen, the tug to go to the grocery store was still there. Admitting this is difficult and humbling, but it sparked something inside.  Much like I share my shopping trips every month to hold myself accountable to my grocery budget, sharing with you what’s in my kitchen is a reality check that I felt this past week that I believe many of you can benefit from as well.

How many days could we go without grocery shopping?

Raspberries

Have you ever looked at what was in your kitchen and wondered that? I do, almost every month.

My family is blessed in more ways than I can possibly count. We have a roof over our heads and clothes on our backs. There has never been a day when we go hungry, yet there’s always a small part of me that thinks the food we have isn’t enough.

I meal plan based on what’s in the house and then shop the kitchen before every stepping foot in a store. But still… it’s a trip for just one lemon… or just sour cream and dill… or whatever else I think we “need” in order for the family to eat a proper meal.

But what would happen if I didn’t go to the store?

Would we starve? Would we lose any nutrients? Would the family complain about the salad being dressed with plain oil and vinegar instead of a tastier strawberry vinaigrette?

How much is enough?

Last year at the Allume Christian Bloggers Conference, Kelly and I heard Jeff Shinabarger, author of “More or Less,” speak on the topic of “enough.” He shared a story about how his wife began to question her thoughts about her wardrobe. Instead of continuing to think “I don’t have anything to wear” each time she opened her closet, she instead wondered how many days she could go without wearing the same thing twice.

The question she asked herself was, “how much is enough?” She soon discovered that she had enough clothing in her closet to wear a different outfit for more than 45 days in row. This simple question changed her perspective and her family’s. They now serve to help others in need.

Asking ourselves “how much is enough?” can be the ultimate key to discovering our needs versus wants, and so I’m taking it to the kitchen and I’d like to encourage you to join me …

Ask yourself: How much food is enough?

The average family eats between 3-5 pounds of food per day. Starting with the 400lbs of food in the house and assuming my family of four eats 16lbs of food each day, we could eat for 25 days without leaving the house.

And you know what? I think we could easily go longer.

It’s not a competition to see who could eat the smallest meals possible so that they can say they went the longest without shopping.

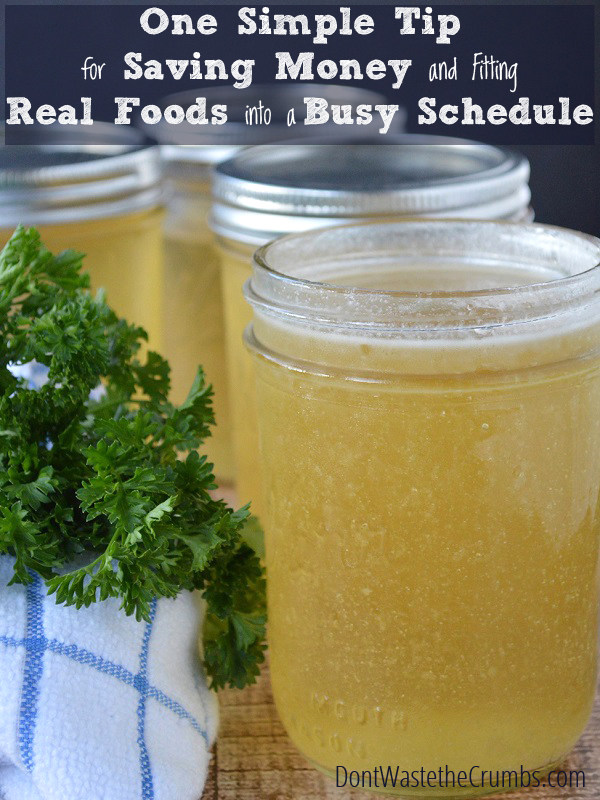
Rather, it’s the fact that 95% of the food in our house is real food (with the tortilla chips and ice cream being the two current exceptions) and the nutrients in real food help to control our appetite and blood sugar. Eating real food means we’re less likely to overeat in the first place, and the food we do eat will help us feel full and more satiated than if we had eaten junk food.

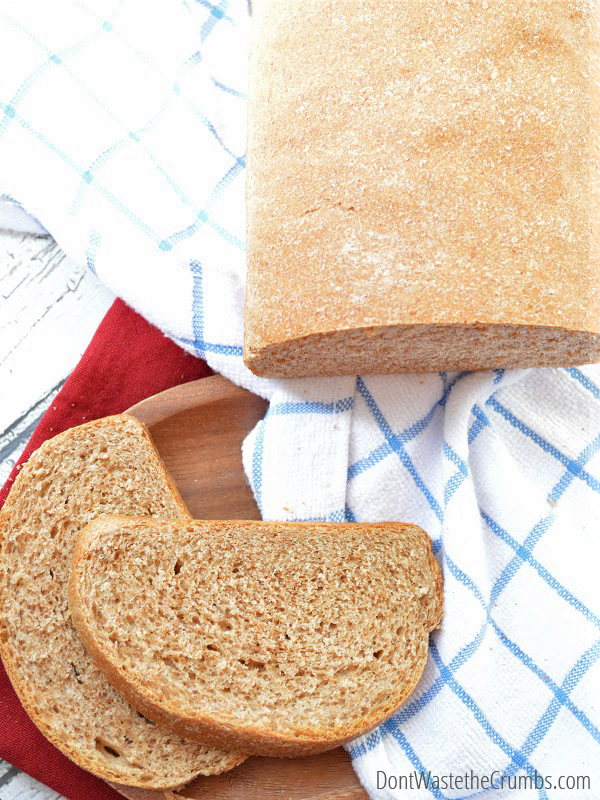
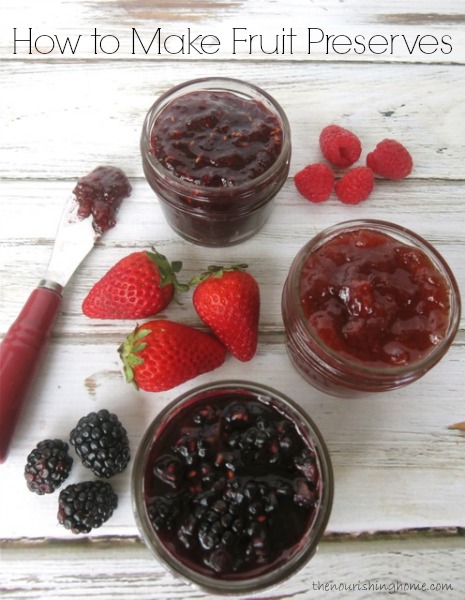
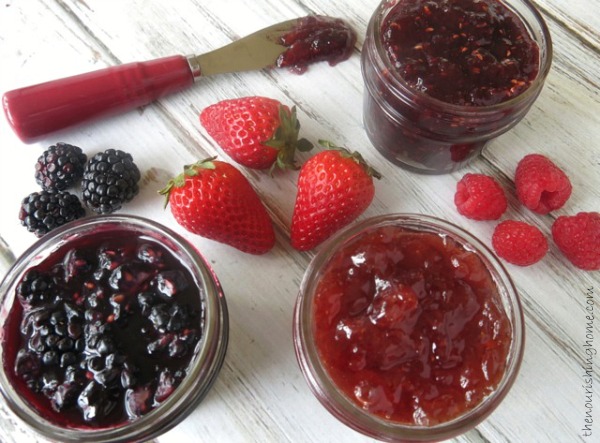
Plus we don’t eat much of the food we have in its current form. Whole grains are ground into flour to make bread. Raw beans are soaked and cooked first. Salads are only drizzled with dressings, not soaked in them. So there is certainly more food available than we probably even realize.

Blueberries

So while the math says we could go for 3-4 weeks without shopping, I have no doubt that if we made a legit attempt at eating only the food in our home, we could add at least another week.

Sure, we’d cook pretty much everything from scratch, and there would definitely be some hodge-podge meals, but we’d still be eating real food.

Can you imagine how much money my family would save if we didn’t go grocery shopping for 5 weeks?

Our grocery budget is $330 for four weeks, which means we’d save over $400 simply by eating the food we already have on hand.

Friends, I encourage you to ask yourself these two questions, and answer honestly:

  1. How much food do you currently have in your kitchen? 100lbs? 200lbs? More?
  2. How much food is enough? Could you stay out of a grocery store until your family ate every last ounce, or at least made a significant dent in your surplus?

There are hundreds of ways you can save money on real food, but there’s one way that surpasses them all: Eat what you already have.

As summer begins to wind down and the busy season of school looms ahead, I encourage you to not just be a good steward of your provisions, but to seek contentment with them by cultivating a heart of thanksgiving.

Before you shop – before you even make a meal plan or shopping list – really consider how much food you already have and find a way to use it. Your kitchen will be less cluttered, your budget will be leaner and your purposeful stewardship will be for His glory and will result in a more thankful heart.

30-Days-Without-Spending-Money30 Days Without Spending
And if you’re up for a good challenge, I’d like to invite you to join my family in our “30 Days Without Spending” challenge. Yes, that’s right. We’ve decided to not spend any money on groceries. At all. For the rest of August.

Sound crazy? Perhaps. But after writing this post, it really was on my heart (and my husband’s) to continue to challenge ourselves to be better stewards of what we have, and we’d love for you to join us!

Honestly, how many days could you legitimately eat, based on what’s in your house?  I’ll go first:  I think we could eat for 33 days, which is why we’re taking the “30 Days Without Spending” challenge.

Note from Kelly: For many of us, stocking our pantry and fridge week after week (even when we may already have an abundance of food) often is a result of mindless habit rather than thoughtful intention. That’s why stopping and asking ourselves “how much is enough?” helps us to live more purposefully – with more intention and with more gratitude. Tiffany’s post really struck a chord in my heart, and as I began to take inventory of my near-full pantry, I stopped and prayed, “thank you, Lord, for your gracious blessings!” I needed this reminder to be thankful for my daily bread and for friends like Tiffany who help us to stay focused on what truly matters – living with gratitude to the praise of His glory. I hope this post blesses your heart, as it has mine.

You Might Also Like:

Real Food Guide to Gluten-free Food at Costco
The Secret to a Healthy Grocery Budget: Keeping Your Receipts
5 Frugal Ways to Save on Groceries without Using a Calculator

Filed Under: Real Food on a Budget ·

One Simple Tip for Saving Money and Fitting Real Foods Into a Busy Schedule

By Kelly · 14 Comments

One Simple Tip Cover_cover2

One of the reasons I love blogging is the ability to help other people in areas where they struggle.  When readers sign up for my “Don’t Waste the Crumbs” newsletter, they’re asked to fill out a short survey that asks a very important question:  What’s your biggest challenge today?

I get quite the variety of answers, but one issue that keeps popping up over and over is this: Fitting real foods into a busy schedule – where should I spend my time?

I addressed this particular question in The Crumbs newsletter last week, and many readers found it helpful, so I thought I’d share this simple strategy with you all here at The Nourishing Home as well.

In order to make best use of your time in the kitchen, determine your Most Important Tasks (MITs).

Not sure what I mean?  Consider this:  There are 24 hours in each day and you have a to-do list that’s a mile long.  You know it’s absolutely impossible to complete the entire list without losing your sanity (or driving your family nuts), so you choose just a few of the “must-do’s.”  They won’t take up too much time, yet will help you make it through the week without the house falling apart and make a big impact in your schedule in the long run.

Use the same approach when it comes to the time you spend in the kitchen.  What food-related tasks can you accomplish that will give you the most bang for your buck, yet won’t keep you locked in the kitchen all day?

The answer to this question will be different for everyone.  Some say making butter is a top priority while others would say spending some time turning freshly picked berries into homemade jam is worth every minute, and every penny.

I can’t answer the question for you, but I can share what my own top 3 MIT’s are!

How to Make Greek-Style Yogurt {no straining, DF option}

1.  Homemade Yogurt

We drink smoothies on a daily basis, and they almost always have yogurt in them (when they don’t have yogurt, they have kefir).  In terms of meals, we use yogurt for homemade blue cheese dressing, for soaking oats and as a substitute for most recipes that call for sour cream.  Regular yogurt is delicious as is, but lately I’ve been straining it to make homemade Greek yogurt and whey.  I then use the whey to soak the flour in soaked whole wheat bread to break down the phytase and get as many nutrients as I can out of the grains!

Personally, I prefer making yogurt with a heating pad, but that’s just one of many ways to make it.  Here are a few other methods for making yogurt from fellow real food bloggers:

  • simple homemade yogurt with a heating pad
  • creamy yogurt from raw milk
  • yogurt in a slow cooker
  • awesome homemade yogurt troubleshooting guide
  • for the dairy-free folks, coconut yogurt
  • homemade Greek yogurt without straining
  • flavored drinkable yogurt in a slow cooker
  • yogurt incubated in a cooler

With all the different ways we eat yogurt, we go through an average of one gallon each month.  My total cost is $9.72 for a gallon of organic whole milk and Greek yogurt (as a starter).  It would cost at least $16 to buy a gallon of Greek yogurt from the store, and it wouldn’t even be organic!


Slow Cooker Bone Broth

2.  Homemade Chicken Stock

We keep our grocery bill low by having soup several times each month, but that wouldn’t do us any good if we were paying for chicken stock!  We’re already buying two whole chickens each month and using them for several meals.  Why not keep the bones and create nutrient-rich and delicious homemade stock?  The most basic chicken stock recipe uses just chicken bones, water and apple cider vinegar and can be made in just two minutes.  Depending on what you have in the kitchen though, you can really amp up the flavor!

  • Kelly’s slow cooker bone broth
  • homemade stock in a slow cooker
  • traditional stock with feet
  • 10 tips for better chicken stock

With soup at least three times a month, we go through anywhere between four to eight quarts of chicken stock each month.  Local stores carry organic chicken stock for $1.99 per quart, which means we’d be paying nearly $16 for chicken stock during the colder winter months.  Homemade chicken stock costs only 13¢ per quart when you take into account the cost of the three basic ingredients and electricity.  This one task alone saves us up to $15 each month – well worth those two minutes!

Bread Overhead

3.  Homemade Bread

Now you’re probably thinking, “But homemade bread takes HOURS to make.  Is it REALLY worth all the time?”  Absolutely!

You all know that Kelly is gluten-free, so my favorite whole grain bread recipe certainly wouldn’t be on her MIT list, but not all of you guys follow a gluten-free diet.  If this is the case, allow me to explain why homemade whole grain bread is one of my own personal MIT’s.

First, I control the ingredients.  I know exactly what goes into my soaked whole wheat bread.  Store-bought bread often contains high fructose corn syrup, flour enriched with synthetic vitamins and preservatives to keep it fresh while it makes it way from manufacturer to store shelves.  Correct me if I’m wrong, but it doesn’t sound that any of those are really helping the cause of healthy food in my house.

Second, it doesn’t take any more time when I’m already home.  Common sense should dictate not to bake bread when you’re spending the day at the beach.  Instead, bake it on a day you know you’re going to be home or at least in town.  Thursday is bread day in the Crumbs house, which was strategically planned to be the same day to catch up on laundry and house cleaning.  I simply set the timer in the kitchen and tend to the bread when the timer goes off.

It’s not quite as easy when school is in session, but creative scheduling means kneading, rising and baking is planned around trips to the library and errands around town on busier days.  Because baking bread is one of my MIT’s, I make time to get it done!

Finally, homemade bread costs less than half of the store-bought counterpart.  Whatever you pay for bread, whether it’s whole grain or sprouted with nine-seeds, take the cost and divide it in half.  That’s how much homemade bread costs.  Sure, $1 or $2 might not seem like much, but at the average rate of two loaves a week, once again we save $16 every month!

Are you gluten-free?  Think this doesn’t apply to you?  Au contraire mon frere!  This savings goes for you too!  Gluten-free ingredients can be very affordable when you buy them in bulk and Kelly’s brown bread recipe will turn you into a homemade bread convert too!

Have you been keeping tally of how much just these three tasks can save?  In just four hours, these three tasks alone save me almost $40 off my grocery budget!

So regardless of how busy my week is, or full my to-do list is, I always make time to do these three MIT’s.

How do you get the most bang for your buck in terms of time and energy in the kitchen?  What are you MIT’s?  Share them in the comments for others to see!

Note from Kelly: I love Tiffany’s weekly newsletter and am sure you will too!  In fact, when you subscribe to the Don’t Waste the Crumbs newsletter, Tiffany is offering a free eBook “22 Days to a Fresh Start.” PLUS, five pages worth of printables to help you get your grocery budget under control.  If you struggle with eating real food on a budget, I encourage you to subscribe to Tiffany’s newsletter to get these freebies.  You’ll also get the same survey she mentioned above. And you never know – your biggest challenge could be addressed in a future issue of her newsletter!  Click HERE to subscribe to Don’t Waste the Crumbs today! 

You Might Also Like:

Special Interview with The Breastfeeding Summit!
Salted Caramel Apple Bars (GF, DF)
Celebrate July 4th with an Easy & Healthy Patriotic BBQ Menu

Filed Under: Uncategorized ·

How to Make Honey Sweetened Fruit Preserves {using natural pectin}

By Kelly · 52 Comments

It's so easy to make your own honey sweetened fruit preserves perfect for spreading on breads, biscuits and for creating homemade fruit flavored yogurts.

Spring officially arrives this week, and with it comes the start of berry season here in Southern California. First to appear are red and delicious organic strawberries, followed by sweet-n-tangy raspberries, plump blueberries and one of my personal favorites – blackberries.

It’s no secret that we get a little excited about fresh berries around here. And rightly so! They’re not only absolutely delicious, but they’re chock full of beneficial nutrients and antioxidants too! That’s why they’re a favorite for enjoying in fruit salads and adding to grain-free granola, yogurt and desserts.

Of course, they also make amazing jams and preserves, which is why I’m sharing a simple method for making your own delightful honey sweetened fruit preserves using your favorite seasonal berries. A key part of this method is a little secret I learned from one of my favorite grain-free cookbooks.

The secret? Cranberries! By using a small amount of whole cranberries, you can avoid using powdered pectins to set your preserves. That’s because cranberries are high in natural pectin. So by including them in the recipe, your preserves will set-up nicely with just a little touch of fresh-squeezed lemon.

It's so easy to make your own honey sweetened fruit preserves perfect for spreading on breads, biscuits and for creating homemade fruit flavored yogurts.

This easy recipe will enable you to make delicious berry preserves with less fuss and more all-natural flavor. Shown above (left to right): Blackberry Preserves, Strawberry Jam and Raspberry Preserves. Yum!

What to do with all that delicious homemade jam? Why not make these amazing jam-layered crumble cookie bars! Mmm, they are soooo gooood!

It's so easy to make your own honey sweetened fruit preserves perfect for spreading on breads, biscuits and for creating homemade fruit flavored yogurts.
This special recipe at Deliciously Organic highlights the sweet fruity flavor of preserves sandwiched between two layers of scrumptious cookie crumble. Yes, please!

P.S. Just a friendly reminder, that I provide free monthly meal plans over at The Better Mom blog. Each week’s meal plan contains delicious family-friendly GF recipes utilizing a time-saving method to make getting a healthy dinner on the table a snap! I highly recommend you pop over to The Better Mom and download these free meal plans.

Print
Honey Sweetened Fruit Preserves {using natural pectin}

Yield: 4 one-cup servings

Ingredients

  • 4 cups of your favorite fresh berries, such as raspberries, strawberries or blackberries (or use thawed frozen berries)
  • 1 cup whole cranberries (fresh or frozen)
  • 1 to 1 1/4 cups pure honey (depending on how sweet you prefer your jam)
  • 1 tbsp of fresh-squeezed lemon juice (about 1/2 of a lemon)

Instructions

  1. Please Note: If making strawberry preserves, remove the stems and quarter the strawberries before measuring out 4 cups. For raspberry or blackberry jam, simply cut the berries in half before measuring. If making blueberry jam, no need to cut them.
  2. In a medium saucepan over medium/medium-high heat, bring the berries and honey to a boil while stirring. Then, reduce the temperature until the mixture remains at a constant simmer. Allow berries to simmer for 20 minutes, stirring occasionally.
  3. Once you reach the 20-minute mark, use the back of a wooden spoon to mash the cranberries against the side of the saucepan. This helps to release all of their natural pectin.
  4. Maintain a gentle simmer, making sure to stir the mixture frequently, so it does not scorch. While stirring, use the "back-of-spoon" method to break up any large pieces of fruit into smaller pieces. Or if you prefer a less chunky jam, thoroughly mash all of the berries.
  5. After 10 minutes, if the mixture is somewhat thick and no longer runny, turn off the heat. It will thicken more as it cools. If it is not thick enough, continue cooking at a gentle simmer, while stirring constantly until it thickens a bit more, then turn off the heat. (Keep in mind, preserves are looser than jellies, so once the mixture is chilled, it will be thick, but not gelatin-like.)
  6. Pour the fresh-squeezed lemon juice over the warm preserves, stir well and allow the mixture to cool to room temperature.
  7. Evenly distribute the cooled preserves among four 8 oz. glass jars making sure to leave about an inch of space between the top of the jam and the jar lid to accommodate for expansion. Then, cover and refrigerate or freeze. (Or you can preserve the jam by following the classic hot water bath canning method.)
  8. Because homemade jam/preserves do not contain any preservatives, I recommend placing one jar in the fridge to enjoy now, and freeze the three remaining jars for future use.

Notes

Recipe Variation: You can also combine berries to create delicious flavor combinations, such as my popular Jumble Berry Jam recipe.

Will Cranberries Affect the Flavor of my Jam? Yes, slightly. Cranberries will add a slightly tangy undertone, that is actually very pleasant in balancing the sweetness of the honey. This slight tartness may be more noticeable with milder fruits like strawberries, depending on your taste preferences.

If you're not a fan of cranberries, there are several things you can do if you wish to avoid their slight tart undertone ... First, I've found frozen cranberries to be less tart in flavor. Second, you can decrease the amount of cranberries to 3/4 cups and increase the berries by 1/4 cup. The jam won’t be as thick, but with milder fruits, such as strawberries, the mild tartness will be less noticeable.

In addition, if you are able to tolerate pectin (some diets restrict it), then you could opt to bypass the cranberries altogether and use a little Pomona’s Pectin instead to help thicken your jam, as I did in my homemade Peach Preserves recipe, since peaches are an especially mild fruit.

Did You Know: The words "jam" and "preserves" are often used interchangeably. However, there is a slight difference between the two. The fruit in preserves is often cut into chunks and allowed to remain somewhat whole, whereas jam is made using crushed or mashed fruit, which gives it a less chunky texture. So for this recipe, you can mash the fruit thoroughly during the cooking process to create a classic-style jam, or you can leave much of the fruit intact to create traditional preserves. Either option is delicious!

3.1
https://thenourishinghome.com/2014/03/honey-sweetened-fruit-preserves/

It's so easy to make your own honey sweetened fruit preserves perfect for spreading on breads, biscuits and for creating homemade fruit flavored yogurts.

You Might Also Like:

Season's Greetings Gift: All-Purpose Seasoning Mix in a Jar
Peach Mango Salsa (GF)
Homemade "Emeril's Essence" Seasoning Blend

Filed Under: Condiments ·

  • « Previous Page
  • 1
  • …
  • 3
  • 4
  • 5
  • 6
  • 7
  • …
  • 9
  • Next Page »

My New Cookbook is Here!

Welcome to The Nourishing Home!

I’m so glad you’re here and want you to feel right at home! My heart in creating this blog is to help you by sharing helpful meal planning strategies and nourishing GF recipes that are healthy, easy and delicious with thanksgiving to God! [Read More …]


All content (recipes, photos, posts, etc.) on this site is the creative property of Kelly Smith. You are welcome to share a photo via social media, as long as it contains a link back to the corresponding recipe or post from this site. However, you may not republish a recipe in its entirety in any form. For questions, or for permission to use a photo or recipe, please contact me via email at [email protected]. Thank you!

Please Note: All content (recipes, photos, text, etc.) on this site is the creative property of Kelly Smith of The Nourishing Home. You are welcome to share a photo via social media, as long as it contains a link back to the corresponding recipe from this site. However, re-publishing a recipe in any form is strictly prohibited. Additionally, please refrain from adapting recipes without properly linking back to the original recipe, and keep in mind that simple substitutions do not constitute an adapted or original recipe. For details regarding recipe copyright law, please visit the Food Blog Alliance.
The Nourishing Home is a participant in the Amazon Services LLC Associates Program, an affiliate advertising program designed to provide a means for sites to earn advertising fees by advertising and linking to amazon.com.

Privacy Policy
DMCA.com

Copyright © 2026 · All Rights Reserved · The Nourishing Home · Artwork by Nancy Panaccione · Site Design by Deluxe Designs · Log in