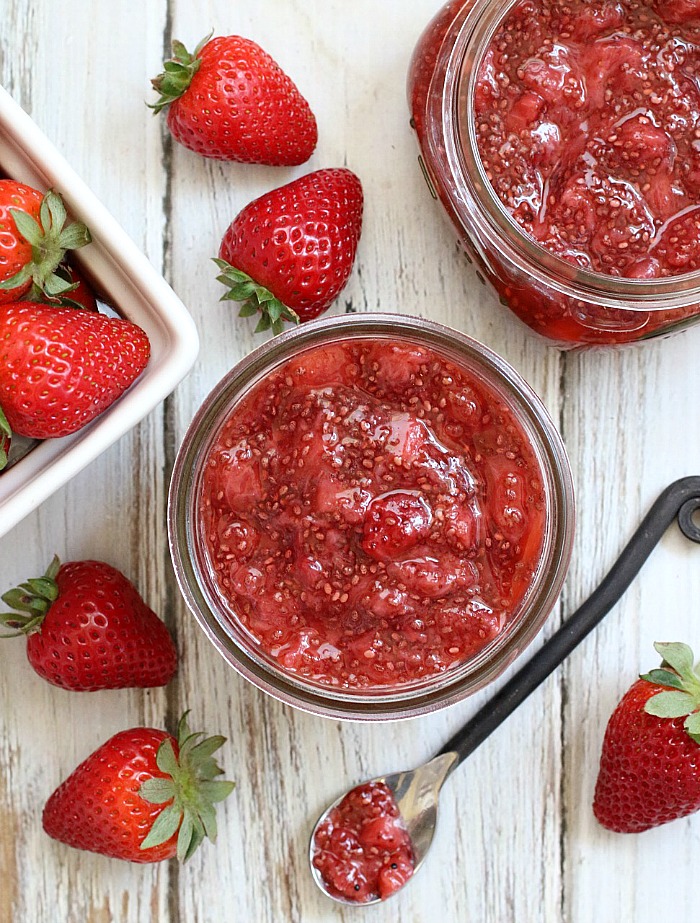
Making delicious homemade jam is easy with chia! With 5 wholesome ingredients and just 15 minutes, you can create a delightful, healthier fruit spread chock-full of fresh strawberry flavor!
Funny, but true: I can’t say the word chia, without that 1980s jingle going through my head … “Ch, ch, ch chia!” (Tell me I’m not alone!)
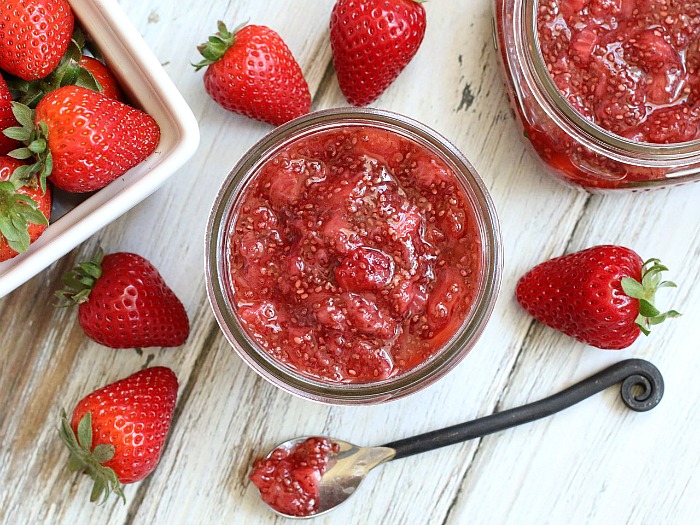
Seriously though, chia’s fame has spread from terracotta pets to superfood status, because these tiny little seeds are packed with nutrition … and of course they’re natural gelling power turns any liquid into a thick gel, making them a great option for creating quick, no-fuss jams like this delicious Strawberry Chia Jam.
Oh, Strawberry Chia Jam, how I love you! Let me count the ways …
It’s So Easy!
The beauty of making jam with chia seeds is it’s so incredibly easy! There’s no need to spend lots of time cooking down the fruit, and there’s certainly no need for pectin or sugar. Just dice up some fresh, ripe berries, cook them just until their juices release, and then add a couple of tablespoons of chia seeds, and a little honey, if you’d like to enhance the natural sweetness of the berries. The chia will begin absorbing the fruit juices, and thickening as it cools, creating a lighter, fresher-flavored jam.
It’s So Versatile!
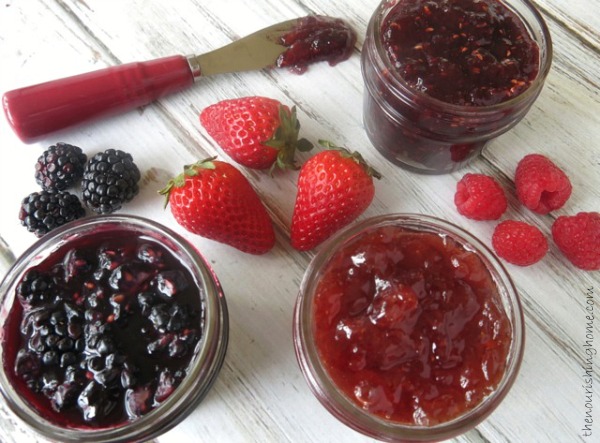
You can use chia seeds to not only make this delicious strawberry jam, but just about any fresh fruit jam your heart desires. Just follow this simple rule of thumb … For every cup of diced fresh fruit, add 1 tablespoon of chia seeds. (For juicer fruits, you can always add a little more chia for a thicker jam.)
There’s So Many Ways to Enjoy Chia Jam!
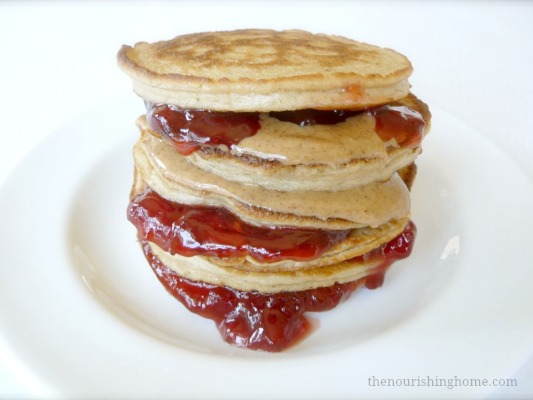
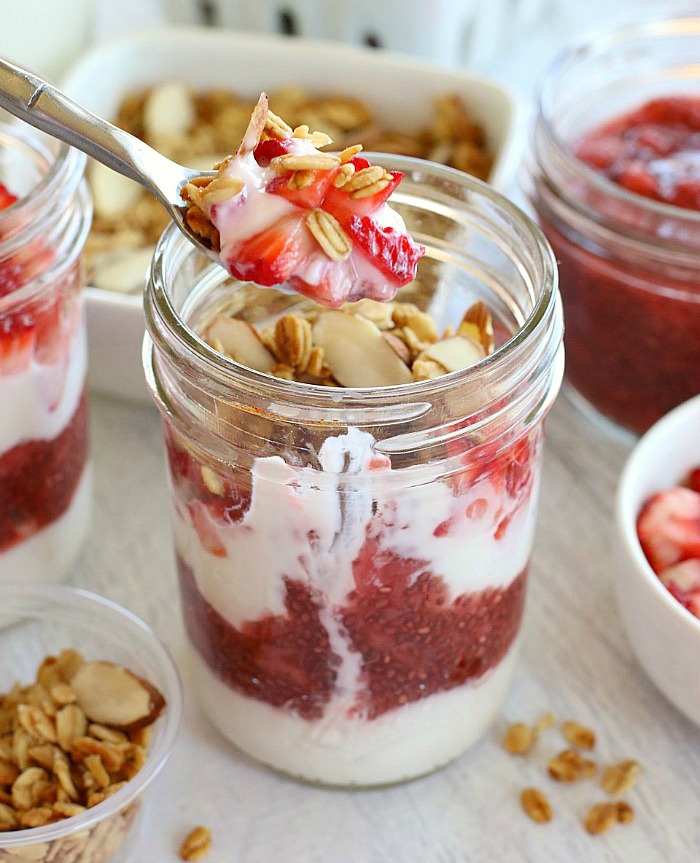
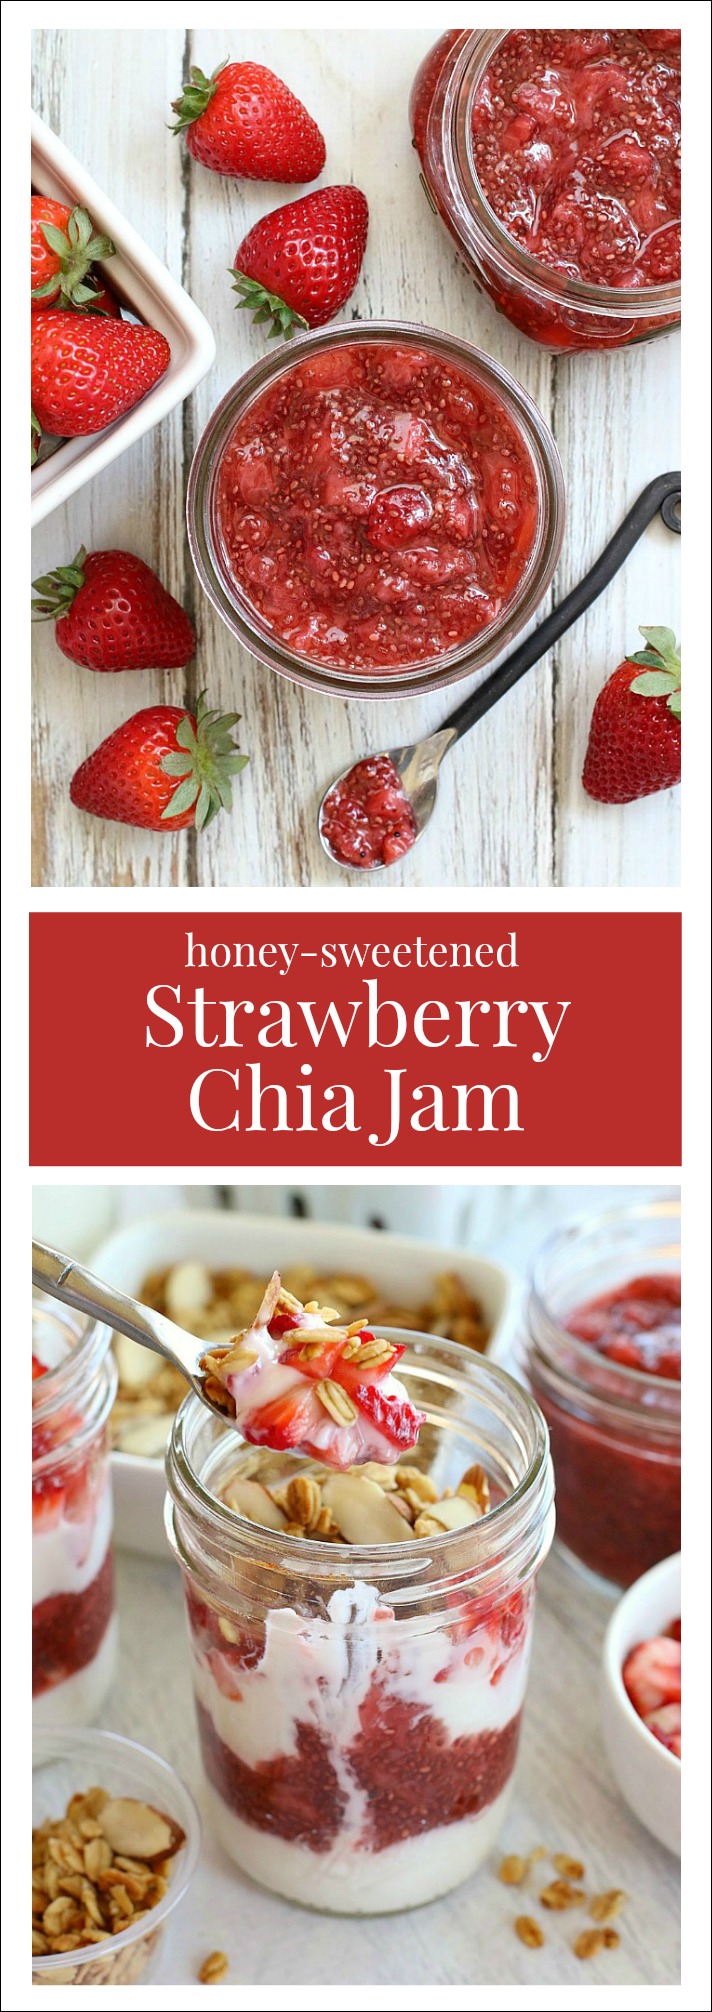
Of course you can always spread it on tasty grain-free biscuits or spoon it over a stack of almond flour waffles. But this delectable strawberry chia jam is also absolutely delightful for creating scrumptious Fruit & Yogurt Parfaits, as shown below. Simply layer homemade yogurt with chilled strawberry chia jam. Then, top with fresh fruit and your favorite gluten-free or grain-free granola.
Another favorite is to fold it into a batch of homemade vanilla ice cream to create a luscious strawberry-swirl frozen treat. And I recently I used this lightly sweet jam to create an amazing strawberry-lemon tart (oh my!). I’ll be sharing the recipe soon, I promise! In the meantime, break out those chia seeds and dice up some fresh berries, because this is one delicious fruit spread the whole family will definitely enjoy!
Ingredients
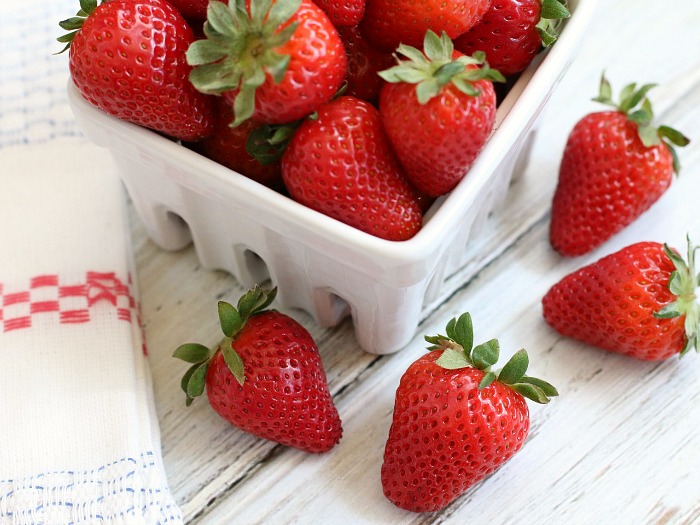
- 2 heaping cups diced fresh strawberries
- 2-3 Tbsp honey (mild clover honey is best)
- 1 Tbsp lemon juice
- 1/4 tsp lemon zest
- 1/4 tsp pure almond extract (or vanilla extract)
- 2 Tbsp chia seeds
Instructions
- Hull strawberries and dice into small pieces. Add to a medium saucepan over medium heat.
- Cook berries until they begin to soften and get syrupy (about 5-8 minutes). Mash the fruit with a wooden spoon (or a potato masher), to desired consistency. We prefer ours chunky (similar to fruit chutney).
- Stir in the honey, lemon juice and lemon zest. Then, remove pan from heat and stir in the almond extract and chia seeds. Taste and add additional honey, if desired.
- Let the jam cool to room temperature. (You’ll notice jam thickens as it cools.) For a thicker consistency, stir additional chia seeds one teaspoon at a time, keeping in mind that the jam will thicken even more once refrigerated.
- Transfer cooled jam to mason jars. Store in the fridge for up to two weeks, or freeze for up to 3 months. Serve with your favorite biscuits, use it as a topping for ice cream, or layer it with yogurt for delicious fruit parfaits. Yum!
Notes
Frozen strawberries can be used to make this delightful jam. Just be sure to thaw them first. You'll notice quite a bit of juice occurs with thawed strawberries. So if you decide to incorporate the juice with the berries to make chia jam, you will need to use more chia seeds and your jam may be a bit looser.