


Discover the secret to turning nutritious veggies into quick and flavorful meals – just fire up the grill and learn how to season and grill veggies like a pro!

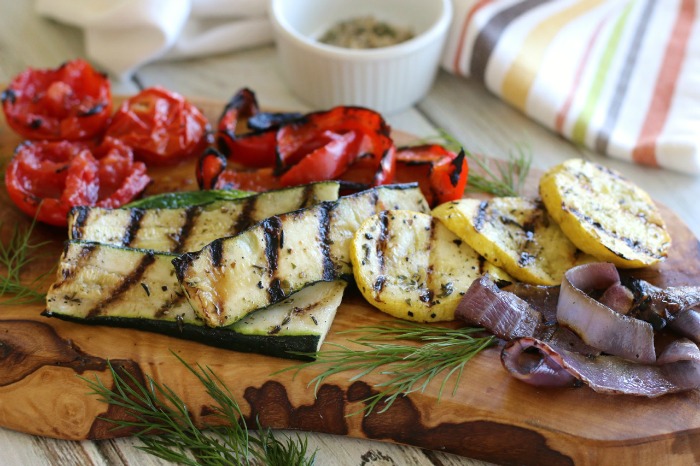
My go-to favorite way to prepare veggies is grilling, since it takes just minutes to make a whole plateful of tasty veggies that can be used for creating a whole host of healthy, flavorful meals!
Honestly, it doesn’t get any easier than just brushing your veggies with a little oil, giving them a quick sprinkle of seasoning, and then tossing them onto the grill! Of course, knowing how to properly grill veggies can be a challenge, so be sure to check out my “How to Grill Veggies like a Pro” tips in the recipe notes below.
Another plus, grilled veggies almost always get a thumbs-up from those picky eaters in your home, since the caramelizing flames and touch of smoke from grilling does wonders for enhancing flavor!
Plus, you can save time and energy by also throwing on the grill a delicious main dish like Grilled Herb Chicken, Grilled Turkey Breasts, or a melt-in-your-mouth Grilled Grassfed Steak!
When it comes to kicking up the flavor a notch, there are lots of seasoning blends to choose from for enhancing the flavor of your favorite veggies. However, I find it’s just as easy (and often more economical) to make your own seasoning blends!
My simple and flavorful “Great Grilling Herb Seasoning Mix” recipe shared below is perfect for enhancing the fresh flavors of your favorite veggies, making them so irresistibly-good, even the picky eaters in your home may find themselves asking for seconds. Yay!
Similar to the seasonings used in my popular Slow Cooker Rotisserie Chicken, this blend is easy to customize to create even more fabulous flavor profiles. For example …
- Spice it up! If you like a little heat, add some cayenne pepper or red pepper flakes to the mix.
- Mediterranean flair! Capture the flavor of the Mediterranean by adding a touch of cumin and coriander.
- Italian twist! Add a little dried basil and marjoram to the blend for an Italian twist to this tasty and versatile seasoning mix.
P.S. This flavorful seasoning mix is not only great for veggies, it’s also perfect for seasoning poultry, fish and meats! That’s why, during the holiday season, we make up big batches of this tasty seasoning mix to give as gifts to friends, along with recipe cards with ideas for using it. Check out “Season’s Greetings Gift in a Jar” for the recipe and details on making this tasteful and thoughtful gift!
Ingredients
- 3 tsp fine sea salt
- 2 tsp dried parsley
- 1 tsp paprika
- 1 tsp onion powder
- 1 tsp garlic powder
- 1 tsp dried rosemary
- 1 tsp fresh ground black pepper
Instructions
- Add all of the ingredients to a small bowl. Mix well to combine. Transfer to a spice-size mason jar, or recycled spice bottle.
- To season your favorite veggies, add 1-2 teaspoons of the blend to a small bowl. Then add 1-2 tablespoons of oil, such as olive oil or avocado oil. Mix well to combine.
- Brush the seasoned oil onto your favorite veggies and grill {or roast} for best results.
- This flavorful blend is also perfect for seasoning poultry, fish and meats!
Notes
How to Grill Veggies like a Pro:
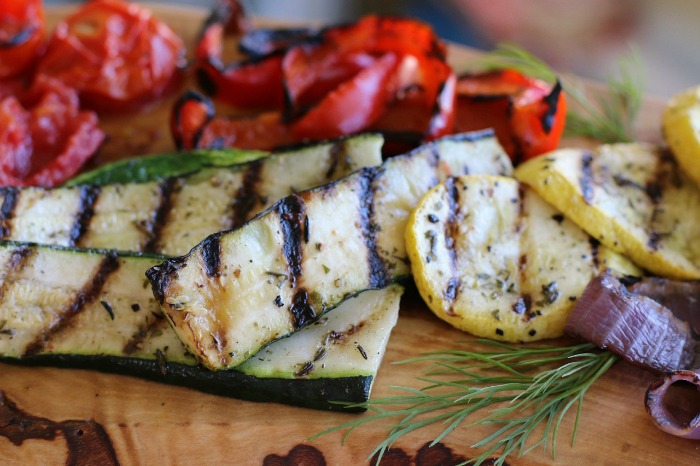
1. Cutting veggies for grilling: Of course you can use a veggie grilling basket, or simply cut your veggies into larger pieces. The bigger the slice, the easier it is to turn the veggie and keep it from falling through the grate when cooking. And grill basket or not, the thickness of the cut is important to keep veggies from becoming mushy. Aim for 1/4-inch to 1/2-inch in thickness.
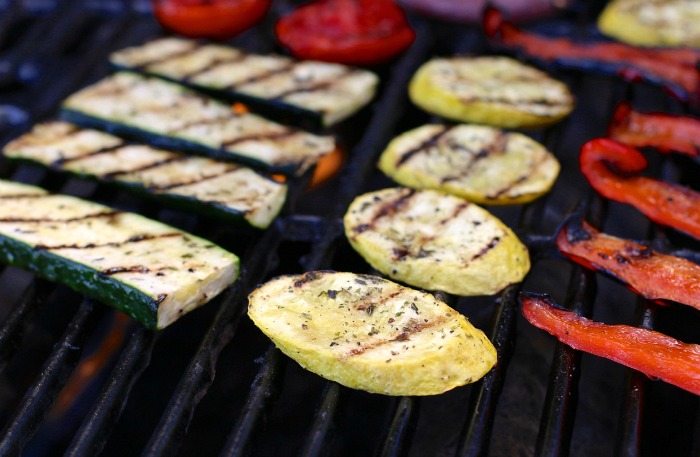
2. Prep the grill: For perfectly grilled veggies, start with a preheated grill set to medium-high heat. Once hot, turn the flames down to medium and clean the grill grate with a grill brush. Then oil the grate to prevent sticking. (Dip a wad of paper towels into oil, grab the wad with grill tongs, and then brush the grate.)
3. Seasoning veggies: Lightly brush the veggies with a small amount of avocado oil (or your favorite oil). Then, generously sprinkle with the seasoning mix above.
4. Grilling veggies: For perfect grill marks and to prevent tearing, sear the veggies undisturbed for a few minutes before flipping them over. To prevent mushy veggies, remove them from the grill a bit before they reach your desired level of doneness. They’ll continue to cook a bit even after they’re removed from the flame, especially if covered with foil.
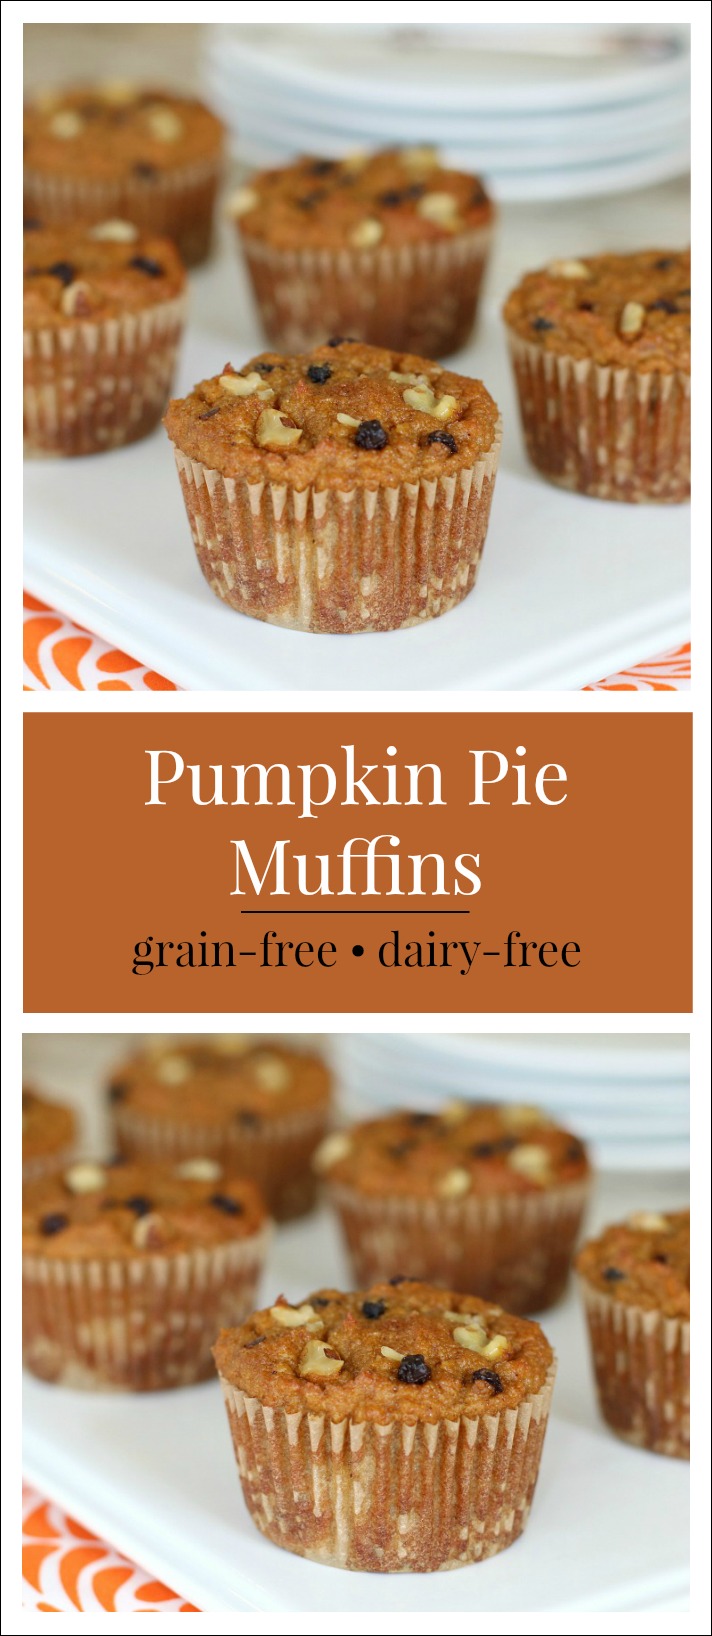

 P.S. This delightful recipe is just one of more than 100 irresistible grain-free, dairy-free recipes in my first published cookbook –
 As a busy mom like you, I know it can be a real challenge to get a healthy meal on the table, which is why I’m so excited that my talented friends Polly and Rachel decided to combine all of their freezer meal expertise into a helpful new cookbook,