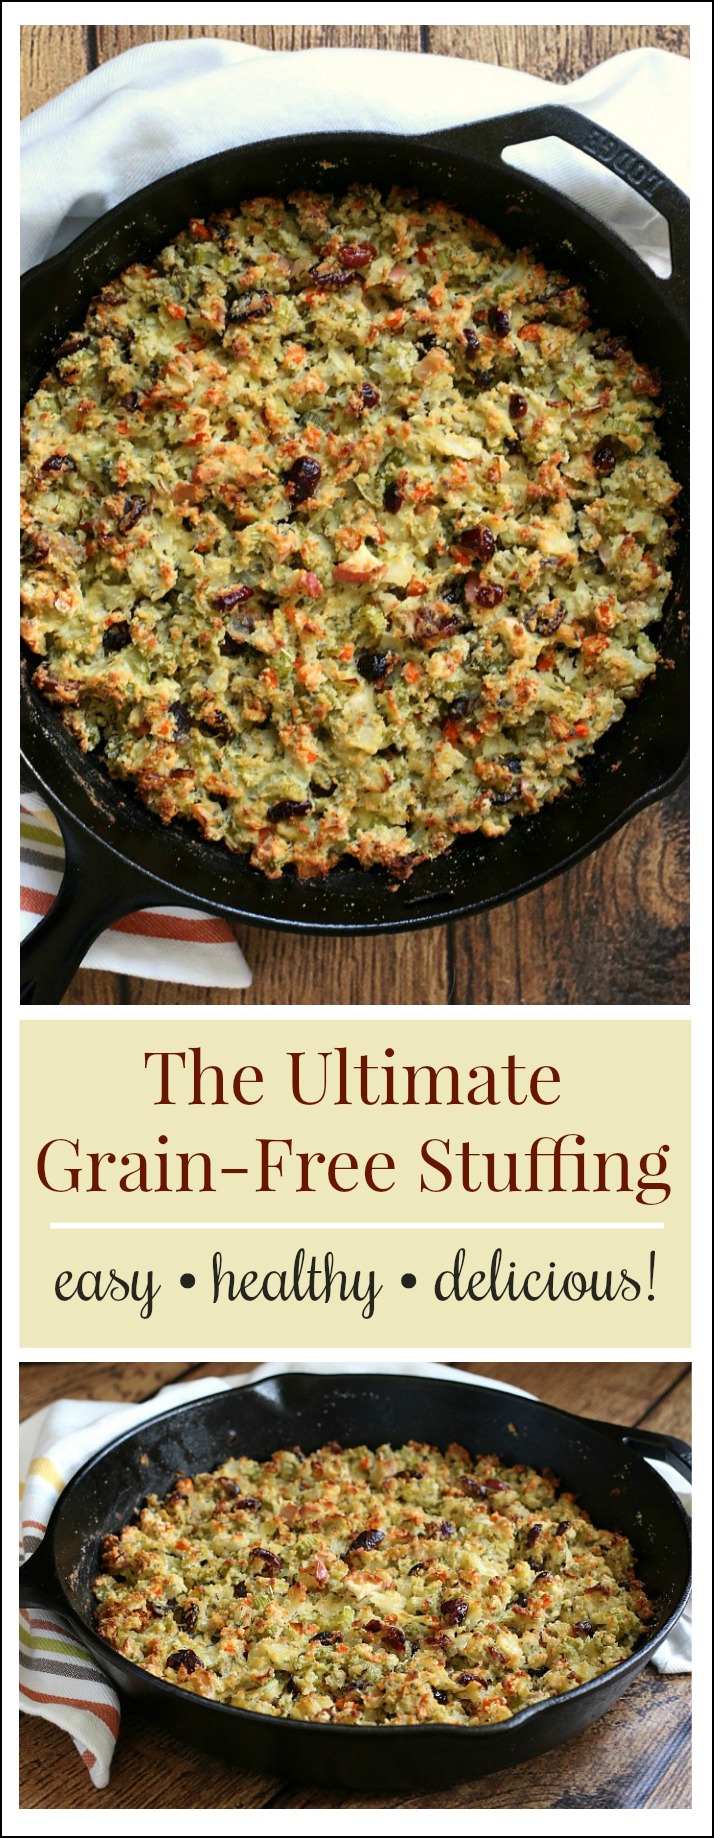
This easy-to-make Grain-Free Stuffing has an incredible flavor and texture so remarkably similar to traditional stuffing, you’ll swear it’s the real deal!
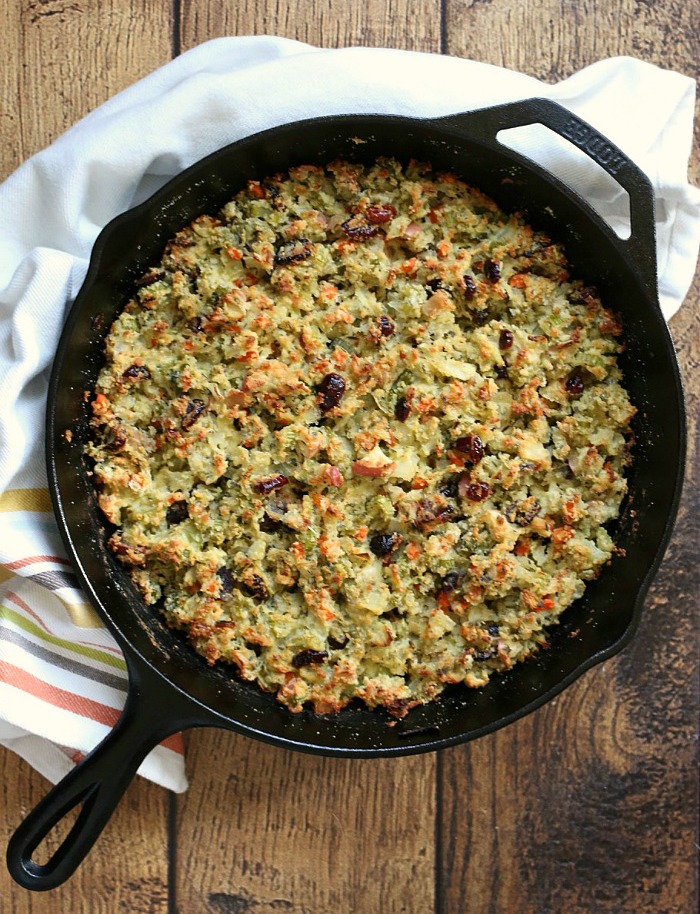
This savory herb seasoned grain-free stuffing has all of the flavor and moist crumb of traditional stuffing without a single morsel of bread! It may sound too good to be true, but it really is good & true!
I discovered this delicious idea from my brilliant friend Heather at Mommypotamus. After years of missing out on the savory addition of stuffing with a perfectly roasted turkey, I was jumping for joy at the thought of enjoying a delicious grain-free option that tastes as close to the real deal as possible.
And although Heather’s recipe is wonderful, after tinkering around with it a bit, I found a delicious balance of texture and flavors that replicates what I love {and used to miss} about traditional herb seasoned stuffing!

Made with healthy whole food ingredients, this flavorful grain-free stuffing makes the perfect side dish for holiday gatherings, which is why you’ll find it on my family’s Thanksgiving Menu. Plus, it can easily transform into a delicious one-skillet meal with the simple addition of leftover roasted chicken.
So rather than keep this savory little secret to myself, I’m sharing my tasty twist for making an amazingly simple grain-free stuffing that will have your tastebuds leaping for joy with every tasty bite!
Ingredients
- 3 Tbsp ghee or butter (if DF, use oil of your choice)
- 3 cups fine diced sweet onion
- 2 cups finely sliced celery
- 1/2 cup fine diced carrots
- 1 medium apple, diced
- 1/4 cup dried cranberries
- 1 Tbsp (heaping) minced fresh sage
- 2 tsp dried thyme
- 1/2 tsp each of dried rosemary, garlic powder, sea salt and pepper
- 1 large egg, plus 1 egg white
- 2 cups blanched almond flour
Instructions
- Preheat oven to 350ºF.
- Melt ghee in a large cast-iron skillet over medium heat. (If you don’t have a cast iron skillet, see recipe note below.) Add the onion, celery, carrots, apple, cranberries, and seasonings.
- Sauté mixture until veggies soften, about 6-8 minutes.
- Meanwhile, in a small bowl, add the egg, egg white and one tablespoon of water. Whisk well until slightly frothy. Set aside.
- When veggies begin to soften, remove skillet from heat and stir in the blanched almond flour; mixing well to combine.
- Drizzle the whisked eggs over the top of the stuffing, using a fork to gently stir in the eggs and fluff the mixture. (Fluffing the stuffing, rather than smoothing out the top, helps to create browned bits that add a tasty texture and depth of flavor.)
- Bake stuffing approximately 50 minutes, until top is golden brown.
Notes
If you don't have a cast-iron or oven-safe skillet, no worries! Simply use any large pan instead. Once you’ve finished sautéing the ingredients, transfer the mixture to a greased 9x9-inch baking dish, stir in the beaten eggs and bake per instructions above.
Recipe Variation: For a delicious one-skillet meal, reduce blanched almond flour to 1 cup. After stirring in the almond flour, add 1 cup of leftover shredded roast chicken (or diced grilled chicken), and stir well to combine. Add the eggs as directed in step 6 and bake approximately 40-50 minutes, until golden brown. Makes 2-3 servings.
Recipe inspired by Mommypotamus.