One of my family’s favorite traditions is making Delicious Homemade Mason Jar Gifts. And the wonderful thing is, they’re as much fun to make together, as they are to give to others! Simply layer the ingredients of a treasured recipe in a jar, then add a festive ribbon and tag, and there you have it – a thoughtful gift made with love!
Homemade gifts are not only a personal way to show your friends and family you care, but they also make thoughtful, economical gifts for all of the other special people in your family’s life too, such as teachers, neighbors, and co-workers. (Be sure to check out my favorite mason jar gift recipes for lots of ideas!)
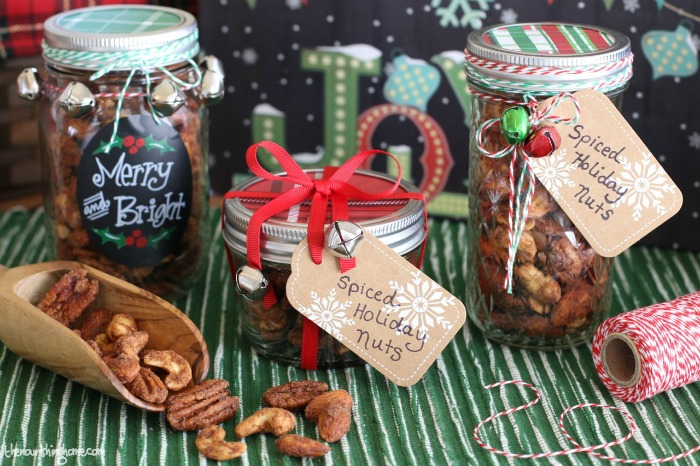
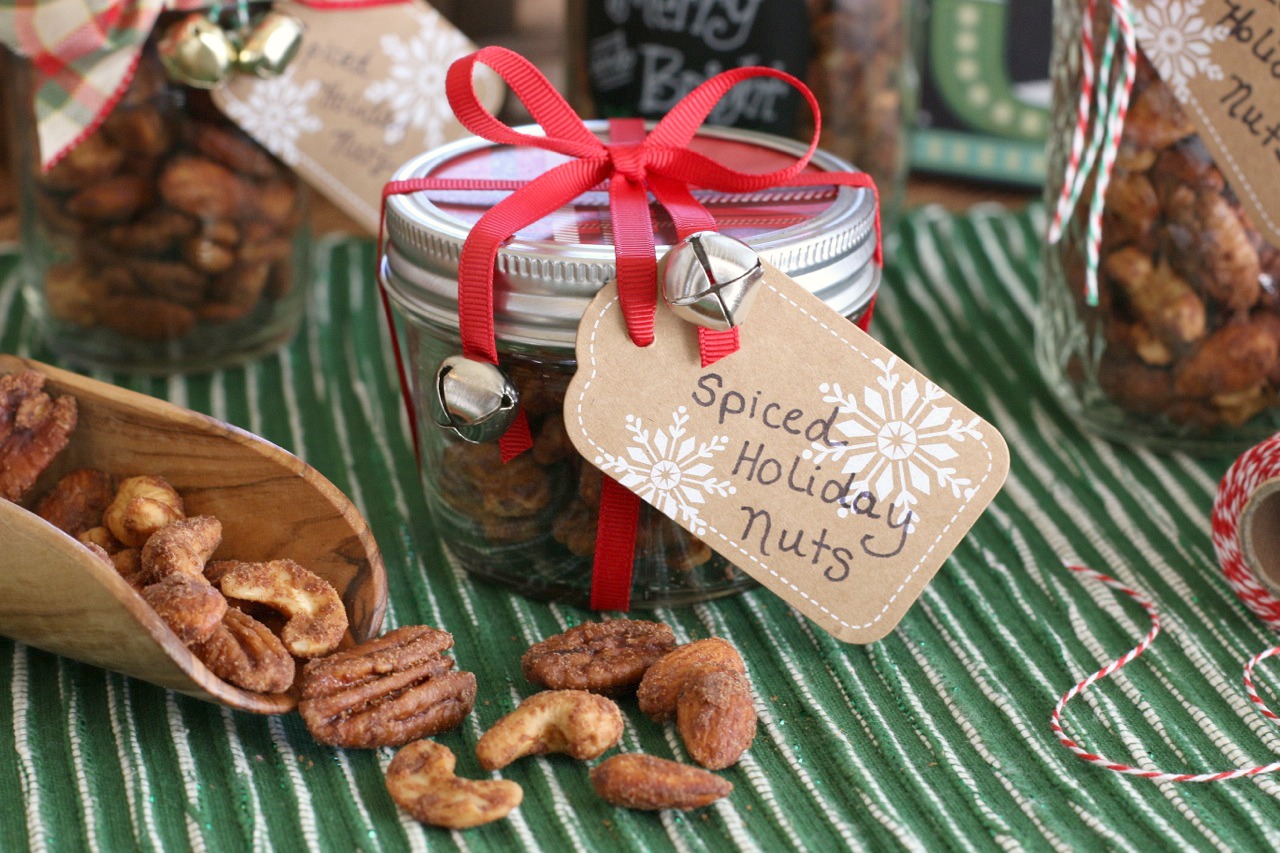
This year, we’ll be spreading holiday cheer with this delightful Spiced Holiday Nuts Gift-in-a-Jar recipe. These tasty nuts capture the aroma and flavor of the holiday season with just a hint of cayenne, giving them an extra kick of flavor. Honestly, it’s almost impossible to stop eating them!
That’s why, it’s a good thing these spiced nuts are a healthier treat. That’s right, they may look sugared, but they’re not. Their sweetness comes from pure maple syrup which creates a lightly sweet glaze that coats the nuts beautifully, ensuring delicious sweet-n-spicy flavor in every bite.
Of course, the best part is how easy this tasty gift is to make! Just add all of the ingredients to your slow cooker or instant pot and “voila” you’ve got the perfect homemade holiday treat.
How to Make Slow Cooker Spiced Holiday Nuts
Let me show you how simple it is to make this delicious & festive gift …
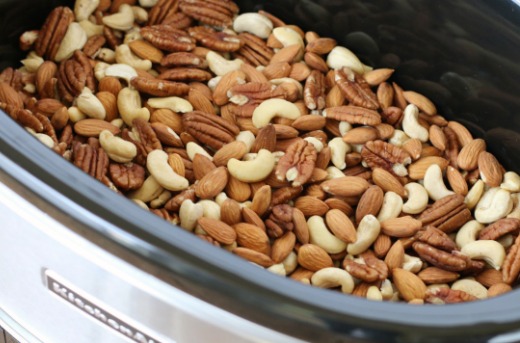
Add 6 cups unsalted nuts to a 6-quart slow cooker (or instant pot programmed on slow cooker setting). This recipe is very versatile, so feel free to use any combination of nuts you’d like. Or you can use just one nut, such as pecans or walnuts with equally delicious results.
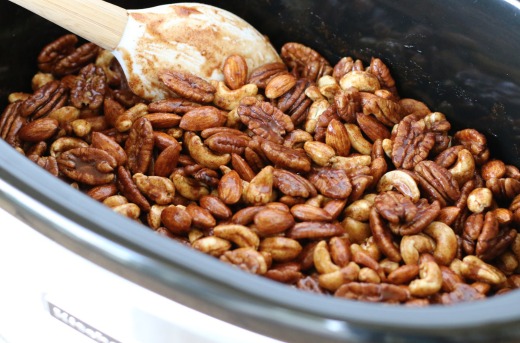
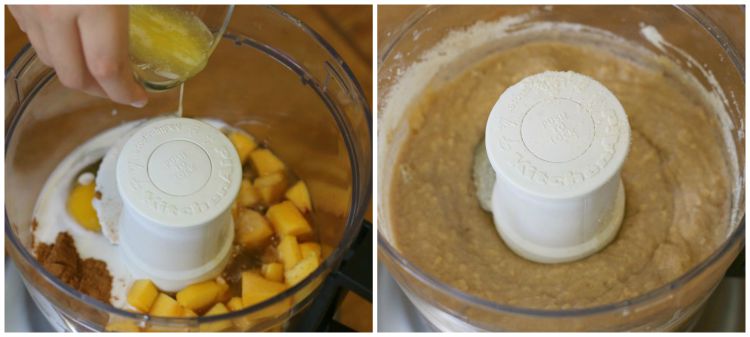
Make the sweet-n-spicy coating by whisking together the melted butter, maple syrup and spices as directed in the recipe below. Pour the sweet-n-spicy mixture over the nuts and stir well, until thoroughly combined. Then, cover and cook according to the recipe instructions.
Remember to stir the nuts every 30 minutes to ensure even cooking. In addition, each time you remove the lid to stir the nuts, be sure to wipe the condensation off the inside of the lid to reduce the moisture level. This will help the nuts dry more easily.

After cooking time is completed, stir the nuts well. Then, carefully spread them out onto a large, parchment-lined rimmed baking sheet to cool completely. Once the nuts are completely cool, it’s time for gift-making fun!
To make gifts-in-a-jar, gather together your favorite jars, such as clip top canning jars, mason jars
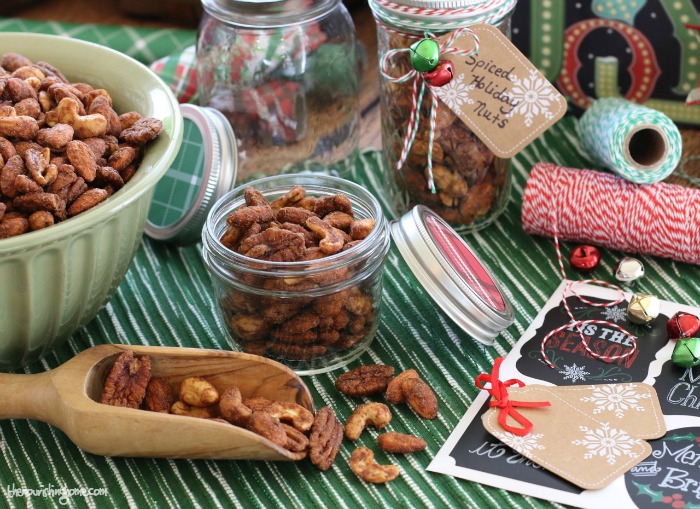
or even recycled jelly jars. Then, quickly fill the jars with the spiced nuts before you’re tempted to eat them all yourself. Then, gather together festive ribbon and tags, and let your creativity soar as you create beautiful, homemade gift jars that your friends and family will love!
Ingredients
- 6 cups unsalted nuts (I use 2 cups each of whole pecans, almonds and cashews)
- 3 tablespoons butter (or coconut oil), melted
- 1/2 cup pure maple syrup
- 1 tablespoon ground cinnamon
- 1 teaspoon ground nutmeg
- 1/4 teaspoon ground ginger
- 1/4 teaspoon cayenne pepper
- 1/2 teaspoon sea salt
Instructions
- Very lightly grease the bottom and sides of a 6-Quart Slow Cooker with butter or coconut oil (or use the slow cooker setting on an Instant Pot). Set the temperature to high. Place the nuts into the prepared slow cooker (or instant pot).
- In a small bowl, add the remaining ingredients – melted butter, maple syrup and seasonings – whisk together until well blended.
- Pour the sweet-n-spicy mixture over the nuts. Use a rubber spatula to thoroughly combine, making sure the nuts are well coated and are evenly distributed across the bottom of the slow cooker (or instant pot).
- Cover and cook on high for 30 minutes. Then stir the nuts well and reduce the temperature to low. Cover and continue to cook on low for about 1 1/2 more hours, making sure to stir the nuts every 30 minutes. Also, each time you remove the lid to stir the nuts, be sure to wipe the condensation off the inside of the lid. This helps to reduce the moisture level, so the nuts dry more easily.
- Nuts are finished when they are nearly dry. (Since slow cookers vary in temperature, if nuts are not dry enough after two hours cooking time, continue to cook with the lid slightly ajar, checking and stirring every 15-20 minutes.)
- After cooking time is completed, stir the nuts well. Then, carefully spread the nuts out onto a parchment-lined large rimmed baking sheet to cool and finish drying.
- Allow the spiced nuts to cool completely. Then, place them into airtight containers, such as mason jars. If giving as a gift, add festive ribbon and gift tags to the jars as described above to create a beautiful homemade gift.
Notes
Nuts will remain fresh in an airtight container at room temperature for about a week, or store in the refrigerator for up to one month.