The sweet sandwich everyone loves!
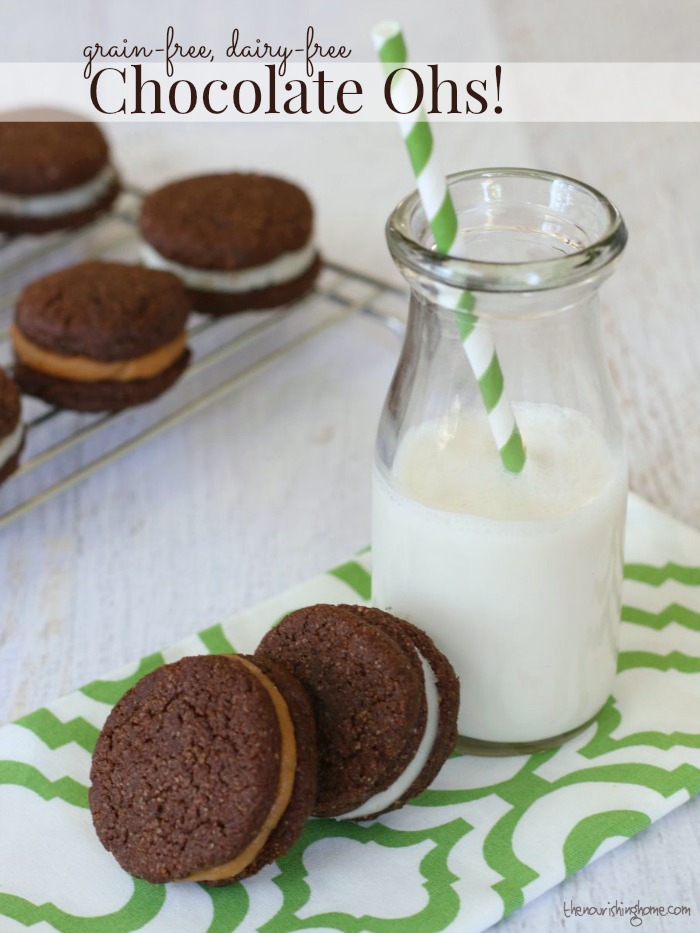
Feeling a bit nostalgic about those popular chocolate sandwich cookies that most of us grew up eating, I decided to create a healthier whole food version that everyone can enjoy guilt-free, whether they’re living gluten-free or not.
In fact, “Oh my goodness, these are amazing!” is a common exclamation you’ll hear when sharing these delightful little grain-free treats with family and friends. That’s why I’ve affectionately named them “Chocolate Ohs!”
Options are always a good thing, so there are lots of ways you can create tasty sandwich cookies using this simple recipe. For the holidays, I love making “Peppermint Pattie” Sandwich Cookies. I just add a few of drops of pure peppermint essential oil (or peppermint extract) to my Sweet Vanilla Icing for a festive minty-sandwich cookie everyone loves!
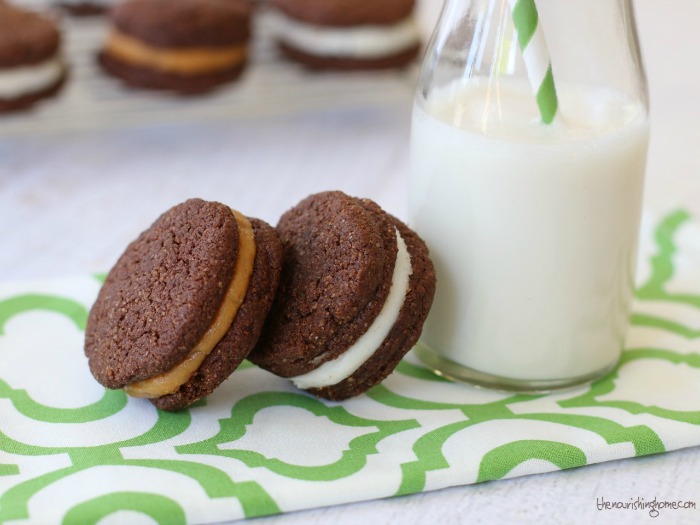
These little cookies are also scrumptious with a creamy dollop of tasty Nut Butter Filling (see the recipe notes below). And for the chocoholics out there, you can go big with a heaping helping of my Chocolate Ganache sandwiched between two of these little cookies. Wowie! So good!
 This delightful recipe is just one of more than 100 irresistible grain-free, dairy-free recipes in my new cookbook – Everyday Grain-Free Baking!
From breads, biscuits and muffins to savory snacks and decadent treats, you’ll find step-by-step instructions, beautiful color photographs and helpful tips & tidbits to make all of your GF baking adventures a delicious success!
Click here to get a SNEAK PEEK of the book!
Ingredients
- 1 1/2 cups blanched almond flour
- 1/4 tsp baking soda
- 1/8 tsp sea salt
- 1/4 cup unsalted butter, softened (or palm shortening)
- 2 Tbsp coconut oil, melted
- 1/2 cup, plus 1 Tbsp coconut sugar
- 1/4 cup unsweetened cocoa powder
- 1 tsp pure vanilla extract
- 1 large egg white
Instructions
- In a small bowl, combine the almond flour, baking soda, and salt.
- In a large mixing bowl, add the softened butter (or palm shortening), melted coconut oil, coconut sugar, cocoa powder and vanilla.
- Using a stand mixer or electric hand mixer, blend together until smooth and creamy. Then mix in the egg white until well incorporated.
- Add the dry ingredients to the wet and mix well to combine. Chill the dough for 30 minutes in the fridge.
- While the dough is chilling, preheat oven to 350°F. Line a baking sheet with parchment paper.
- Once the dough is chilled, scoop out 1 rounded tablespoon and roll it into a ball. Place each dough ball onto the parchment-lined baking sheet two-inches apart. Use the palm of your hand to slightly flatten each cookie into a circle.
- Bake for 8–10 minutes, until lightly browned along edges. Allow the cookies to cool on the cookie sheet for 5 minutes, then transfer to a wire rack to finish cooling.
- Once the cookies are completely cool, place filling of your choice (see ideas below) between 2 of the chocolate cookies to form a cookie sandwich. Enjoy!
Notes
To create Vanilla Cream-Filled Sandwich Cookies, use my dairy-free Sweet Vanilla Icing to fill the cookies. If you’d like to create Peppermint Pattie Cookies, simply add a few drops of pure peppermint essential oil (or peppermint extract) to the vanilla icing before filling the cookies. For a firmer cookie filling, place cookie sandwiches on a serving plate. Cover and place in fridge so the filling can further harden.
To create a scrumptious Nut Butter Filling, combine 1/3 cup of roasted nut butter of your choice with 1/4 cup honey and 2 tablespoons of coconut flour. Some nut butters contain more oil than others, so if the mixture doesn’t form a stiff dough, continue to add 1 teaspoon of coconut flour at a time until the mixture comes together like cookie dough. Then, pull off a little piece of the dough, roll into a ball and press it between 2 cookies to create a nut butter sandwich cookie. Yum!

 From breads, biscuits and muffins to savory snacks and decadent treats, you’ll find