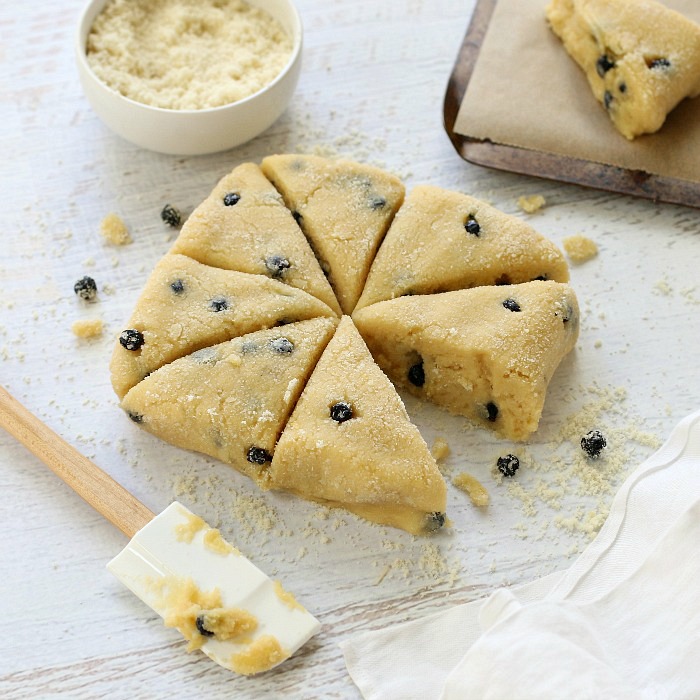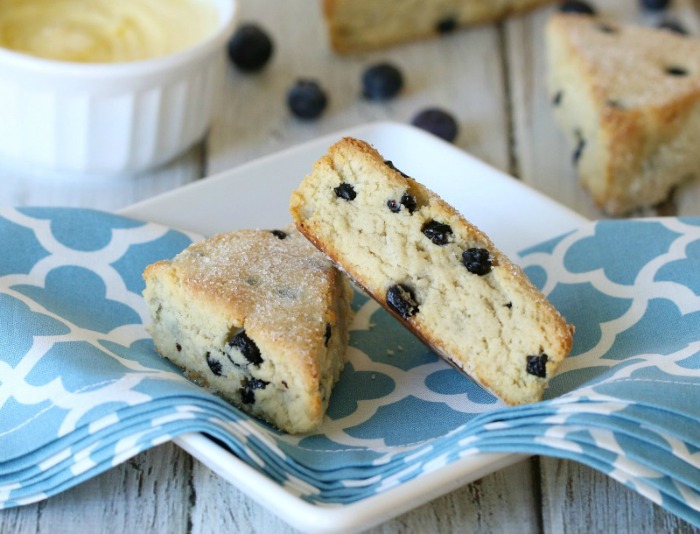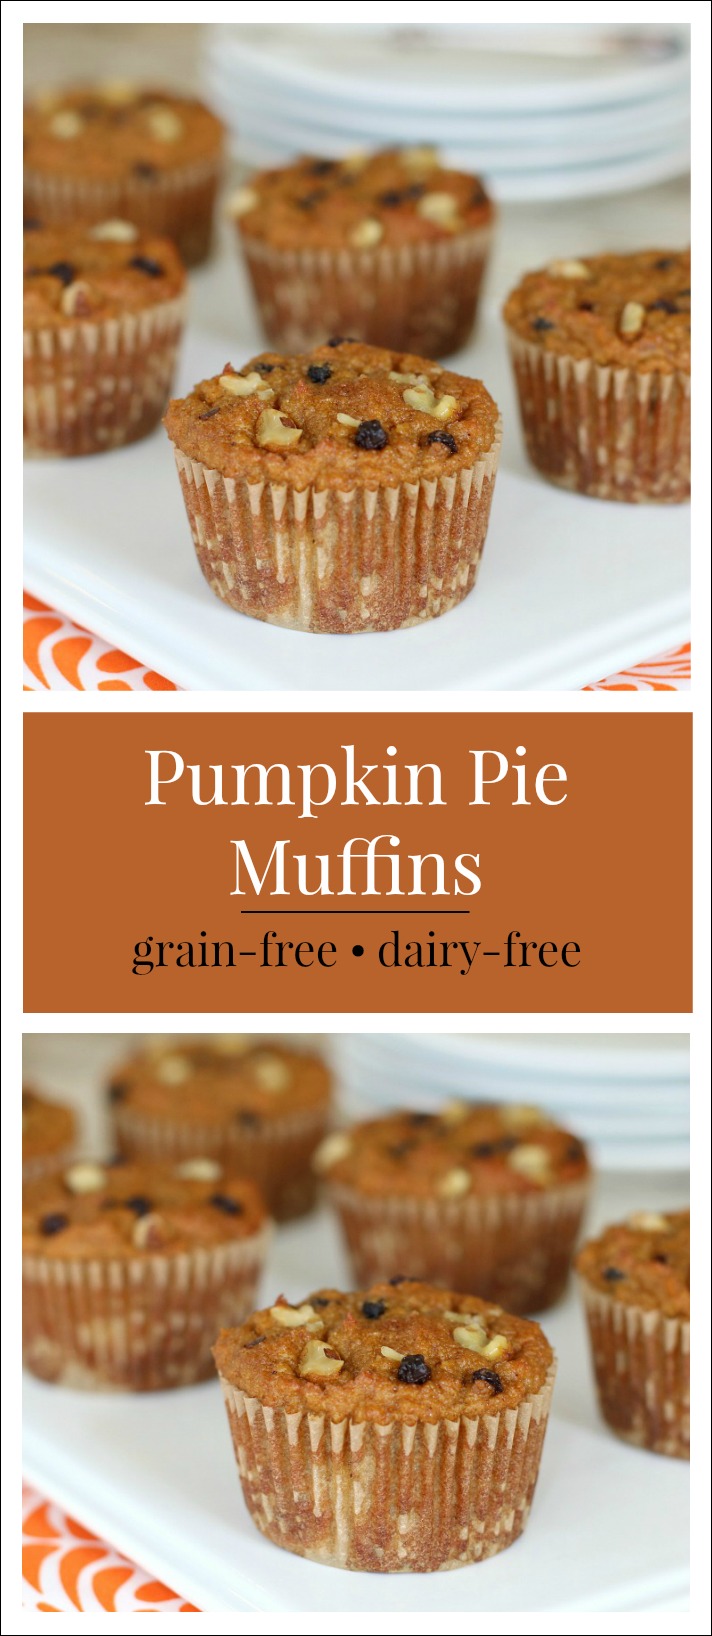
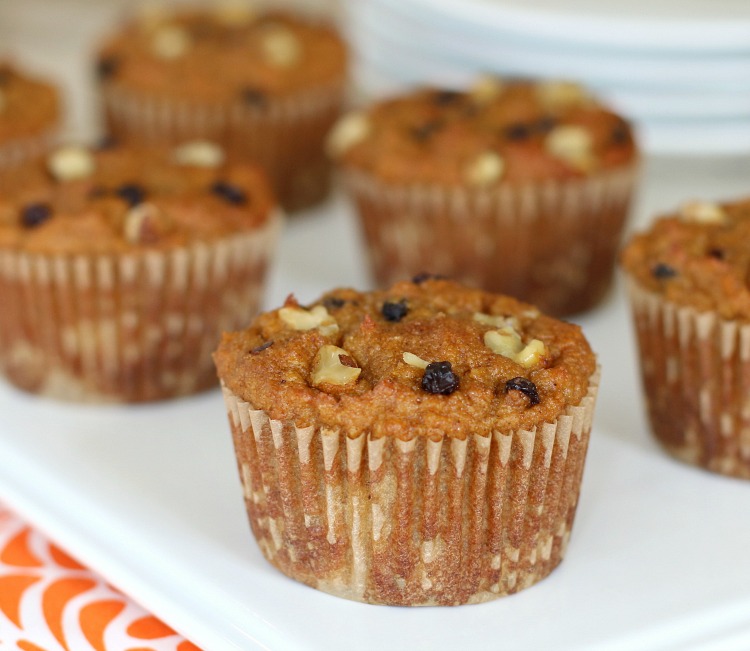
Autumn is the perfect time of year to put on our aprons, preheat our ovens, and enjoy some delicious Fall baking adventures like these scrumptious Pumpkin Pie Muffins.
These grain-free, dairy-free pumpkin spice infused muffins are so moist and delicious – definitely a wholesome way to celebrate the fabulous flavors of fall! They’re perfect for breakfast, brunch, teatime, or just because!
There’s nothing like the aroma (and tantalizing taste) of pumpkin spices to entice friends and family to gather together! So grab your apron, and let’s celebrate fall with these delicious, easy-to-make pumpkin pie muffins!
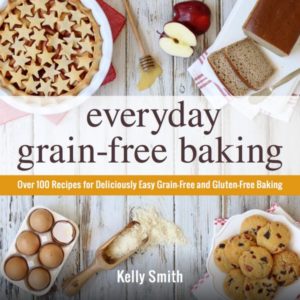 P.S. This delightful recipe is just one of more than 100 irresistible grain-free, dairy-free recipes in my first published cookbook – Everyday Grain-Free Baking!
From breads, biscuits and muffins to savory snacks and decadent treats, you’ll find step-by-step instructions, beautiful color photographs and helpful tips & tidbits to make all of your GF baking adventures a delicious success!
Click here to get a SNEAK PEEK of the book!
Ingredients
- 1 3/4 cups blanched almond flour
- 1 tsp coconut flour
- 1 1/4 tsp pumpkin pie spice
- 1/2 tsp baking soda
- 1/4 tsp fine ground sea salt
- 3/4 cup pumpkin puree
- 1/3 cup pure maple syrup (or honey)
- 3 Tbsp pure coconut milk
- 2 large eggs
- 2 tsp vanilla extract
- 1 tsp apple cider vinegar
- Optional: 1/4 cup each currants and walnut pieces
Instructions
- Preheat oven to 350°F. Line a 12-cup muffin pan with 8 parchment muffin liners.
- In a small bowl, combine almond flour, coconut flour, baking soda, salt and pumpkin pie spice.
- In a large bowl, whisk together the pumpkin and maple syrup (or honey), until well blended. Then whisk in the milk, eggs, vanilla and vinegar until smooth and well combined.
- Using a spoon, stir the dry ingredients into the wet and mix until well blended. Gently fold in the currants (or raisins) and walnuts, if desired.
- Evenly distribute the batter among the 8-lined muffin cups. Sprinkle tops with additional currants and walnuts, if desired.
- Bake for 25-28 minutes, until a toothpick inserted in center comes out clean. Allow muffins to cool for 5 minutes, then transfer to a wire rack to finish cooling. Yum!