Peaches always make me smile! That’s one reason I tend to buy way too many when peach season arrives. This summer, I found an amazing buy one case, get one free deal at the Farmers Market. So guess who came home with two cases of peaches???
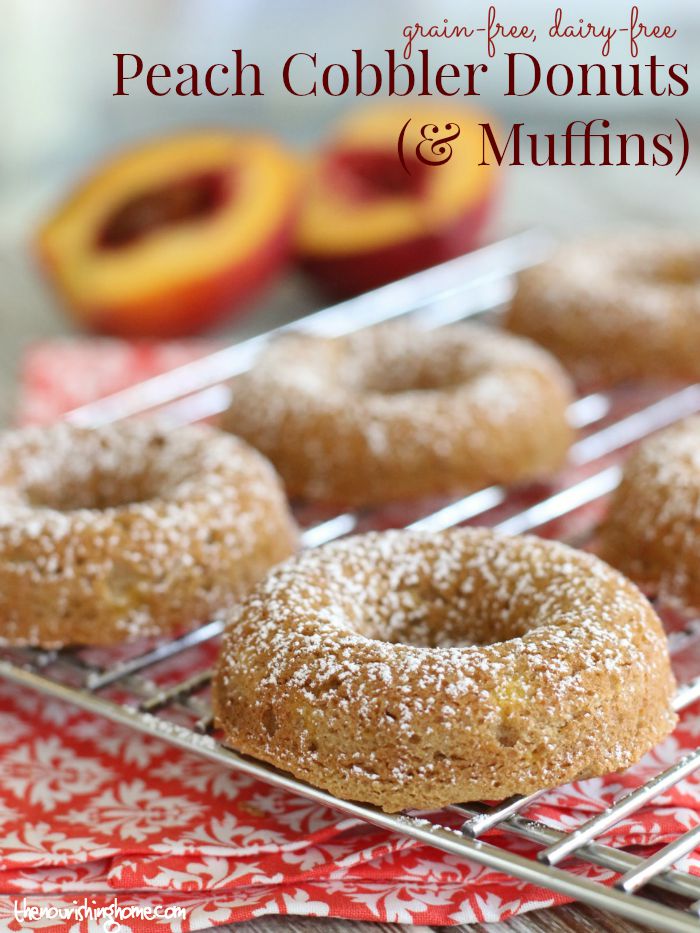
Since my youngest loves to bake, I asked him if he had any ideas for something new we could create with our bounty of peachy goodness. Without giving it a second thought, he immediately decided we should make peach cobbler donuts! I’m not sure if I’ve mentioned it or not before – but he’s a bit of a “dough-nut” to say the least!

In fact, he’s actually the idea guy for the other two donut recipes I’ve shared – Apple Cider Donuts and Maple Glazed Pumpkin Donuts (just incase you’re a dough-nut too!).
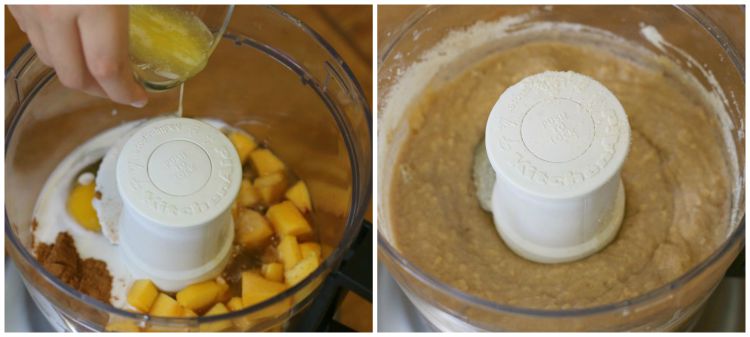
This recipe doesn’t venture too far from the others in it’s list of simple wholesome ingredients, making it a fun recipe for kids to help with – simply add the ingredients to your food processor and blend.
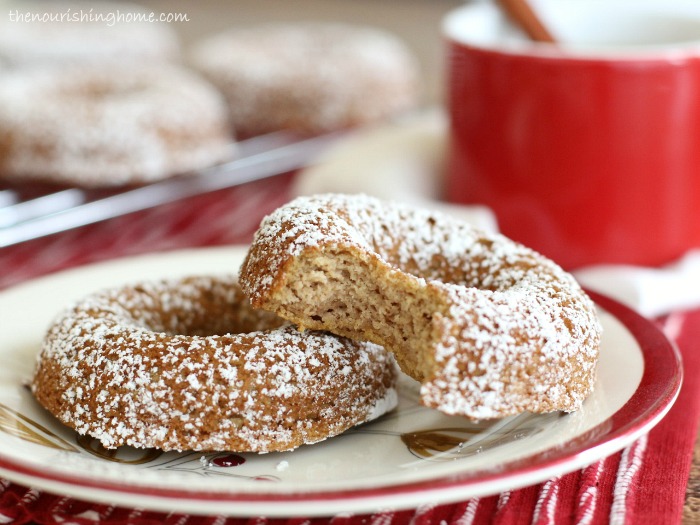
The recipe easily comes together to create a delicious cake-like donut … or light & fluffy MUFFIN … see more about that yummy option below …
Being a cookbook author and food blogger is not only fun, it also comes with some nice perks on occasion. For example, my friends over at KitchenAid were kind enough to come to my rescue last summer by sending me a new KitchenAid 11-cup Food Processor when my Cuisinart gave out right in the middle of recipe development for Everyday Grain-Free Baking.
This handy kitchen essential is put to work almost daily, as having a good food processor not only makes putting a recipe together a snap, it also performs a multitude of kitchen tasks from mixing and blending to chopping, slicing and shredding.
In the case of this scrumptious recipe, a food processor allows you to simply add all of the ingredients to one bowl – then blend and you’re ready to bake! I love it when a recipe is simple to make and simple to clean up!

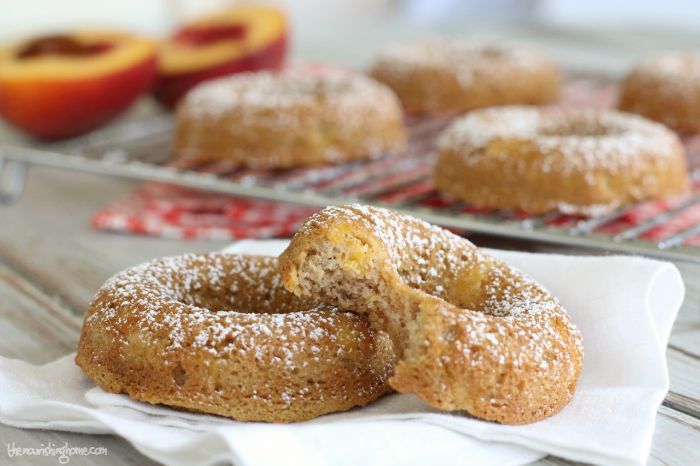
Since this recipe was my sweet son’s brilliant idea, he gets the first bite! Of course, he didn’t stop at just one bite … and I’m betting your family won’t either! They’re seriously just too yummy!
Even better … this recipe can be used to make marvelous muffins too! Just add the batter to a muffin tin, as outlined in the recipe below, and enjoy the most amazing Perfectly Peachy Muffins! Yum!

Looking for more healthy and delicious ways to enjoy juicy peaches? Here are a few more delectable dishes featuring this beloved summer fruit!
• Peach Pancakes (what a sweet way to start the day!)
• Peach-Mango Salsa (perfect over grilled fish or chicken!)
• Peaches & Cream Ice Pops (a favorite treat for kids of all ages!)
• Peach Preserves (great way to enjoy peaches all year long!)
Ingredients
- 3/4 cup peeled and diced ripe peaches, divided
- 1 large egg, plus 1 egg white
- 1/4 cup pure coconut milk
- 1/4 cup pure maple syrup
- 1 Tbsp coconut oil, melted
- 1 tsp pure vanilla extract
- 1 3/4 cups blanched almond flour
- 1 Tbsp coconut flour
- 1 tsp ground cinnamon
- 1/2 tsp baking soda
- 1/8 tsp sea salt
Instructions
- Preheat oven to 350°F. Generously grease a 6-cavity donut pan with palm shortening or coconut oil; set aside. (If making muffins, line a 12-cup muffin tin with 6 parchment liners.)
- In a food processor, add just 1/2 cup diced ripe peaches. Then add the remaining ingredients in the order given.
- Pulse to combine the ingredients and then blend on low for just a minute to finish combining. Do not overmix.
- Add the remaining 1/4 cup diced peaches and pulse just enough to combine, as you do want small peach bits in the batter.
- Carefully spoon the donut batter into the prepared donut pan just shy of the fill line. Use your finger or back of spoon to even out the top of the batter. (If making muffins, evenly distribute the batter among the 6 lined muffin cups.)
- Bake for 16-18 minutes, until donut springs back when touched. (For muffins, bake 25-28 minutes, until toothpick inserted in center comes out clean.)
- Remove from oven and allow the donuts (or muffins) to cool in the pan for 1-2 minutes. Then turn them out onto a sheet of parchment paper. Then, transfer to a wire rack to finish cooling.
- Dust the donuts with a little powdered coconut (or powdered sugar). Enjoy!
Notes
To make powdered coconut, simply pulse-blend together 1/4 cup of unsweetened shredded coconut with 1 teaspoon of coconut flour until fine, almost powder-like. Be sure to use the pulse function of your blender and pulse slowly, so you don’t make coconut butter. Use the powdered coconut to add a sugar-free, pretty and tasty decorative effect to your baked goods.