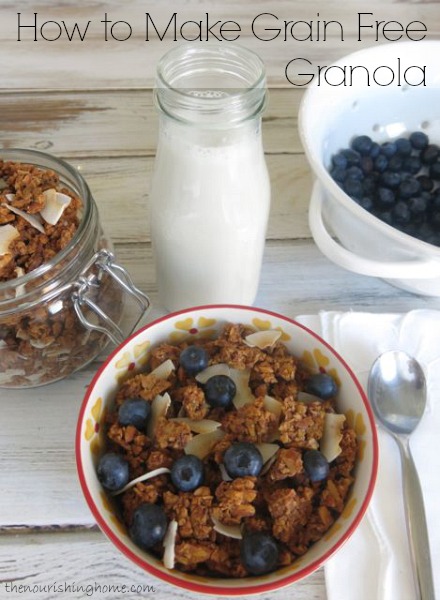
You can probably tell by the name that we think this granola is the bomb! And I’m not kidding around here, it really is! Not only is it absolutely delicious, but it’s one of the few soaked granola recipes I’ve found that soaks oats properly for optimal nutrition.
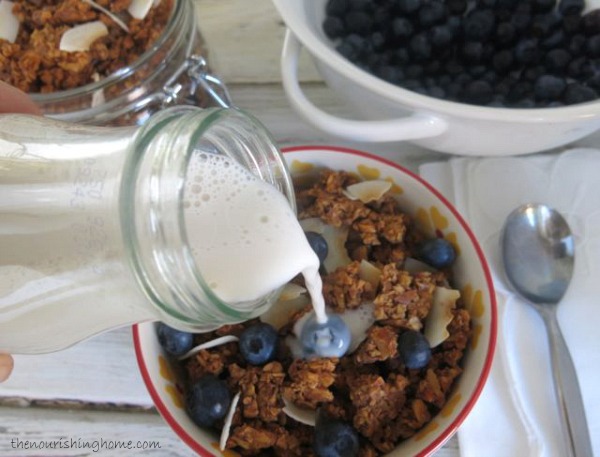
This awesome recipe comes from Shannon of Cooking God’s Way. I simply adapted it better suit our taste preferences. And besides enjoying it with a splash of milk or in a yogurt parfait, you can also use this granola to make your own delicious Homemade Granola Bars!
To help, I’ve divided the recipe into two steps to make it easier to follow and have also provided a step-by-step Soaked Granola Photo Tutorial below:

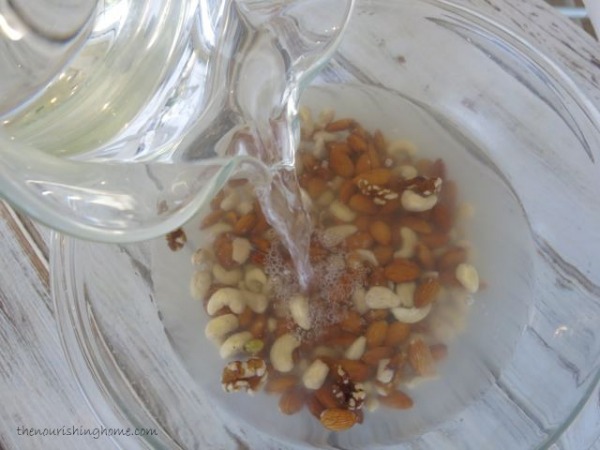
1) Step One: Soaking – Be sure to mix the oats and rye flakes (or buckwheat groats, if GF) into the wet ingredients thoroughly to ensure all ingredients are well combined. I highly recommend soaking the oats for at least 18-24 hours. (I do not recommend soaking beyond that time as mold can develop, especially in the warmer summer climates.)

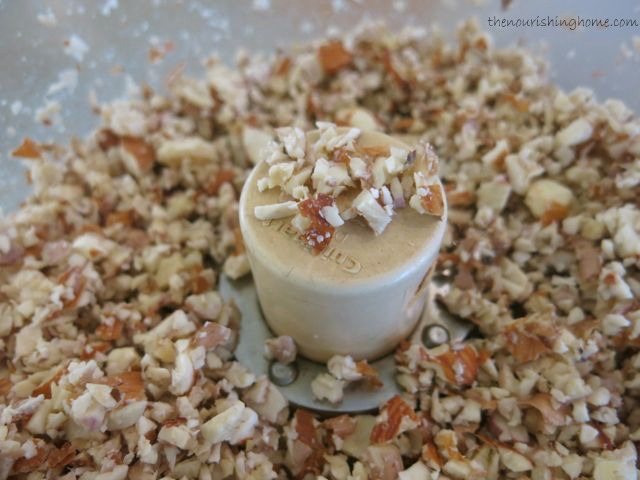
2) After soaking time is completed. Soaked oats are ready for step two …

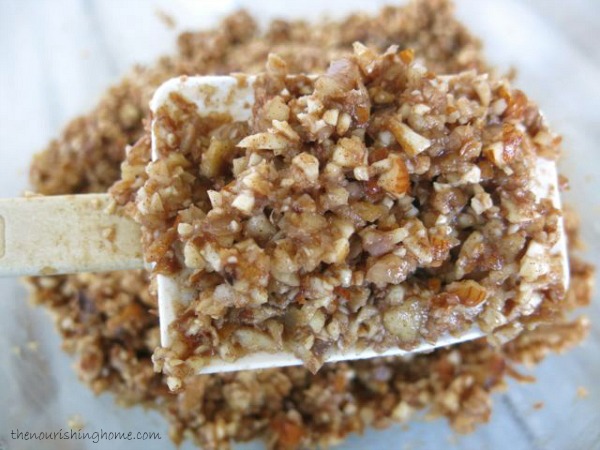
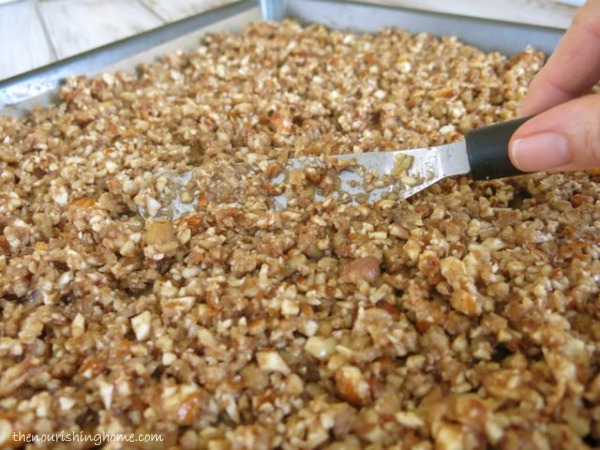
3) Add honey mixture to soaked oat mixture.

4) Using a large rubber spatula, start working at the edges to pull the soaked oat mixture forward and allow the honey mixture to seep down. Then keep pressing the soaked oats down using the top of rubber spatula, while turning the oats over and over, until everything is well incorporated.

5) Divide the oat mixture in half. Use two parchment-lined 12×17-inch rimmed baking sheets to spread the oats evenly across baking sheet.

6) Picture of the two sheets of soaked oats ready to go into the oven.

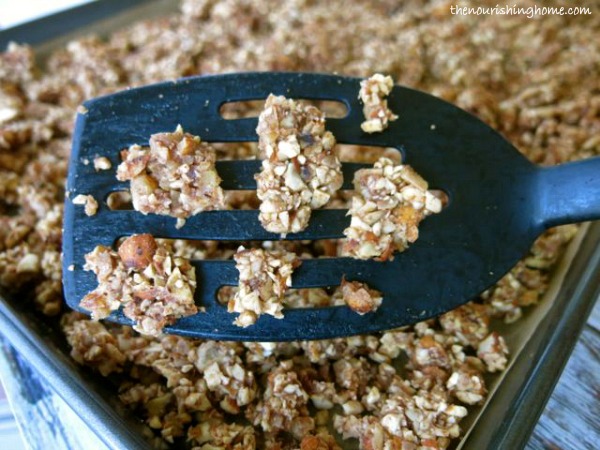
7) Very Important: After two hours in the oven, remove baking sheets and flip over the oats, section by section, Then use the top of your spatula to breaking the sections into small pieces. Repeat this process every two hours for up to 8 hours, to ensure proper drying/crisping of oats. See recipe for details on how to ensure crispy granola.

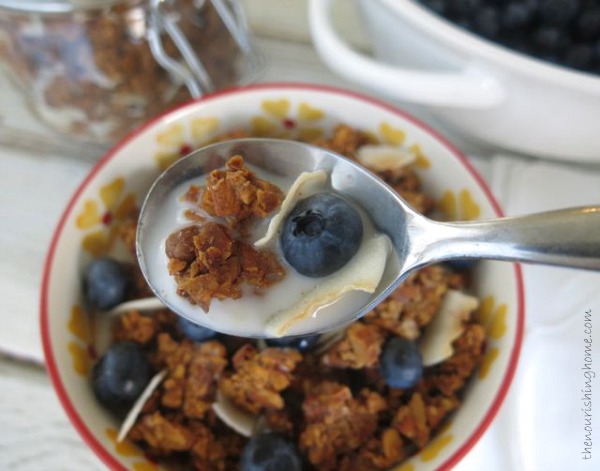
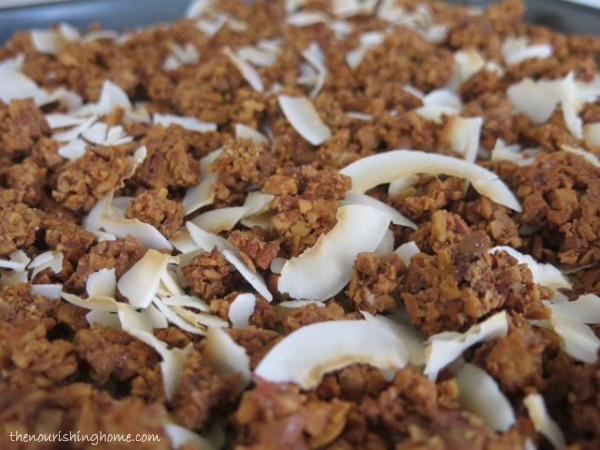
8) All done! Granola should be crispy, dry and DELICIOUS! Now, it’s ready to mix with your favorite add-ins!

Our Three Favorite Flavor Combos:
In addition to these delicious granola mixes, check out “Add-in Ideas” below for more ideas on making your own personalized granola mixes.
• Tropical Delight Granola – Add the following to your baked granola: Crispy almond slices, chopped dried pineapple pieces, chopped dried mango pieces and shredded coconut.
• Apple Pie Granola – Add the following to your baked granola: Crispy almond slices, crispy chopped pecans, chopped dried apple pieces and raisins.
• Cranberry-Walnut Granola – Add the following to your baked granola: Crispy almond slices, crispy chopped walnuts and dried cranberries.
Add-In Ideas: (Choose any or all of the following to create your own delicious granola creations!)
• Your favorite unsweetened dried fruit, such as raisins, currants, cranberries, cherries, blueberries, apricots, apples, etc.
• Dried shredded coconut (or coconut flakes)
• Your favorite chopped *crispy nuts, such as almonds, pecans or walnuts
• Your favorite seeds, such as chia, flax, sunflower or pumpkin
Why take the time to make your own homemade soaked granola cereal?
Homemade soaked granola is a much healthier and nutritious option over “healthy” boxed cereals. That’s because nearly all boxed cereals are created using an industrial food production process called extrusion. What many do not know is that extruded grains are toxic, particularly to the nervous system. For details, check out “Nourishing Our Children.”

Another bonus of making your own wholesome soaked granola is you can use it to make incredibly delicious homemade granola bars that are chock-full of real food nutrition.
Ingredients
- 6 cups organic GF Rolled Oats
(use regular or thick-cut rolled oats, not quick-cook or steel-cut oats)
- 2 cups organic rolled rye flakes
(if gluten-free, use buckwheat groats per note below)
- 1/2 cup butter, melted
- 1/2 cup organic coconut oil
, melted
- 1 can (14oz) *unsweetened canned coconut milk
- 2 cups filtered water
- 4 tbsp raw apple cider vinegar
Instructions
- Place butter and coconut oil in a small sauce pan and heat until melted. Pour into a very large ceramic (or glass) mixing bowl and add pure *coconut milk, water and vinegar; whisk to combine.
- Add oats and rye flakes (or buckwheat groats); thoroughly combine using a large wooden spoon or rubber spatula.
- Cover the bowl and place it in a warm area of your kitchen for 24-30 hours.
- (*Please note: I do not recommend using coconut milk beverages, i.e. Silk or So Delicious brands as they contain potentially harmful additives. Instead, I recommend and use pure unsweetened canned coconut milk
.)
- Once oat mixture is finished soaking, you're ready for STEP TWO: BAKING.
Notes
GF Option: If you're gluten-free you can use ground buckwheat groats for the soak. You can decrease the amount to 1 cup of ground buckwheat groats and then use 7 cups of GF rolled oats. The reason you need rolled rye or ground buckwheat groats is because they contain the phytase necessary to help break down the high levels of phytic acid in oats. Oats do not contain much phytase so soaking them without a phytase booster (like rolled rye, or ground buckwheat groats for those who are GF) doesn't do much to reduce the phytic acid.
Ingredients
- 3/4 cup pure honey (I prefer sage honey due to its mild flavor)
- 3/4 cup organic pure maple syrup
- 1 tsp sea salt
- 1 ½ tbsp ground cinnamon
- 1 tbsp pure vanilla extract
Instructions
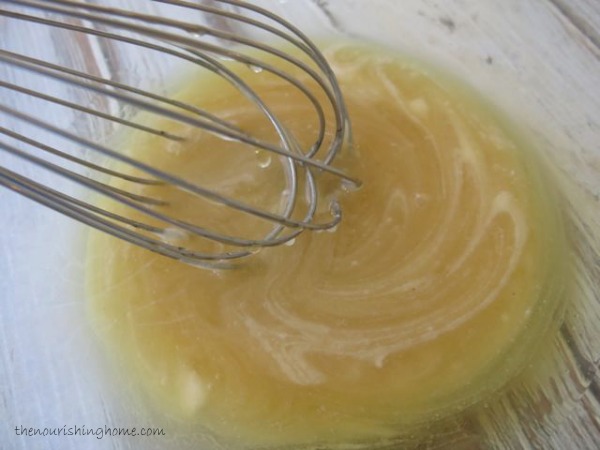
- After soaking time is completed, preheat oven to 200° F. Place honey, maple syrup, salt, cinnamon, and vanilla in a glass measuring cup, Use a small rubber spatula or whisk to blend together until well combined.
- Pour the honey mixture over the soaked oats. Using large rubber spatula, combine the honey and oat mixtures, until well combined. (Tip: As shown in the step-by-step “Soaked Granola Photo Tutorial,” I start working at the edges to pull the soaked granola forward and allow the honey mixture to seep down. Then I keep pressing the soaked oats down using the top of rubber spatula, while turning the oats over and over, until everything is well incorporated.)
- Spread the mixture out over two parchment paper-lined, 12x17-inch rimmed-baking sheets. Place baking sheets side-by-side in oven for best results. If you have to stack them, be sure to rotate them during bake time. Bake for 8 hours, turning the granola every two-hours (be sure to see tip for ensuring crispy granola below). Then turn off oven and allow to sit in warm oven overnight until completely cooled.
- Remove cooled granola from the oven and mix in any “add-ins” you’d like (see suggestions above). Makes 10-cups of granola (without add-ins).
- I recommend storing half in an airtight container in the pantry and the other half in a freezer-safe container in the freezer to preserve crispness.
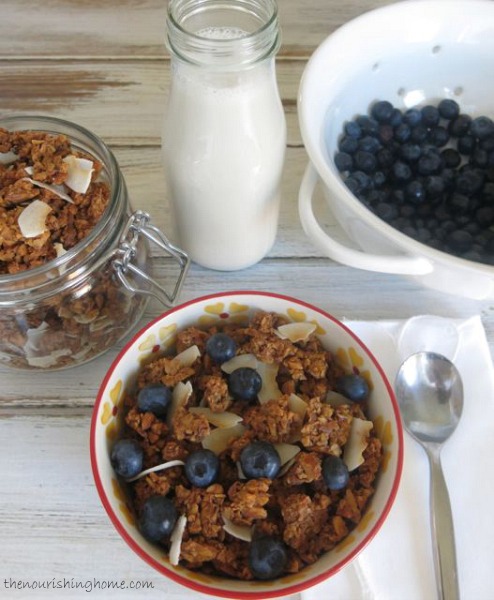
- Serve with chilled raw milk, whole milk yogurt or simply enjoy it as a delicious snack! See “Our Three Favorite Flavor Combos” above for ideas on how you can make your own delicious granola mixes! (Original recipe can be found at: Cooking God's Way.)
Notes
Tips for crispy, non-clumpy granola: If is very important that after two hours in the oven, you remove the baking sheets from the oven and use a large spatula to break up the large flat of granola into small sections by flipping over the granola in small sections. Then use the spatula to break-up the moist granola sections into smaller pieces for faster cooking/drying time. Place back in oven and bake for an additional two hours. Then again, remove the baking sheets from oven and repeat the process; flipping over and breaking the granola pieces into smaller sections. Keep repeating this process every two hours thereafter, getting the pieces smaller and smaller each time. When granola is mostly crisp (usually after 8 hours baking), carefully remove the parchment paper, leaving the granola on the baking sheet. Then, turn off the oven and leave the granola inside the oven with the oven door closed until completely cooled. The granola will get slightly crispier as it cools.
Another tip: I like to start baking my granola at Noon on a day I will be home. That way, I can follow the process described above so that the granola is mostly crisp by the time I am ready for bed. Then, I can turn off the oven and allow it to finish crisping-up overnight. (If still not crisp enough, simply bake at 200 degrees for another 30 minutes to one hour and then allow to cool completely.)
![]()